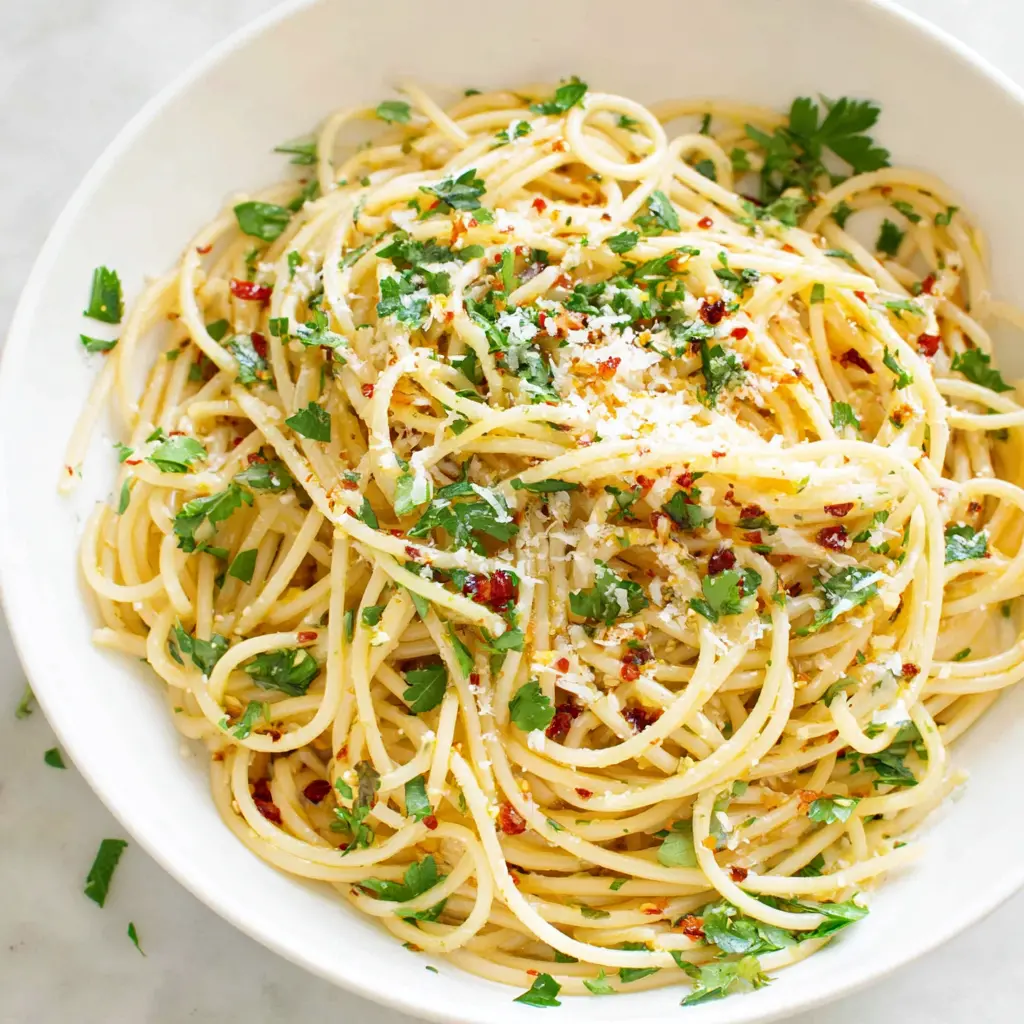
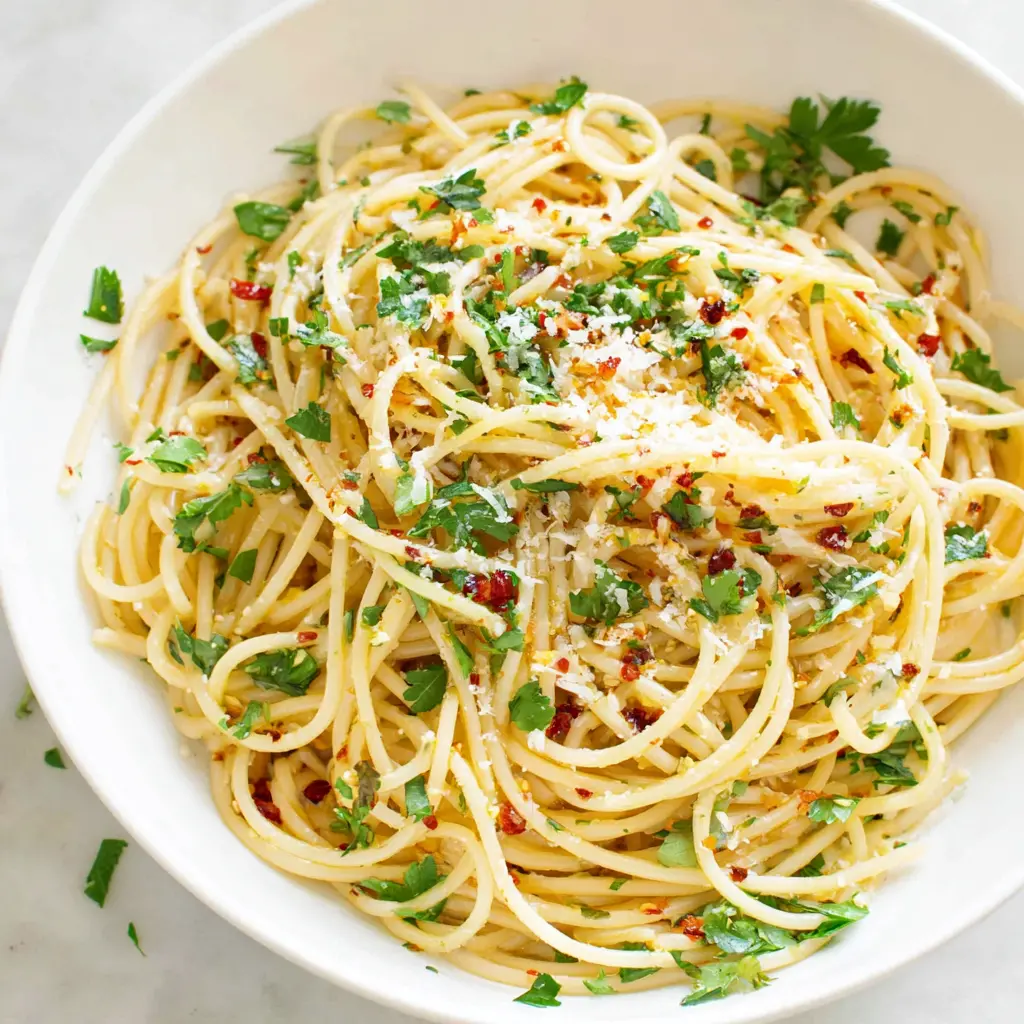
Classic Pasta Aglio e Olio with Garlic and Olive Oil
Ingredients
Method
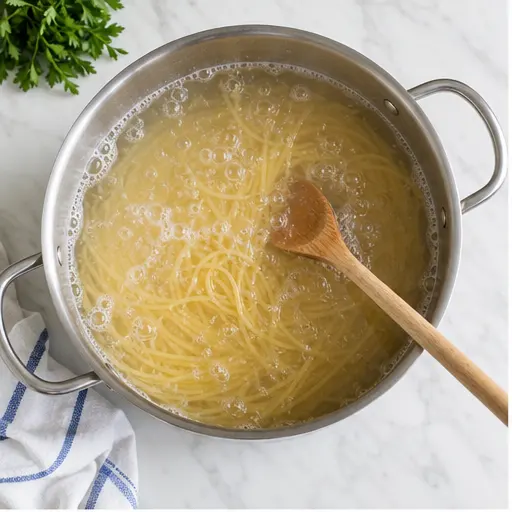
- Bring a large pot of salted water to a rolling boil. Add the spaghetti and cook until al dente, about 8-10 minutes or according to package directions.
- While the pasta cooks, prepare the sauce. If using fresh chili, remove the seeds and mince. Thinly slice the garlic cloves.
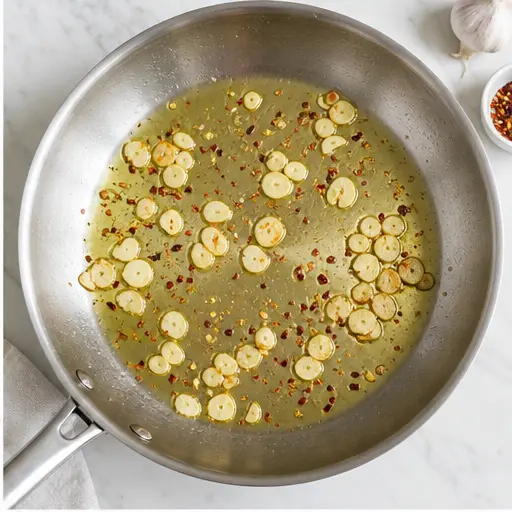
- In a large skillet, gently warm the olive oil over medium-low heat. Add the sliced garlic and red pepper flakes. Cook slowly until the garlic turns a pale golden color, about 3-4 minutes. Do not let it brown or it will become bitter. Stir in the chopped parsley.
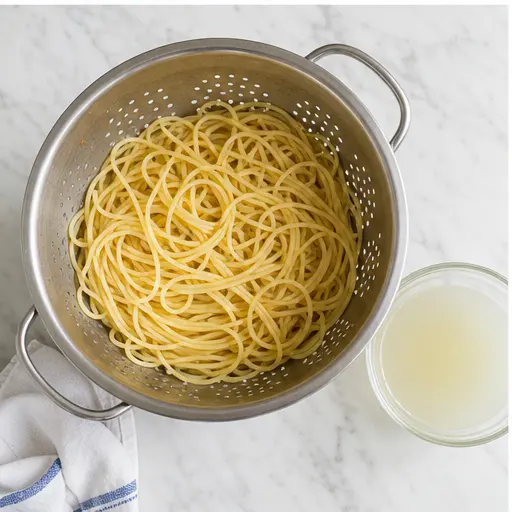
- Just before draining the pasta, reserve about 1/2 cup of the starchy cooking water. Drain the spaghetti well.
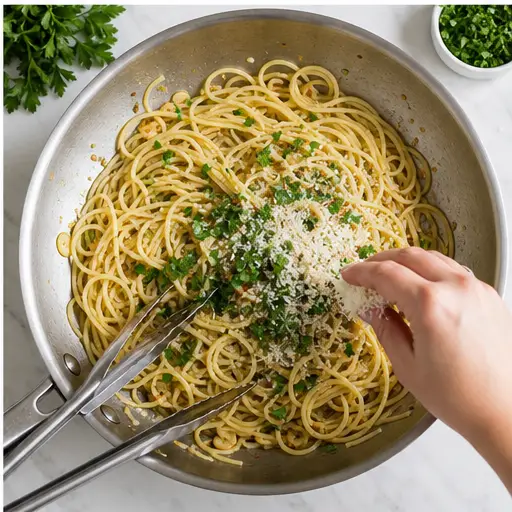
- Transfer the drained spaghetti to the skillet with the garlic oil. Toss to coat evenly. Add a splash of the reserved pasta water, a little at a time, until the pasta is moist and glossy. Cook over medium heat for about 30 seconds, stirring once or twice.
- Serve immediately, sprinkled with extra chopped parsley and grated Parmesan cheese if desired.
Nutrition
Notes
Tried this recipe?
Let us know how it was!What Is Pasta Aglio e Olio?
Okay, let me be real with you. The first time I tried making pasta aglio e olio at home, I burned the garlic so badly my roommate thought I was trying to smoke-flavor the apartment. It was bitter, it was sad, and I almost gave up on this whole Italian thing. But here’s the thing about this dish it’s actually one of the simplest, most forgiving recipes out there. You just gotta know a few tricks.
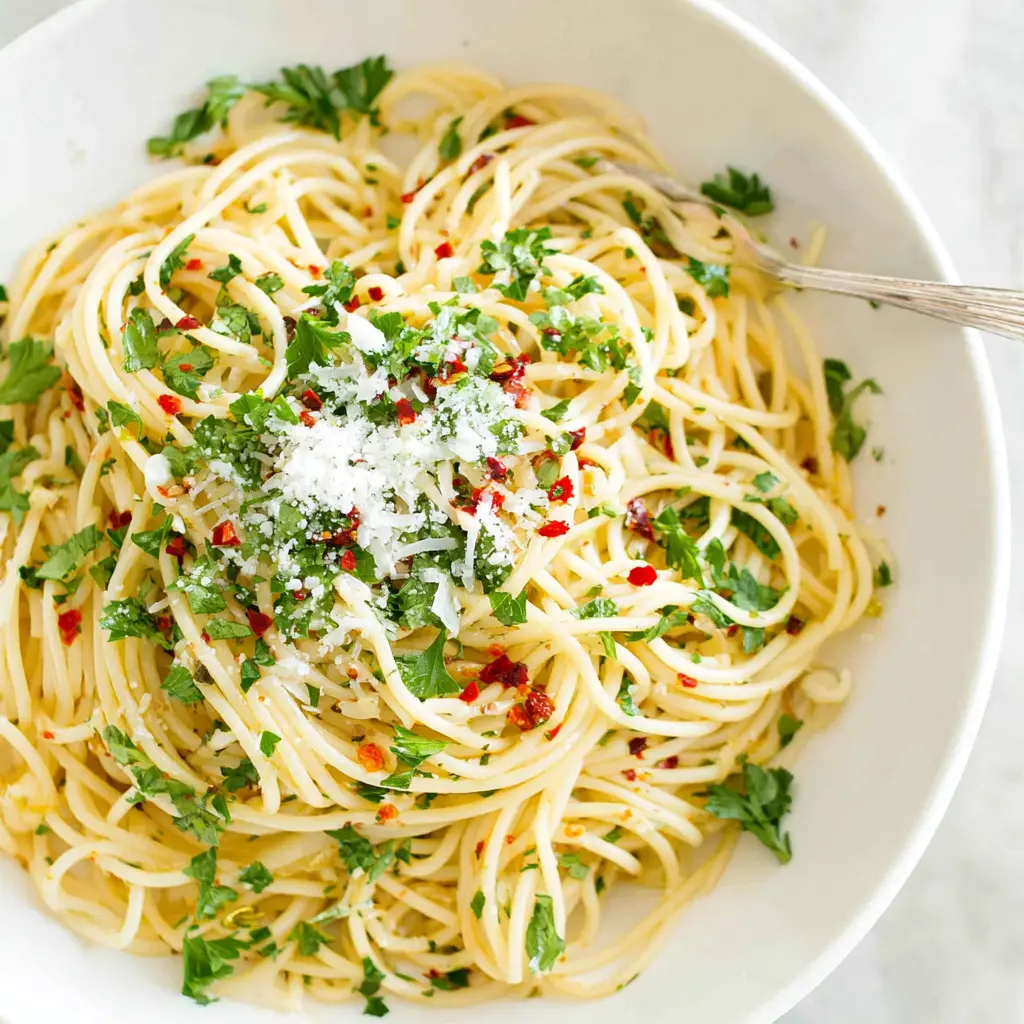
Pasta aglio e olio (pronounced ah-lyoh ay oh-lee-oh) literally translates to “pasta with garlic and oil.” That’s it. No heavy cream, no tomato sauce, no complicated roux. Just spaghetti, good olive oil, garlic, a little heat from red pepper flakes, and some fresh parsley to brighten things up. It’s the ultimate pantry meal idea that feels way fancier than it actually is.
I’m talking about a 20 minute dinner that looks like you spent an hour on it. A go-to for those nights when you’re staring at your pantry thinking, “I have nothing to eat.” You do. You have this.
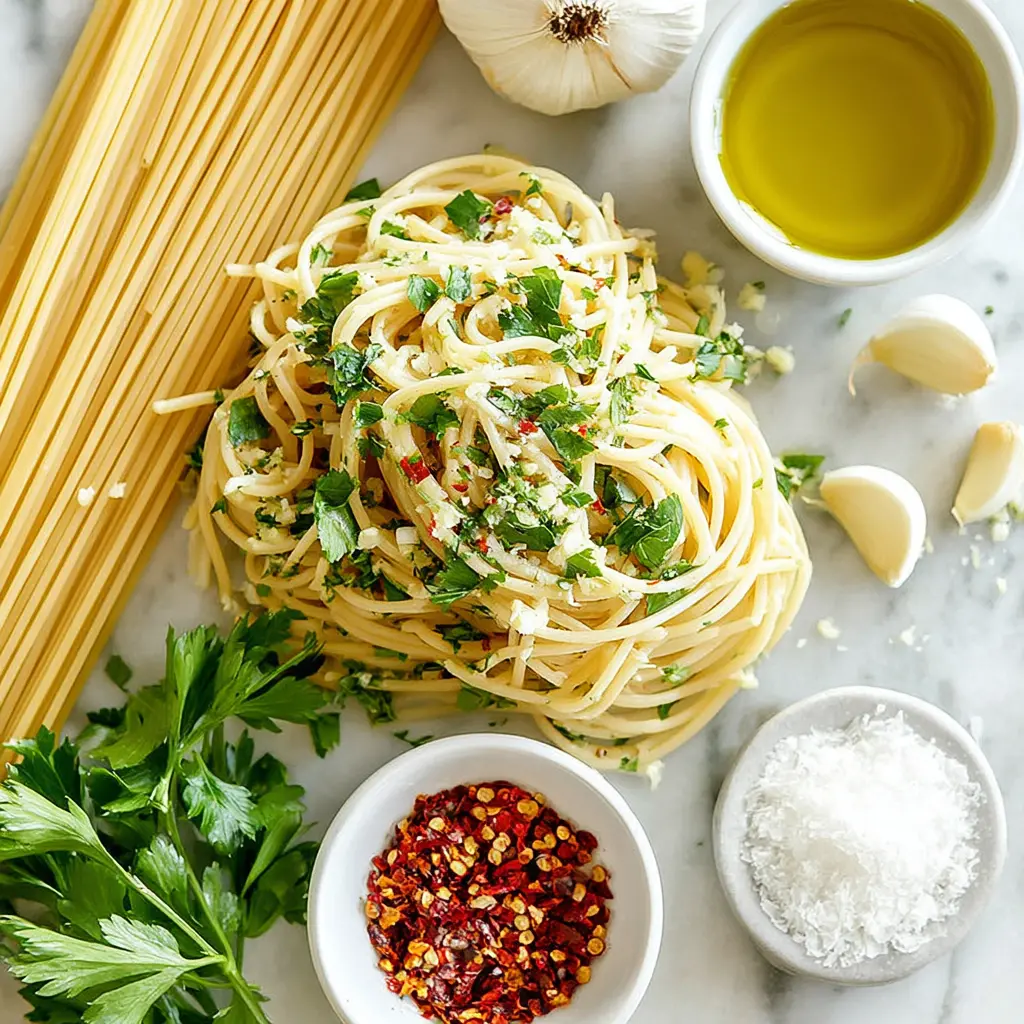
Ingredients for Classic Pasta Aglio e Olio
Here’s the beauty of this recipe. You only need seven ingredients. Seven. And you probably already have most of them in your kitchen right now. Let me walk you through what you’ll need and why each one matters.
- Spaghetti (1 lb): The classic choice. Long, thin strands that grab onto the garlic oil perfectly. But honestly? Use whatever long pasta you have. Linguine, bucatini, even fettuccine if that’s what’s in your cupboard. I’ve made this with bucatini before and the extra chewiness is incredible.
- Extra-virgin olive oil (1/2 cup): This is non-negotiable. The oil is the star here, so use a good one. I love California-grown olive oil it’s fruity, peppery, and makes the whole dish sing. Don’t skimp on this, seriously.
- Garlic (4-5 cloves): Thinly sliced, not minced. There’s a reason for this. Sliced garlic releases its flavor more gently into the oil. Minced garlic burns faster. Trust me on this one.
- Red pepper flakes (1 teaspoon): Or to taste. This gives the dish that gentle warmth that wakes up your taste buds. If you’re sensitive to heat, start with half a teaspoon. If you love spice, go wild.
- Fresh flat-leaf parsley (1/4 cup): Chopped and added at the end for freshness. It cuts through the richness of the oil and adds a pop of green that makes the dish look gorgeous.
- Grated Parmesan cheese (1/4 cup): Totally optional but highly recommended. It adds a salty, nutty finish that ties everything together. For a vegan version, skip it or use a plant-based alternative.
- Salt: For the pasta water. Don’t forget this it’s how you season the pasta from the inside out.
That’s it. No long list of exotic spices or hard-to-find ingredients. This is an easy pasta recipe quick enough for a Tuesday night but elegant enough for date night.
Step-by-Step Instructions
Alright, let’s get cooking. The key here is timing. You want the pasta and the sauce to finish at the same time. It sounds tricky, but once you do it once, it’ll become second nature. I promise.
Stage 1: Boil the Pasta
Bring a large pot of water to a rolling boil. And I mean a rolling boil big bubbles, lots of action. Add a generous amount of salt (about a tablespoon per gallon of water). The water should taste like the sea. Drop in your spaghetti and cook until al dente, about 8-10 minutes depending on your brand. While that’s going, you can start the sauce.
Stage 2: Make the Garlic Oil
While the pasta cooks, grab a large skillet. A heavy-bottomed one is best it distributes heat evenly and helps prevent burning. Add the olive oil and warm it over medium-low heat. This is crucial. You want gentle heat, not high heat. High heat will turn your garlic bitter in seconds.
Add the thinly sliced garlic and red pepper flakes. Cook slowly, stirring occasionally, until the garlic turns a pale golden color. This takes about 3-4 minutes. Listen for the gentle sizzle, not a frantic pop. If it starts browning too fast, pull the pan off the heat for a few seconds. Once it’s pale gold, stir in the chopped parsley and take the pan off the heat.
Stage 3: Reserve Pasta Water and Drain
Just before you drain the pasta, scoop out about 1/2 cup of the starchy cooking water. This is liquid gold. The starch in the water helps emulsify the oil and creates a silky sauce that clings to every strand. Drain the spaghetti well don’t rinse it! You want that starch on the pasta.
Stage 4: Toss and Serve
Transfer the drained spaghetti directly into the skillet with the garlic oil. Toss everything together until every strand is coated. Now here’s the magic part: add a splash of the reserved pasta water, a little at a time, while tossing. Watch as the oil and water come together into a glossy, emulsified sauce. Cook over medium heat for about 30 seconds, stirring once or twice. The pasta should be moist and shiny, not greasy.
Serve immediately. Sprinkle with extra chopped parsley and grated Parmesan if you’re using it. Eat it right away this dish waits for no one.
Tips for the Perfect Aglio e Olio
I’ve made this dish probably fifty times at this point. Here are the things I wish someone had told me when I started.
- Use a heavy-bottomed skillet: Thin pans create hot spots that burn garlic. A good stainless steel or cast iron skillet distributes heat evenly and gives you more control.
- Low and slow is the way to go: I cannot stress this enough. Medium-low heat for the garlic. You’re infusing the oil with flavor, not frying the garlic. If the garlic is sizzling aggressively, your heat is too high.
- Reserve more pasta water than you think you need: You can always add more, but you can’t un-drain the pot. I usually save a full cup, just in case. Extra water can also be used to reheat leftovers.
- Taste as you go: This is your dish. Adjust the salt, adjust the heat, adjust the amount of garlic. Cooking is about making it taste good to you.
- Don’t skip the parsley: I know it seems like just a garnish, but that fresh, slightly peppery flavor cuts through the richness of the oil and balances everything out.
Oh, and one more thing. If you don’t like chopped garlic, you can leave the cloves whole and remove them after they’ve flavored the oil. Some people prefer that milder garlic flavor. Your kitchen, your rules.
Variations to Try
Once you’ve mastered the basic pasta aglio e olio, you can start playing around. Here are some of my favorite variations.
- Add lemon zest: A little lemon zest stirred in at the end adds brightness and makes the dish feel even lighter. Perfect for summer.
- Use fresh chili instead of dried: If you have a fresh red chili, slice it thinly and cook it with the garlic. It gives a different kind of heat fresher and more complex.
- Make it creamy: Some people like to blend a little of the garlic oil with some pasta water to create a creamy emulsion. It’s not traditional, but it’s delicious.
- Add toasted breadcrumbs: Sprinkle toasted panko or breadcrumbs on top for crunch. It adds texture and makes the dish feel more substantial.
- Go green: Stir in a handful of fresh spinach or arugula at the end. The heat from the pasta will wilt it perfectly.
Common Mistakes to Avoid
Let’s talk about what can go wrong, because I’ve made every single one of these mistakes. Learn from my failures.
Mistakes and Fixes
❌ Burning the garlic: This is the most common mistake. Burnt garlic is bitter and ruins the whole dish. The fix? Use medium-low heat, slice the garlic thinly (not minced), and watch it like a hawk. If it starts browning too fast, pull the pan off the heat.
❌ Pasta too dry: If your pasta looks dry or clumpy, you didn’t add enough pasta water. The starch in the water is what creates that silky sauce. Add more water, a tablespoon at a time, while tossing vigorously.
❌ Too oily: If the pasta is swimming in oil, you either used too much oil or didn’t emulsify it properly. Next time, add the pasta water gradually and toss well. The emulsion should coat the pasta, not pool at the bottom of the bowl.
❌ Too garlicky: If the garlic flavor is overwhelming, you might have used too many cloves or cooked them too long. Next time, use fewer cloves or remove them once they’ve flavored the oil.
How to Store and Reheat Leftovers
Look, I’m not gonna lie pasta aglio e olio is best eaten immediately. The texture changes as it sits. But if you have leftovers (unlikely, but possible), here’s what to do.
Storage: Let the pasta cool completely, then transfer it to an airtight container. Store it in the fridge for up to 2 days. Don’t leave it out at room temperature for more than 2 hours.
Reheating: The microwave will make it dry and sad. Instead, reheat it in a skillet with a splash of water or pasta water. Toss over medium heat until warmed through. The water will help re-emulsify the oil and bring back some of that glossy texture. Add a little fresh parsley at the end to brighten it up.
Make-ahead tip: You can prep the garlic oil ahead of time. Just cook the garlic and red pepper flakes in the oil, let it cool, and store it in the fridge for up to a week. Then when you want pasta aglio e olio, all you have to do is boil the pasta and toss.
Frequently Asked Questions
I really hope you give this pasta aglio e olio a try. It’s one of those recipes that becomes a staple the kind of thing you make without even thinking about it after a while. And honestly? It’s so good that you’ll start looking for excuses to make it. Impress your friends, impress your family, or just impress yourself on a random Wednesday night.
Tag me when you make it I want to see your beautiful bowls! And if you want to save this recipe for later, you can pin it to your Pinterest board so you never lose it.
Source: Nutritional Information