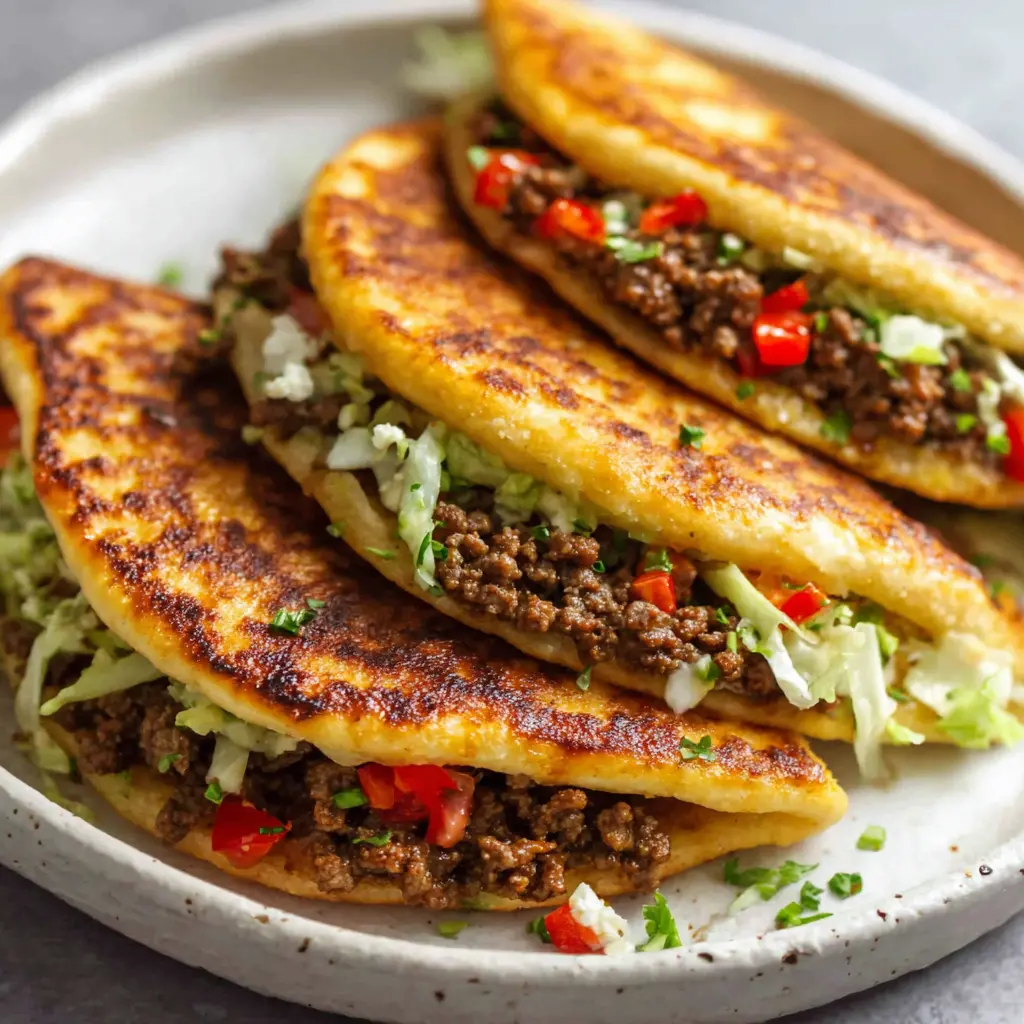
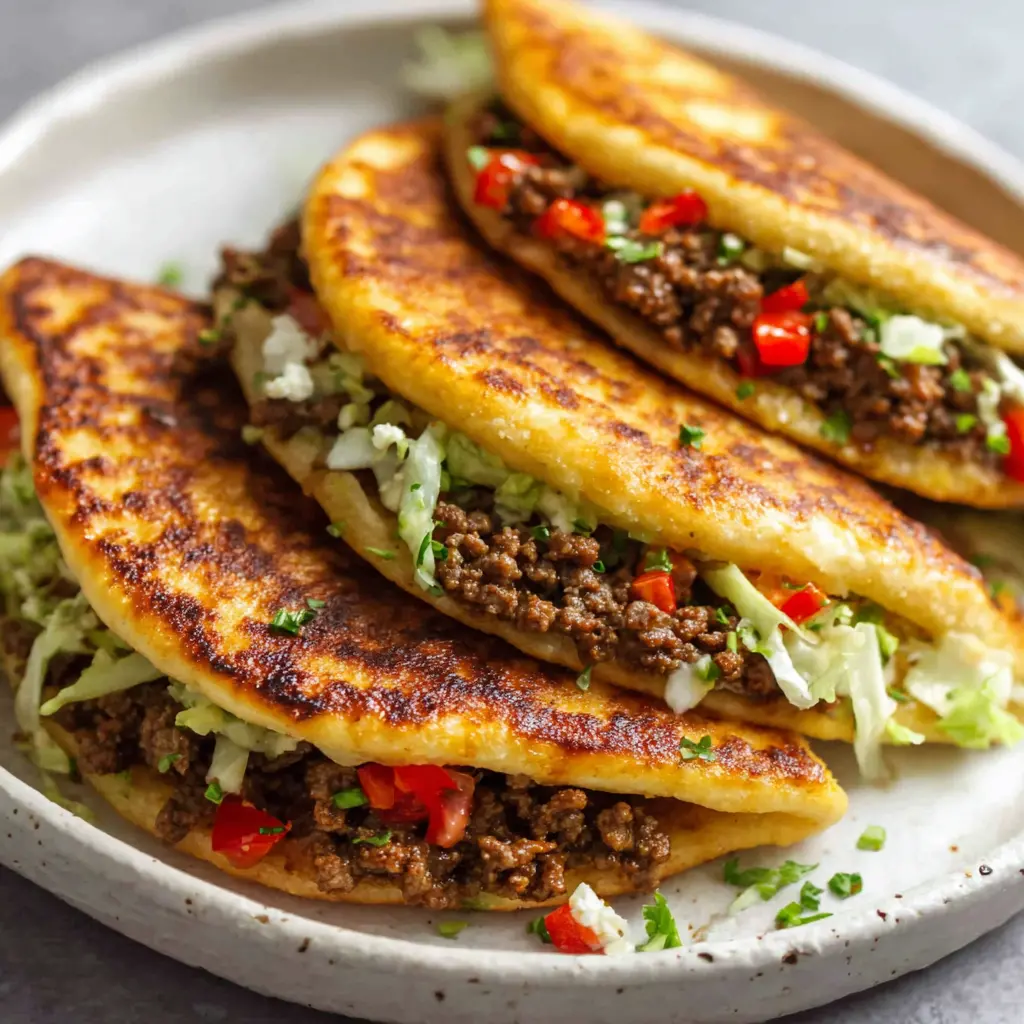
Mediterranean Ground Beef Pita Pockets
Ingredients
Method
- Warm the olive oil in a large skillet over medium heat.
- Add the chopped onion and minced garlic, sautéing until the onion turns translucent, about 3 minutes.
- Crumble in the ground beef and season with cumin, paprika, salt, and pepper. Cook, stirring frequently, until the beef is fully browned and cooked through, about 5 to 7 minutes. Drain any excess fat if needed.
- Warm the pita pockets in a 350°F oven for 3 to 4 minutes, or microwave them for 20 seconds until pliable.
- Carefully open each pita and stuff with the seasoned beef mixture.
- Top with shredded lettuce, diced tomato, diced cucumber, and crumbled feta cheese.
- Drizzle with tzatziki sauce and serve immediately.
Nutrition
Notes
Tried this recipe?
Let us know how it was!Why You’ll Love These Mediterranean Ground Beef Pita Pockets
Let me tell you about the night these mediterranean ground beef pita pockets saved dinner. It was one of those sweltering June evenings where the last thing you want to do is turn on the oven. I had a pound of ground beef thawed, a half-empty container of tzatziki, and a sad-looking cucumber. And honestly? I was so tired of the same old tacos or spaghetti.
So I grabbed some pita pockets, chopped an onion, and just started cooking. Twenty-five minutes later, my family was silent. Not the bad kind of silent. The kind where everyone is too busy eating to talk. My kid, who usually picks at anything green, asked for seconds. And I knew I had stumbled onto something special.
These aren’t just any pita pockets. The beef is seasoned with cumin and smoked paprika warm, earthy, a little smoky. Then you pile in cool, crisp lettuce, juicy tomatoes, crunchy cucumber, and salty feta. A drizzle of tzatziki pulls it all together. It’s a quick Mediterranean dinner that feels like a treat, even on a Tuesday.
Ingredients for Mediterranean Ground Beef Pita Pockets
The beauty of this recipe? You only need a handful of fresh ingredients and a few pantry staples. Nothing weird, nothing expensive. Let’s break it down so you know exactly what to grab at the store.
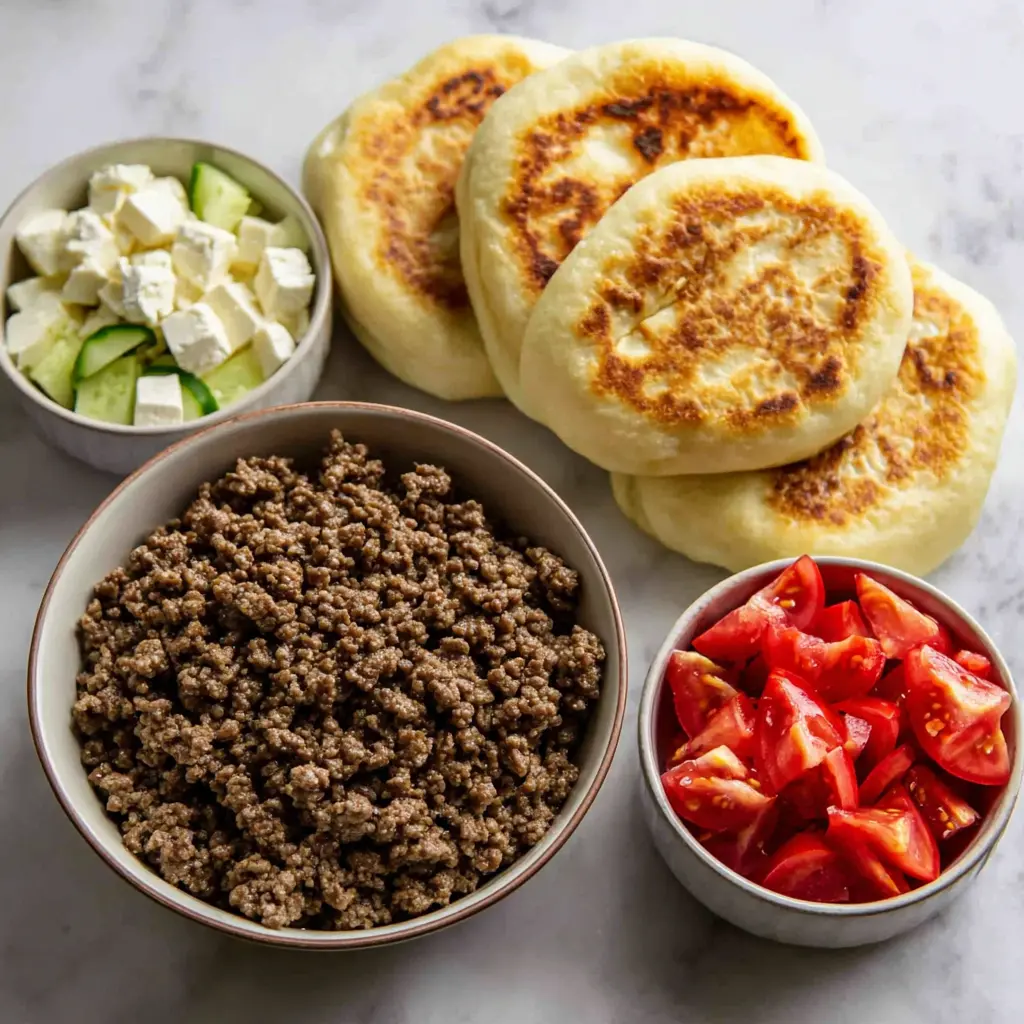
For the beef filling, you’ll need ground beef, a yellow onion, garlic, olive oil, and a few spices. The spices are where the magic happens ground cumin and smoked paprika. That’s it. No complicated blends or hard-to-find jars. For the pockets themselves, grab large pita breads, some shredded lettuce, a Roma tomato, half an English cucumber, crumbled feta, and your favorite tzatziki sauce.
Best Ground Beef for This Recipe
Here’s a little lesson I learned the hard way. I used to buy the leanest ground beef I could find 93% lean thinking it was healthier. But the filling came out dry and crumbly. Not good. So I switched to 80/20 ground beef, and wow, what a difference. The extra fat keeps the meat juicy and flavorful.
That said, you don’t want it greasy either. So here’s the trick: cook the beef until it’s browned, then drain off any excess fat before assembling. You get all the moisture without the sogginess. If you prefer a leaner option, 90/10 works too just add a splash of water or broth while cooking to keep it from drying out.
- 80/20 ground beef: Best for flavor and moisture
- 90/10 ground beef: Works if you drain fat and add a little liquid
- Ground turkey or lamb: Great substitutes for a different twist
How to Make Tzatziki Sauce (Optional)
I usually buy store-bought tzatziki because, let’s be real, sometimes you just need dinner on the table fast. But if you want to go homemade, it’s stupidly easy. Mix 1 cup of Greek yogurt, half a grated cucumber (squeeze out the water), a minced garlic clove, a squeeze of lemon juice, and some fresh or dried dill. Season with salt and pepper. Done in five minutes.
Either way, the tzatziki is what ties these beef pita pockets together. That cool, tangy creaminess against the warm, spiced beef? Chef’s kiss.
Step-by-Step Instructions
Alright, let’s get cooking. I’ll walk you through each stage so you feel confident. And don’t worry if things get a little messy that’s part of the fun.
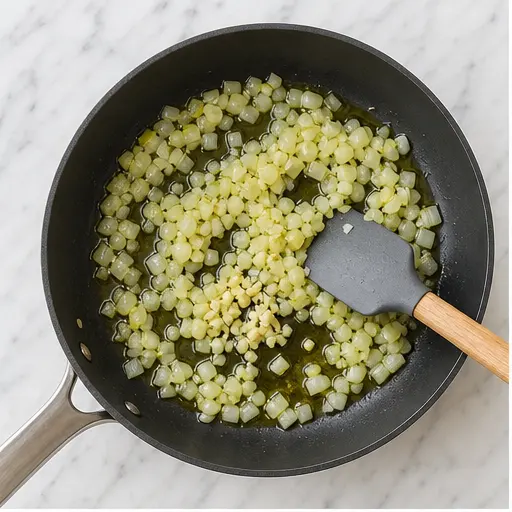
Stage 1: Sauté the aromatics. Warm a teaspoon of olive oil in a large skillet over medium heat. Toss in your chopped yellow onion and minced garlic. Let them cook for about 3 minutes, stirring now and then, until the onion turns translucent and smells amazing. This is the foundation of your flavor.
Stage 2: Brown the beef. Crumble the ground beef into the skillet. Season it with cumin, smoked paprika, salt, and pepper. Use a wooden spoon to break it up as it cooks. You want it fully browned, which takes about 5 to 7 minutes. Listen for that sizzle it’s a good sign. Once it’s done, drain any excess fat if needed.
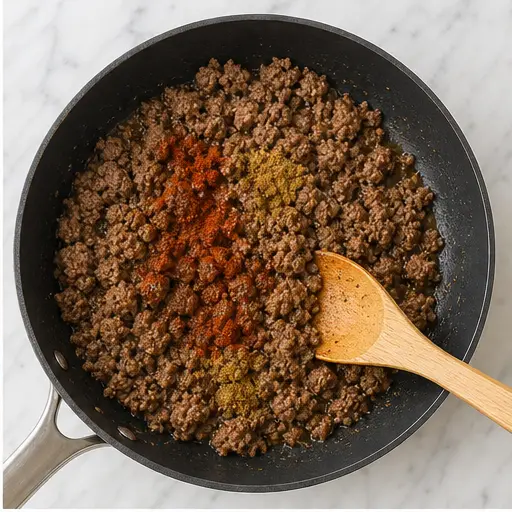
Stage 3: Prep the veggies and pita. While the beef cooks, dice your tomato and cucumber. Shred the lettuce if you haven’t already. Warm the pita pockets in a 350°F oven for 3 to 4 minutes, or pop them in the microwave for 20 seconds. Warm pita is much more pliable and less likely to tear.
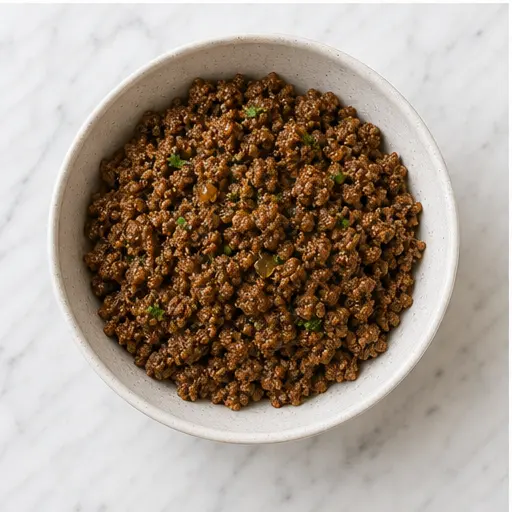
Stage 4: Assemble and serve. Carefully open each pita pocket. Stuff them with the seasoned beef, then layer on the lettuce, tomato, cucumber, and feta. Drizzle tzatziki sauce over the top. Serve immediately while the beef is still warm and the veggies are crisp.
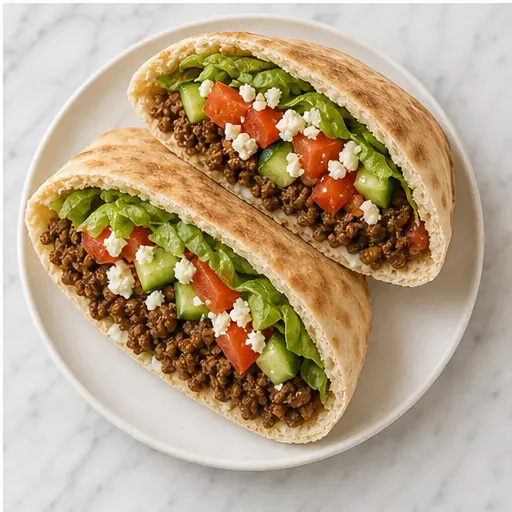
Tips and Tricks for Perfect Pita Pockets
I’ve made these mediterranean ground beef pita pockets more times than I can count, and I’ve learned a few things along the way. Let me save you some trouble.
First, don’t overstuff the pitas. I know it’s tempting to pile everything in, but too much filling will cause the bread to tear. Use a light hand and save extra filling for a second round. Second, warm your pitas. Cold pita is brittle and cracks easily. A quick warm-up makes them soft and flexible.
How to Avoid Soggy Pita Pockets
This is the number one complaint I hear. Nobody wants a soggy pita. Here’s how to avoid it:
- Drain the beef fat. After browning, tilt the skillet and spoon out any excess grease.
- Let the beef cool slightly. Give it 2-3 minutes off the heat before stuffing. Hot beef can steam the pita from the inside.
- Pat veggies dry. Especially the cucumber and tomato. Use a paper towel to blot off extra moisture.
- Don’t add the tzatziki until serving. If you’re meal prepping, keep the sauce separate and add it right before eating.
Substitutions and Variations
One of the best things about this recipe? It’s endlessly adaptable. Here are some ways to make it your own.
Meat swaps: Use ground turkey or lamb instead of beef. Both work beautifully with the Mediterranean spices. If you go with turkey, add a little olive oil to keep it moist.
Cheese options: Feta is classic, but crumbled goat cheese or even shredded mozzarella would be delicious. For a dairy-free version, skip the cheese and add extra veggies or a drizzle of tahini.
Add crunch: Toss in some chopped red onion, sliced bell peppers, or even a handful of kalamata olives. Pine nuts or slivered almonds add a lovely texture too.
Spice it up: If you like heat, add a pinch of cayenne or red pepper flakes to the beef. Or drizzle some hot sauce over the finished pockets.
Low-carb version: Skip the pita and serve the beef and veggies over a bed of lettuce or in a bowl. It’s just as satisfying and keeps things light.
Storage and Reheating
These pockets are best fresh, but leftovers can be a lifesaver for lunch the next day. Here’s how to handle them.
Store components separately. The cooked beef filling keeps in an airtight container in the fridge for up to 3 days. Keep the veggies, feta, and tzatziki in separate containers. Pita bread can stay at room temperature in a sealed bag for 2-3 days.
Reheat the beef gently. Warm it in a skillet over medium heat with a tiny splash of water or olive oil. Microwave works too, but the skillet gives better texture. Once the beef is hot, warm the pita and assemble fresh.
Freezing option: You can freeze the cooked beef for up to a month. Thaw overnight in the fridge, then reheat. I wouldn’t freeze assembled pockets the veggies get sad.
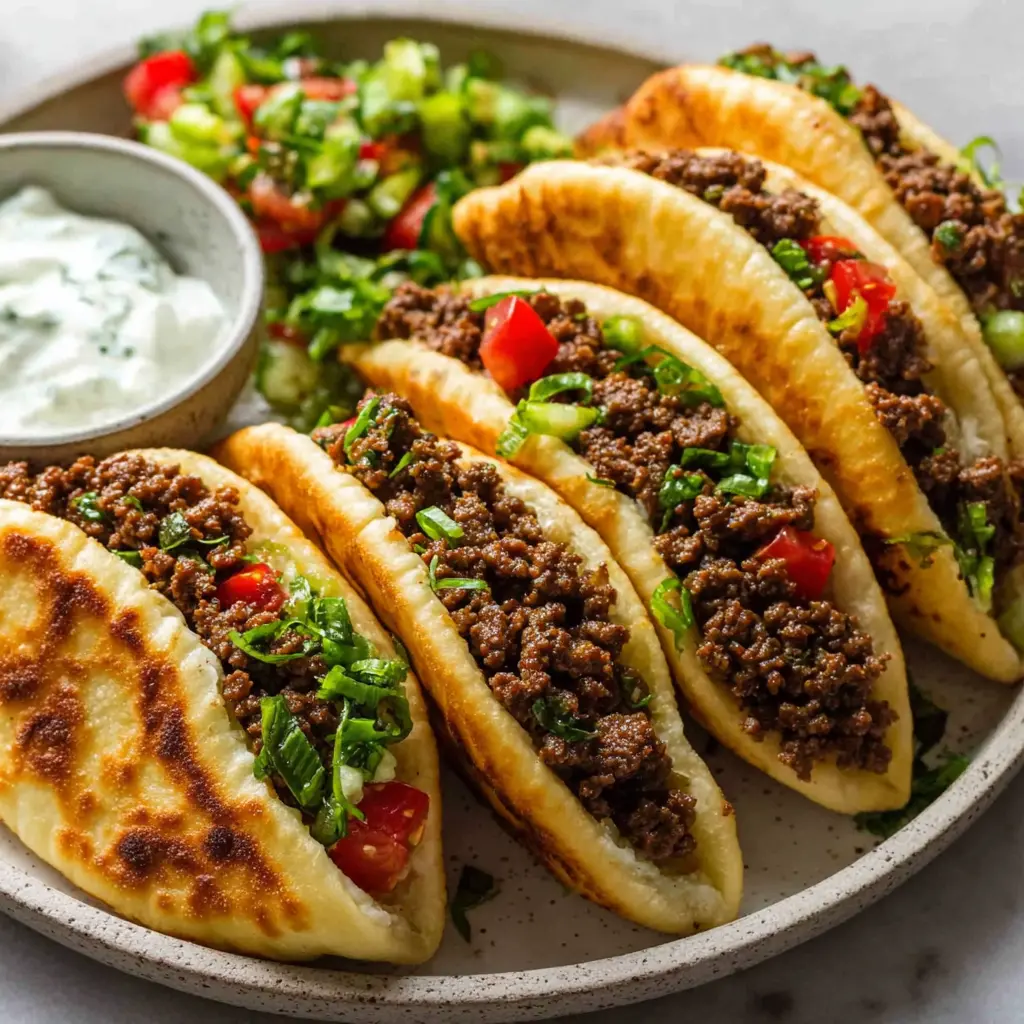
Frequently Asked Questions
I hope these mediterranean ground beef pita pockets become a regular in your dinner rotation. They’re quick, flexible, and always a hit. If you try them, I’d love to hear how it goes. Drop a comment below or tag me in your photos I’m always looking for new variations to try. Happy cooking!
Source: Nutritional Information