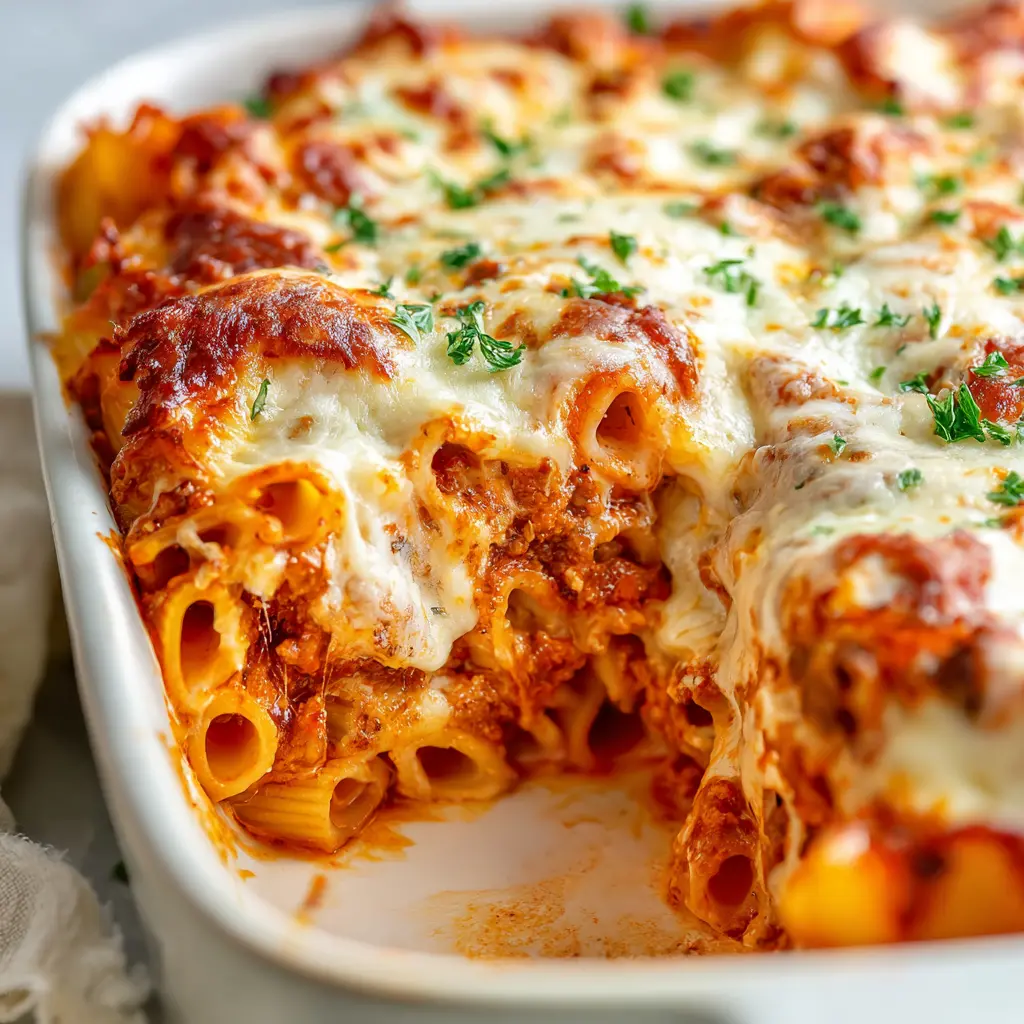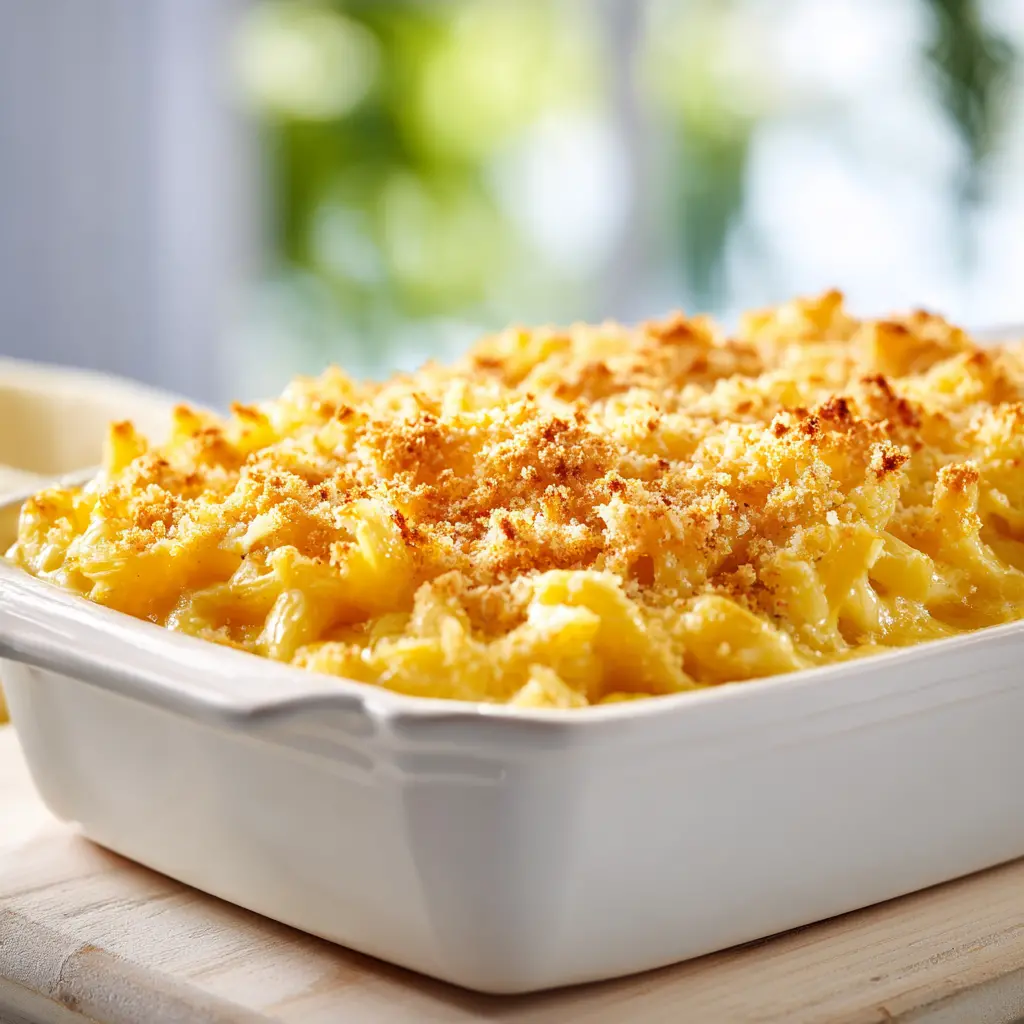
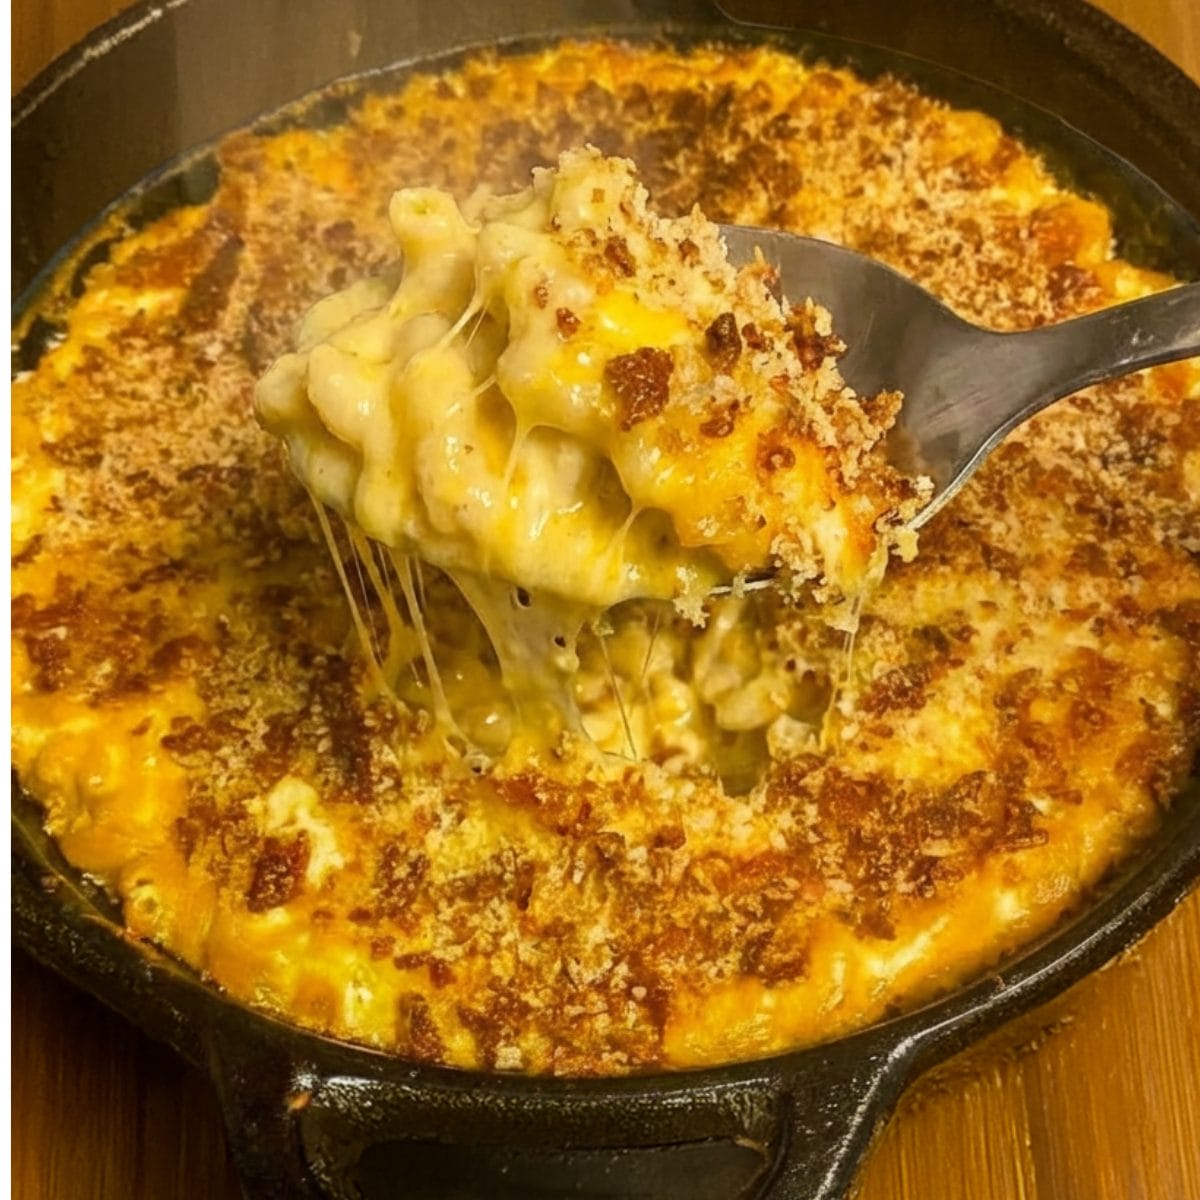
Smoked Gouda Mac and Cheese with Buttery Panko Crust
Ingredients
Method
- Cook the elbow macaroni in a large pot of salted water according to package directions until al dente. Drain and set aside.
- Preheat your smoker to 225°F. Lightly coat a 9x13-inch aluminum pan with nonstick cooking spray.
- In a large saucepan over medium heat, melt the butter. Whisk in the flour and cook, stirring constantly, for about 2 minutes until the mixture turns golden.
- Gradually pour in the milk and cream while whisking continuously. Cook for 5 to 7 minutes, until the sauce thickens and is smooth.
- Remove the saucepan from the heat. Stir in the shredded cheddar, smoked Gouda, Monterey Jack, garlic powder, onion powder, smoked paprika, salt, and pepper. Keep stirring until all the cheese is melted and the sauce is creamy.
- Fold the cooked pasta into the cheese sauce until well combined. Transfer the mixture to the prepared pan and spread it evenly.
- In a small bowl, mix the panko breadcrumbs with the melted butter, Parmesan, garlic powder, smoked paprika, and parsley. Sprinkle this topping evenly over the mac and cheese.
- Place the pan in the smoker and cook for 1 hour 30 minutes, until the top is golden brown and the edges are bubbling.
- Remove from the smoker and let it rest for 10 minutes before serving.
Nutrition
Notes
Tried this recipe?
Let us know how it was!Why This Smoked Gouda Mac and Cheese Works
Some days only mac and cheese will do. You know the feeling that deep craving for something warm, creamy, and completely satisfying. This smoked gouda mac and cheese is exactly that. It’s the dish I turn to when I want to impress without stress, when comfort food needs to feel a little special.
The magic here is all in the cheese. Smoked gouda brings this incredible, rich smoky flavor that regular cheddar just can’t touch. It’s subtle enough that kids love it, but bold enough that adults notice. And that buttery panko crust on top? It adds the perfect crunch against all that creamy goodness.
I’ve tested this recipe more times than I can count. The first time I made it, I’ll be honest the sauce was a little thin, and I panicked. But I let it cook a few more minutes, kept whisking, and suddenly it transformed into this velvety dream. Trust the process. It works every time.
Ingredients for Smoked Gouda Mac and Cheese
Here’s what you’ll need. And I promise, every single one of these ingredients pulls its weight.
The pasta base: Elbow macaroni is classic for a reason those little curves grab every bit of sauce. Cook it al dente, not mushy. It’ll keep cooking slightly in the smoker.
The cheese trio: This is where it gets good. You’ll need sharp cheddar for that tangy punch, smoked gouda for the star smoky flavor, and Monterey Jack for that incredible melty stretch. Do not buy pre-shredded cheese. I’m begging you. The anti-caking coating keeps it from melting smoothly, and you’ll end up with a grainy sauce. Grate it yourself it takes five minutes and makes all the difference.
The creamy base: Whole milk and heavy cream create that luxurious texture. The butter and flour roux thickens everything into a smooth, luscious sauce that coats every piece of pasta.
The seasonings: Garlic powder, onion powder, smoked paprika, salt, and pepper. Simple but essential. The smoked paprika doubles down on that smoky flavor without being overpowering.
The crunchy topping: Panko breadcrumbs mixed with melted butter, Parmesan, more garlic powder and smoked paprika, plus fresh parsley. It bakes into a golden, crispy crust that’s absolutely irresistible.
How to Make Smoked Gouda Mac and Cheese
Let’s walk through this together. I’ll share the four key stages, plus the little tricks I’ve learned along the way.
Stage 1: Cook the pasta. Bring a large pot of salted water to a boil. Cook your elbow macaroni until al dente about a minute less than the package says. You want it firm enough to hold up in the sauce. Drain it and set it aside. Don’t rinse it; that starch helps the sauce cling.
Stage 2: Build the roux. In a large saucepan over medium heat, melt your butter. Whisk in the flour and keep stirring for about two minutes. You’re looking for a pale golden color this cooks out the raw flour taste. It’s the foundation of your sauce, so don’t rush it.
Stage 3: Make the cheese sauce. Gradually pour in the milk and cream while whisking continuously. This is the moment where patience pays off. Keep whisking for about 5 to 7 minutes until the sauce thickens and is completely smooth. Then remove it from the heat and stir in all three shredded cheeses cheddar, smoked gouda, and Monterey Jack. Add the garlic powder, onion powder, smoked paprika, salt, and pepper. Stir until every bit of cheese is melted and the sauce is silky. The smell at this point is incredible.
Stage 4: Assemble and smoke. Fold the cooked pasta into the cheese sauce until every piece is coated. Transfer it to a lightly greased 9×13-inch aluminum pan. Mix your panko topping breadcrumbs, melted butter, Parmesan, garlic powder, smoked paprika, and parsley and sprinkle it evenly over the top. Place the pan in a smoker preheated to 225°F and cook for 1 hour 30 minutes. You’ll know it’s done when the top is golden brown and the edges are bubbling. Let it rest for 10 minutes before serving. I know it’s hard to wait, but that rest time lets the sauce set so you get perfect slices.
Tips for the Best Smoked Gouda Mac and Cheese
After making this more times than I can count, here’s what I’ve learned. These tips will save you from the mistakes I made.
- Grate your own cheese. I said it before, but it’s worth repeating. Pre-shredded cheese has cellulose that prevents smooth melting. Freshly grated melts like a dream.
- Cook pasta to al dente. It continues cooking in the smoker. Overcooked pasta gets mushy and sad.
- Remove the rind from smoked gouda. The rind is tough and won’t melt. Cut it off before shredding.
- Whisk continuously when adding milk. This prevents lumps. Don’t walk away from the stove during this step.
- Stir the cheese sauce constantly. Cheese can scorch on the bottom of the pan. Keep it moving.
- Don’t skip the rest time. That 10-minute wait lets the sauce set so it’s creamy, not runny.
- For a stronger smoke flavor, use applewood or hickory chips. They complement the gouda beautifully.
Make Ahead, Storage, and Reheating
This smoked gouda mac and cheese is perfect for making ahead. Assemble the dish completely, but don’t add the panko topping. Cover and refrigerate for up to 24 hours. When you’re ready to cook, add the panko topping and bake or smoke as directed. You might need an extra 10 to 15 minutes since it’s starting cold.
Leftovers keep well in the fridge for up to 3 days. Store in an airtight container. The texture stays creamy, though the panko crust will soften a bit. That’s okay it’s still delicious.
For reheating, I prefer the oven or smoker. Sprinkle a tablespoon or two of milk over the top, cover with foil, and warm at 350°F for about 15 minutes. You can also use the microwave with a splash of milk, stirring halfway through. Just don’t overheat it or the cheese sauce can separate.
Freezing works too. Transfer to a freezer-safe container and freeze for up to 2 months. Thaw in the fridge overnight before reheating.
What to Serve with Smoked Gouda Mac and Cheese
This dish is a barbecue superstar. It pairs perfectly with grilled meats think brisket, pulled pork, or smoked chicken. The creamy, smoky mac and cheese balances the rich, savory flavors of BBQ beautifully.
For a summer cookout, serve it alongside burgers or hot dogs. Add a crisp green salad or some roasted vegetables to cut through the richness. It’s also fantastic as a potluck side just watch it disappear.
If you’re feeling fancy, you can add cooked bacon bits or jalapeño slices on top before the panko. Or fold in some steamed broccoli for a veggie boost. The base recipe is so good that any addition just makes it more fun.
Frequently Asked Questions
Make this smoked gouda mac and cheese for your next gathering and watch it disappear. It’s the kind of dish that brings people to the table, makes them go quiet for a moment, then ask for seconds. And honestly? That’s the best compliment a cook can get. If you try it, I’d love to hear how it turned out. Drop a comment or share your photos nothing makes me happier than seeing this recipe come to life in your kitchen.
Source: Nutritional Information