
Why This Recipe Works
It’s 5:47pm and you’re staring into the fridge like it owes you money. Sound familiar? That’s exactly when these miso chicken thighs save the weeknight. They’re fast enough for a Tuesday, shiny and sticky with a caramelized glaze, and they taste like something you’d order at your favorite Japanese spot.
Miso isn’t scary. Honestly, I had no idea what to do with it when I first bought a tub. Think of miso as salty, savory peanut butter for grown-ups. You stir it into broths, dressings, and sauces, and it melts into this deep, nutty umami flavor that makes chicken taste like it’s been cooking for hours.
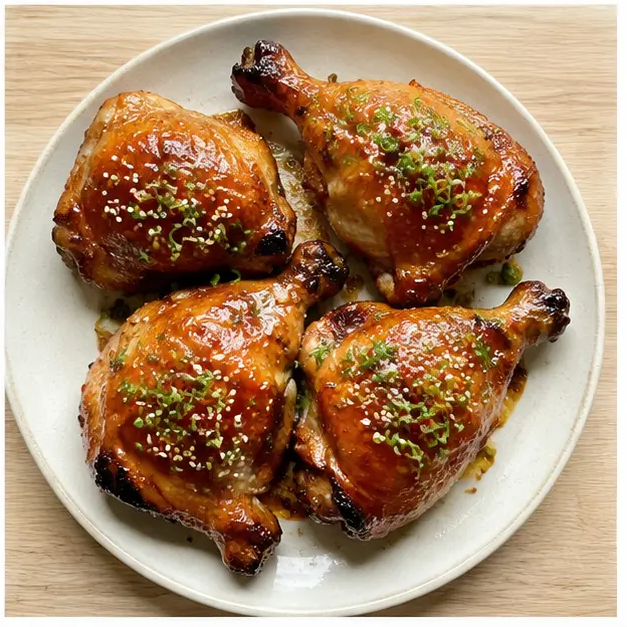
The secret here is a little baking powder on the skin. It dries the surface out as it bakes, so you get crackly, crisp skin without any deep frying. And the glaze? A mix of miso paste, brown sugar, soy sauce, and ginger. It bubbles up into deep amber edges and turns sticky and glossy. That salty-sweet miso smell fills the kitchen, and you’ll be proud of what’s about to hit the table.
Plus it’s August. The last thing I want to do is babysit a hot oven next to a stove when it’s 95°F outside. These miso chicken thighs take one sheet pan and about 30 minutes, then you can get back to the patio.
Ingredients & Substitutions
You probably have most of these already. The ingredient list looks long at first, but it’s mostly pantry heroes. The bone-in, skin-on chicken thighs are the backbone. They stay juicy through a hot oven, and the skin crisps up beautifully.
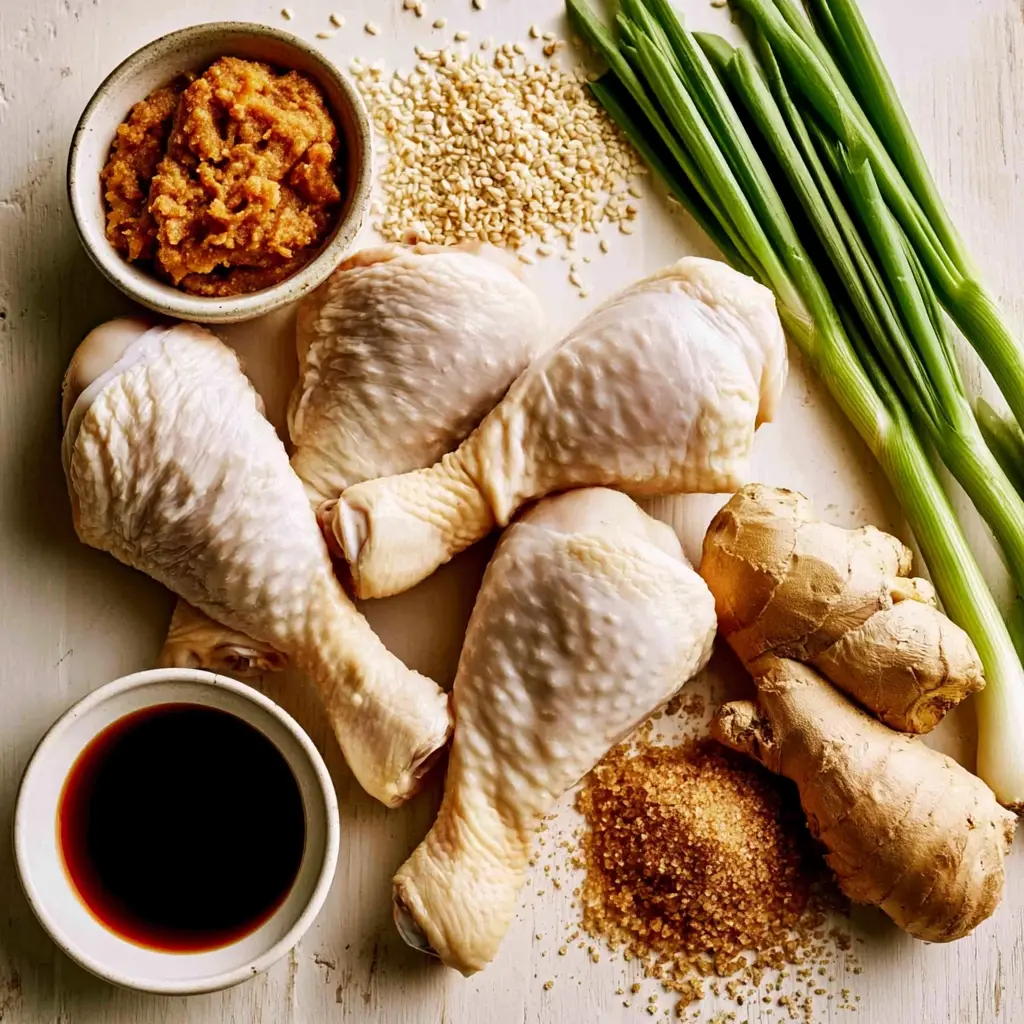
What Is Miso?
Miso is fermented soybean paste. It’s salty, deeply savory, and comes in different colors. It’s gluten-free when made with just soybeans and rice, but always double-check the label if that matters to you. The kind you grab matters less than you think.
- White miso (shiro) is mellow, slightly sweet, and the easiest entry point.
- Red miso (aka) is bolder, saltier, and more intense.
For this recipe, go with white miso if you want a mild, balanced glaze. Red miso works too, but use a little less. It’s salty. Darker miso equals stronger flavor. A bad swap means an overly salty batch, so start with 2 tablespoons if you’re using red.
Gluten-free tamari or soy sauce both work. If you only have regular soy sauce, that’s fine. Use whatever is in your fridge. Brown sugar adds that sticky caramel sweetness, and fresh ginger gives it a bright, warm kick. If you only have ginger powder, use about a teaspoon. Not gonna lie, fresh is better.
How to Make Miso Chicken Thighs
The method here is simple: dry the chicken, coat it, bake it, brush it. Let’s walk through the four stages so you understand what’s happening at each point.
Oven Method
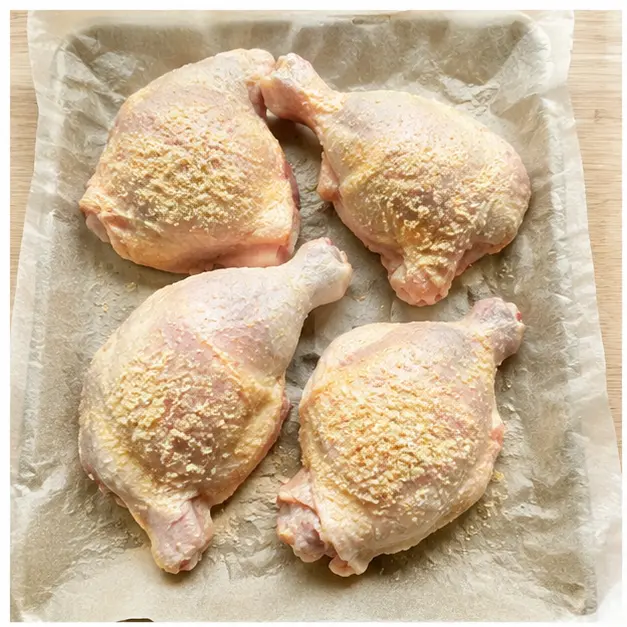
Stage 1: Prep the Chicken. Pat those thighs completely dry with paper towels. This is non-negotiable. Wet skin won’t crisp, and the baking powder needs a dry surface to work its magic. Toss the chicken in baking powder, onion granules, and garlic granules. You want each piece evenly coated, as if you’re dusting a cake pan with flour.
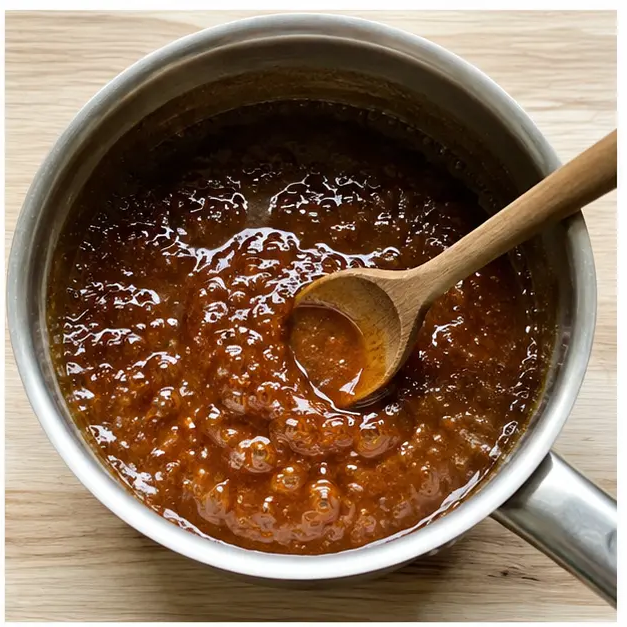
Stage 2: Make the Glaze. While the oven preheats, throw the miso, water, brown sugar, rice vinegar, tamari, ginger, red pepper flakes, and black pepper into a small saucepan. Bring it to a boil, then let it simmer until it thickens, 7 to 10 minutes. Stir it often. The glaze will go from watery to syrupy and cling to a spoon like honey. That’s when you know it’s ready.
Stage 3: Bake and Glaze. Get your sheet pan ready with a wire rack. Arrange the chicken skin side up with space between each piece. Bake at 400°F for 20 minutes. Then brush the glaze over both sides. This is the fun part. The glaze sizzles and seeps into the nooks and crannies. Back in the oven for another 15 minutes, or until the chicken hits 165°F on an instant-read thermometer.
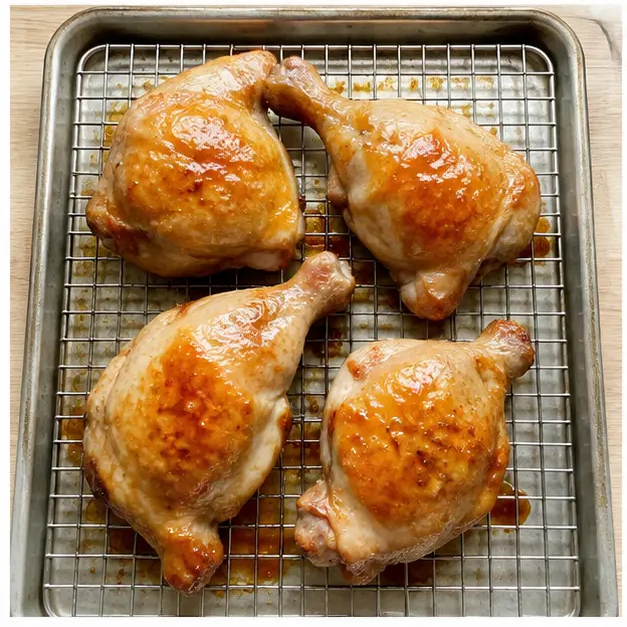
Stage 4: Broil and Finish. If you want that extra crackle, switch the oven to broil for the final 1 to 2 minutes. Watch it like a hawk. Sugar burns fast. Pull the pan when the edges look dark amber and slightly charred. Brush with the remaining glaze, then pile on toasted sesame seeds and sliced green onions.
Air Fryer Instructions
I get it, air fryer enthusiasts. You can adapt these miso chicken thighs, but I’ll be honest: the sugar-heavy glaze burns fast in an air fryer. If you try it, do a quick basket at 375°F, check every 5 minutes, and don’t walk away. The oven method with a wire rack is still my favorite for the crispiest, most even skin.
Tips for the Best Miso Chicken Thighs
These little tricks are the difference between good and wait, you made this?
- ❌ Mistake: Skipping the paper towel step.
✅ Solution: Pat the chicken dry, then pat it again. Dry skin equals crispy skin. - ❌ Mistake: Using baking soda instead of baking powder.
✅ Solution: Baking soda changes the texture and flavor. Stick to baking powder. - ❌ Mistake: Walking away from the broiler.
✅ Solution: Set a timer and stay close. Sugar glazes go from golden to burnt in seconds. - ❌ Mistake: Not checking the internal temperature.
✅ Solution: Use a meat thermometer. 165°F is the magical number for juicy, safe chicken. - ❌ Mistake: Marinating too long in miso.
✅ Solution: Miso tenderizes chicken like a gentle hug, but leave it too long and it turns into mush. I promise, 30 minutes is plenty.
Honestly, if you nail the drying and the temperature, you’ll be stunned by how restaurant-quality it feels. Those broiled chicken thighs with the sticky chicken glaze become the star of your weeknight rotation.
Miso Chicken Thigh Variations
These miso chicken thighs are a great base to play with. Here are some flexible swaps:
- Use chicken breasts in place of thighs, but cut the cooking time and rely on the thermometer.
- Use drumsticks or whole legs. They’ll take a slightly different time, so check for 165°F at the thickest part.
- Replace brown sugar with honey or maple syrup if that’s what you have.
- Swap rice vinegar for lime juice for a brighter edge.
- Add a pinch more crushed red pepper for heat, or dial it back for little ones.
- Want more sesame? Sprinkle extra toasted sesame seeds on top.
- For a soy-free version, use coconut aminos instead of tamari.
Just remember: any change to the sweet or salty balance means the glaze will taste slightly different. Taste it before brushing and adjust with a pinch of salt or a little extra sugar.
Storage and Reheating
Leftover miso chicken thighs keep in an airtight container in the fridge for 3 to 4 days. Let the chicken cool to room temperature before you seal it up. To bring back that crispy skin, reheat on a baking sheet in a 350°F oven for about 15 minutes. Skip the microwave unless you’re in a serious hurry. It makes the skin soggy and limp.
If you want to prep ahead, you can make the glaze up to 3 days in advance. It’ll stay fine in a jar in the fridge. You can even freeze raw coated chicken in a freezer bag for up to 3 months. Thaw in the fridge overnight, then bake as directed.
Serving Suggestions
These miso chicken thighs are made for a big bowl of steamed rice. The salty-sweet glaze gets all over the rice, which is honestly the best part. For a fresh contrast, add a crisp cucumber salad with rice vinegar and sesame seeds. Edamame or a quick green bean stir fry on the side rounds out the plate without heavy carbs.
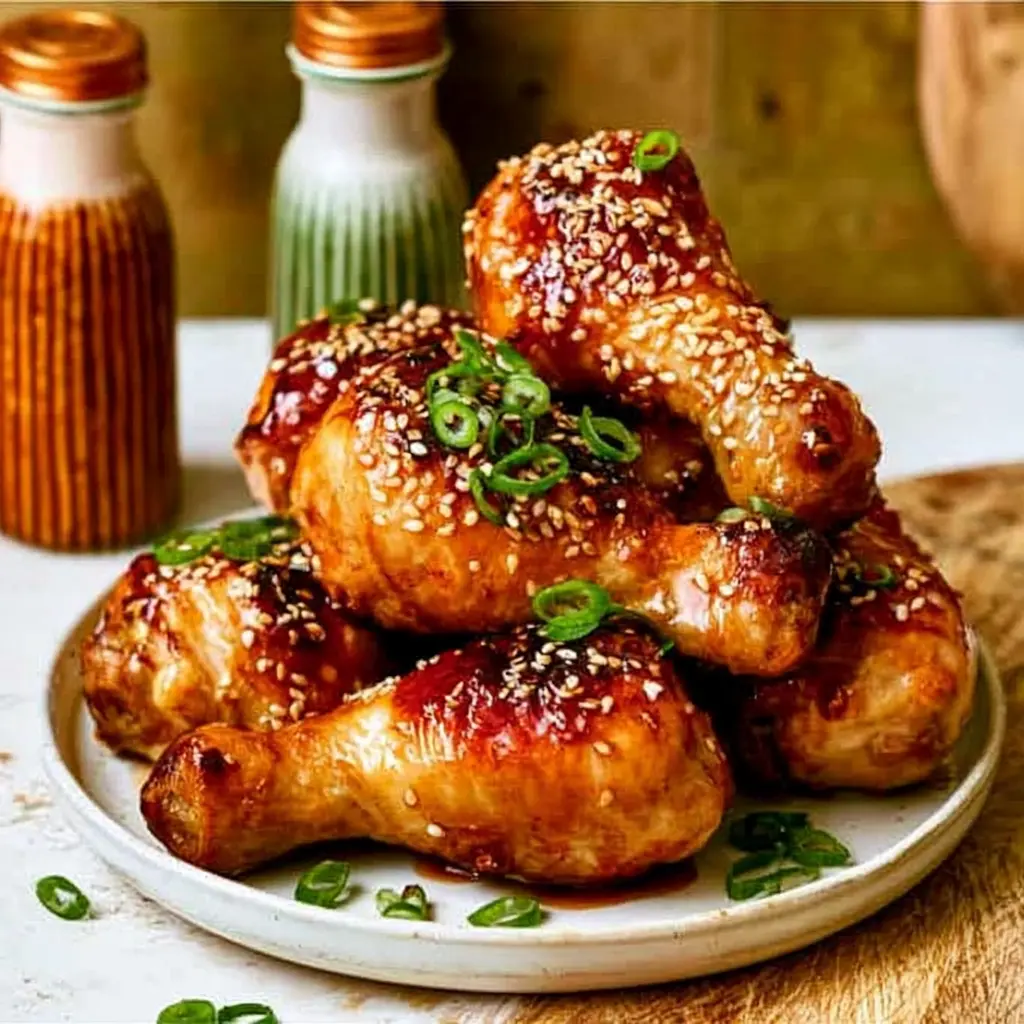
If you’re in a summer mood, serve them with corn on the cob or a cold noodle salad. They’re also amazing over a green salad cold the next day. Basically, you do you. Just don’t skip the rice. I promise it’s worth it.
This easy Japanese chicken recipe has become one of those go-to dinners I use when I need a win. The kid eats it. The dog is suspicious but interested. And everyone at the table actually wants seconds. It’s way better than takeout and half the price. A true sheet pan chicken dinner that feels like a treat.
If you’re looking for more weeknight heroes, follow me on Pinterest for all my grab-and-dinner ideas.
Crispy Glazed Miso Chicken Thighs with Ginger and Sesame
Ingredients
Method
- Heat the oven to 400°F. Line a large sheet pan with foil or parchment, set a wire rack on top, and spray the rack with nonstick oil.
- In a small saucepan, combine the water, miso paste, brown sugar, rice vinegar, tamari, ginger, red pepper flakes, and black pepper. Bring to a boil over high heat, then lower the heat and simmer until thickened, 7 to 10 minutes, stirring often. Set aside.
- Pat the chicken thighs completely dry with paper towels.
- In a large bowl, stir together the baking powder, onion granules, and garlic granules. Add the chicken thighs and toss until every piece is evenly coated.
- Arrange the chicken thighs on the prepared rack, skin side up and with space between each piece. Bake for 20 minutes.
- Brush half of the glaze over both sides of the chicken. Return the pan to the oven and bake until the thighs are cooked through and reach 165°F on an instant-read thermometer, about 15 more minutes.
- For extra crackle, switch the oven to broil for the final 1 to 2 minutes, watching closely so the glaze doesn't burn.
- Take the chicken out of the oven and brush with the remaining glaze.
- Scatter with toasted sesame seeds and sliced green onions, then serve hot.
Nutrition
Notes
Tried this recipe?
Let us know how it was!Frequently Asked Questions
Source: Learn More About This Dish