Classic Key Lime Pie with California Twist
Ingredients
Method
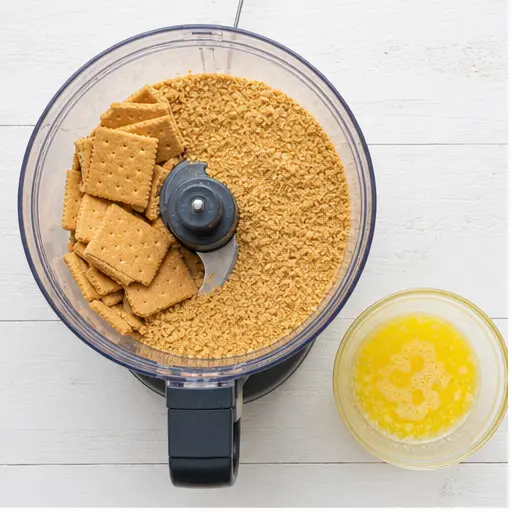
- Preheat your oven to 350°F. In a food processor, pulse the graham crackers until they form fine crumbs. Add the melted butter and pulse until combined. If you don't have a food processor, place the crackers in a zip-top bag and crush them with a rolling pin, then mix with melted butter in a bowl.
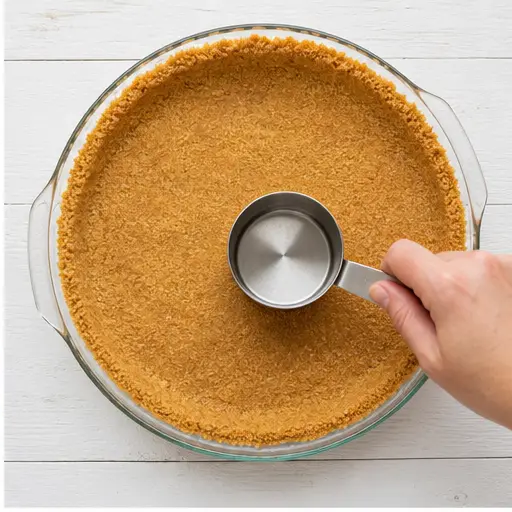
- Press the crumb mixture firmly into a 9-inch pie pan, using the back of a measuring cup or a small glass to compact it evenly. Bake for 8 minutes, then set aside to cool.
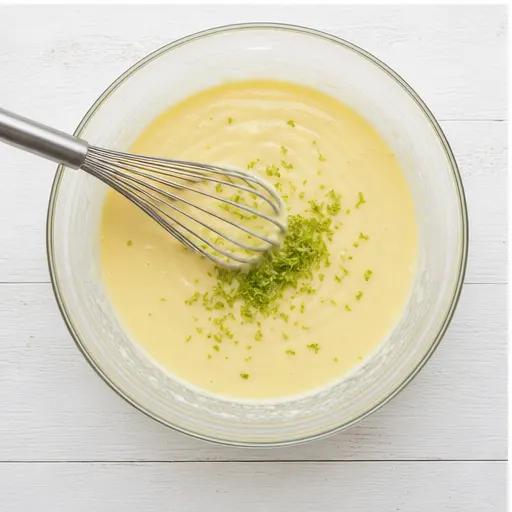
- In a medium bowl, whisk together the sweetened condensed milk, egg yolks, key lime juice, lime zest, and sour cream until smooth. Pour the filling into the cooled crust and bake for 10 minutes.
- Allow the pie to cool to room temperature, then refrigerate for at least 4 hours, or overnight, to set completely.
- Just before serving, whip the heavy cream in a large bowl until soft peaks form. Gently fold in the powdered sugar. Pipe or dollop the whipped cream over the chilled pie. Slice and serve.
Nutrition
Notes
Tried this recipe?
Let us know how it was!Why This Key Lime Pie Works
I’ll be honest with you the first key lime pie I ever made was a disaster. The filling curdled, the crust was soggy, and it looked more like scrambled eggs in a sandbox than the beautiful, creamy dessert I’d dreamed of. But that failure taught me everything I needed to know about getting it right.
This recipe is the result of all those lessons. It’s the best key lime pie I’ve ever made, and it’s surprisingly simple. The secret? A few key techniques like sour cream for extra creaminess, a pre-baked crust for crunch, and a short bake time that keeps the filling silky. You don’t need a special trip to the grocery store, and you definitely don’t need any fancy equipment. Just a bowl, a whisk, and a pie pan.
What you get is a dessert that’s pure sunshine on a plate. Tart enough to make your jaw tingle, sweet enough to satisfy, and creamy enough to feel decadent. It’s the kind of pie that disappears at summer cookouts and makes people ask for the recipe before they’ve finished their slice.
Ingredients for Key Lime Pie
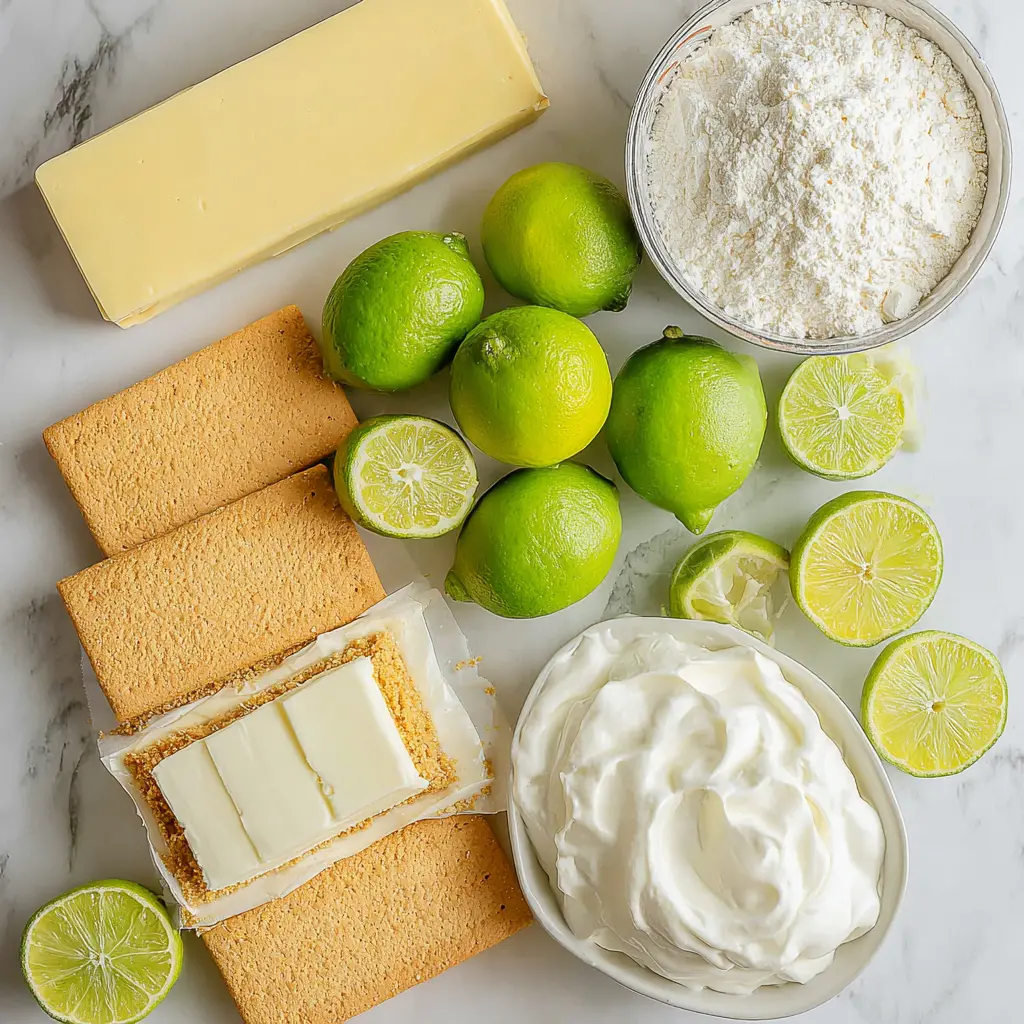
This key lime pie recipe uses just a handful of ingredients, and each one plays a specific role. Here’s what you’ll need:
- Graham crackers 12 sheets (about 1 ½ cups of crumbs). They give the crust that classic sweet, sandy texture.
- Salted butter 6 tablespoons, melted. If you only have unsalted, add a pinch of salt to the crumbs.
- Sweetened condensed milk 2 cans (14 oz each). This is non-negotiable. It’s the base of the filling and provides sweetness and structure.
- Egg yolks 2 large. They help thicken the filling and give it richness. Save the whites for another use.
- Sour cream ½ cup. This is my secret ingredient. It adds tang and makes the filling extra creamy without making it too dense.
- Key lime juice ¾ cup, freshly squeezed if possible. Bottled works great too (more on that below).
- Lime zest 1 teaspoon, for bright citrus flavor.
- Heavy cream 1 ½ cups, cold. For the homemade whipped cream topping.
- Powdered sugar ⅓ cup, to sweeten the whipped cream.
That’s it. No weird ingredients, no complicated steps. Just simple, real food that comes together beautifully.
How to Make Key Lime Pie
Making this key lime pie is easier than you think. I’ll walk you through each stage so you can see exactly what to look for. Trust me, you’ve got this.
Graham Cracker Crust
Start with the crust because it needs a quick pre-bake. Pulse the graham crackers in a food processor until they’re fine crumbs. If you don’t have one, put them in a zip-top bag and crush them with a rolling pin it’s a great arm workout. Add the melted butter and pulse (or stir) until it looks like wet sand.
Press the mixture firmly into a 9-inch pie pan. I like to start with the sides, then do the bottom. Use the back of a measuring cup to really compact it. Bake at 350°F for 8 minutes, then set it aside to cool. This pre-bake is crucial it keeps the crust crisp and prevents sogginess.
3-Ingredient Filling (Well, 4 With Sour Cream)
In a medium bowl, whisk together the sweetened condensed milk, egg yolks, key lime juice, lime zest, and sour cream. Whisk until smooth it should be a pale, creamy yellow. Don’t overmix, just get it combined. The mixture will thicken slightly as the acid in the lime juice reacts with the condensed milk. That’s normal.
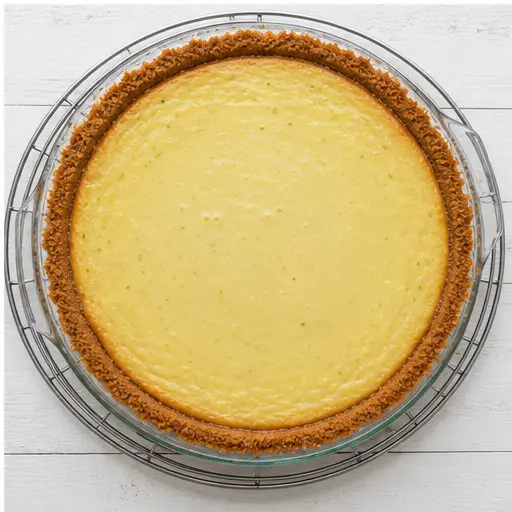
Pour the filling into the cooled crust. It should fill the pan almost to the top. Bake for just 10 minutes. Yes, only 10 minutes. The filling should still jiggle slightly in the center when you pull it out. It will set completely as it cools and chills.
Cooling and Chilling
Let the pie cool to room temperature on a wire rack. This usually takes about an hour. Then cover it loosely with plastic wrap and refrigerate for at least 4 hours, but overnight is even better. The longer it chills, the cleaner your slices will be.
Homemade Whipped Cream
Just before serving, make the whipped cream. In a large bowl, whip the cold heavy cream until soft peaks form. Gently fold in the powdered sugar. Don’t overwhip you want it light and fluffy, not butter. Pipe or dollop it over the chilled pie.
How to Tell When Key Lime Pie Is Done
Here’s the thing about key lime pie it’s easy to overbake it, and that’s when the filling gets firm and loses its silky texture. You want to pull it out when the center still has a slight jiggle, like a gentle wobble. The edges should be set and the filling should look matte, not shiny.
A good visual cue: when you gently shake the pie pan, the center should move like a wave, but the outer inch or so should be firm. It will continue to set as it cools. If you bake it until the whole thing is solid, you’ll end up with a dense, almost rubbery texture. Trust the jiggle.
How to Decorate and Serve
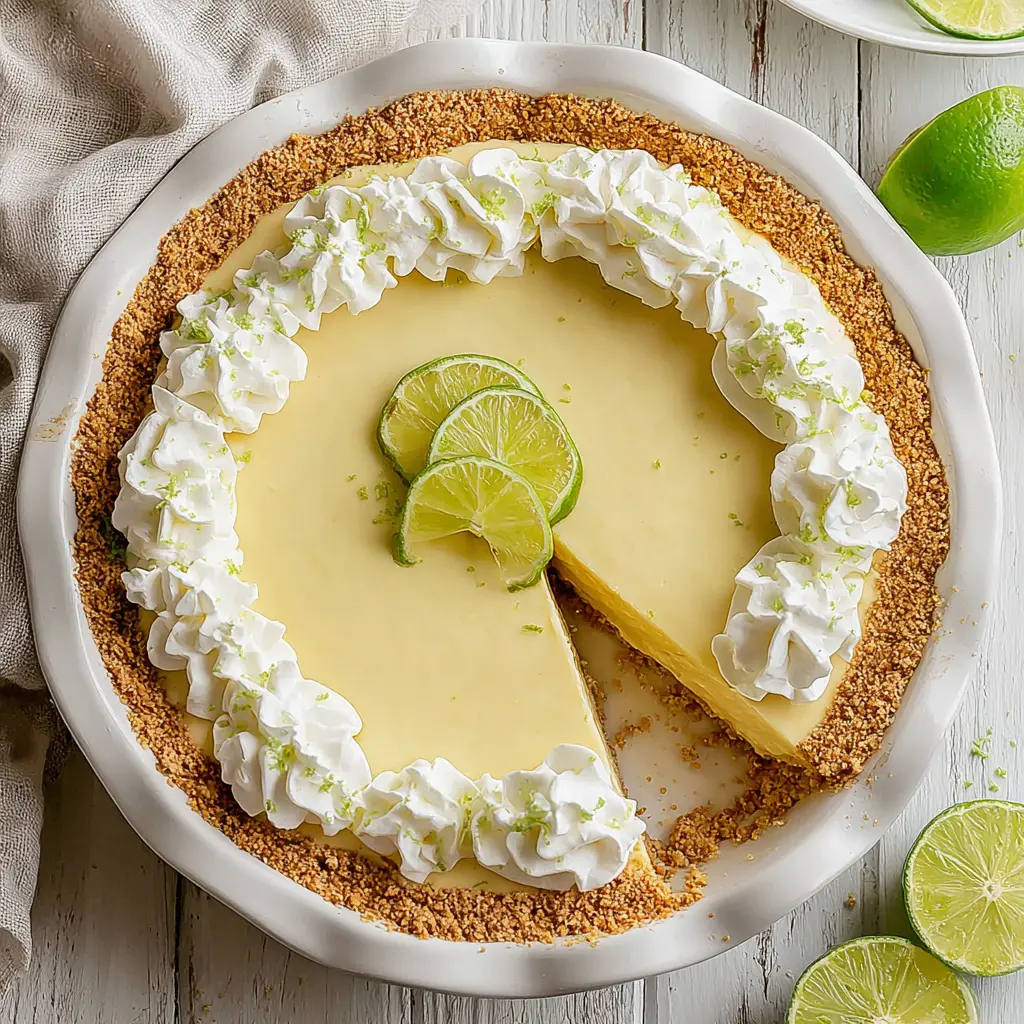
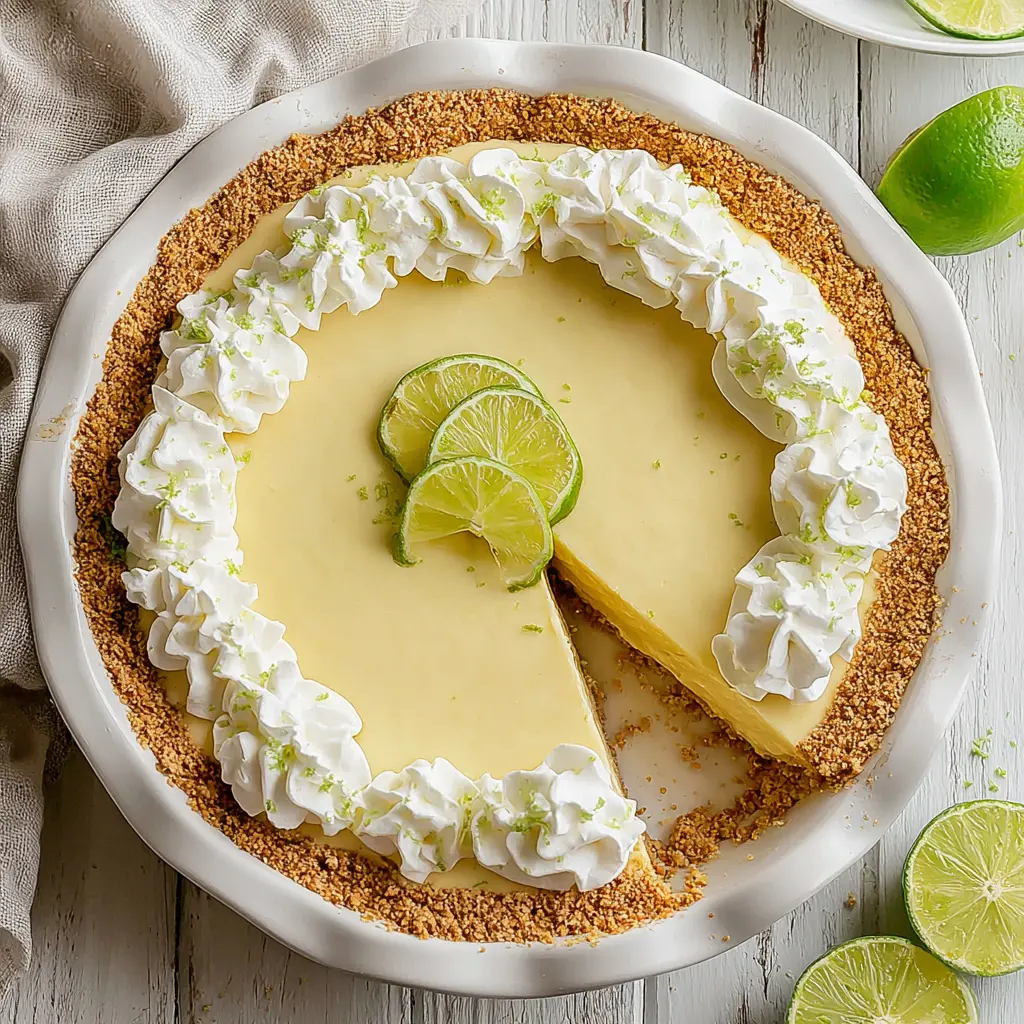
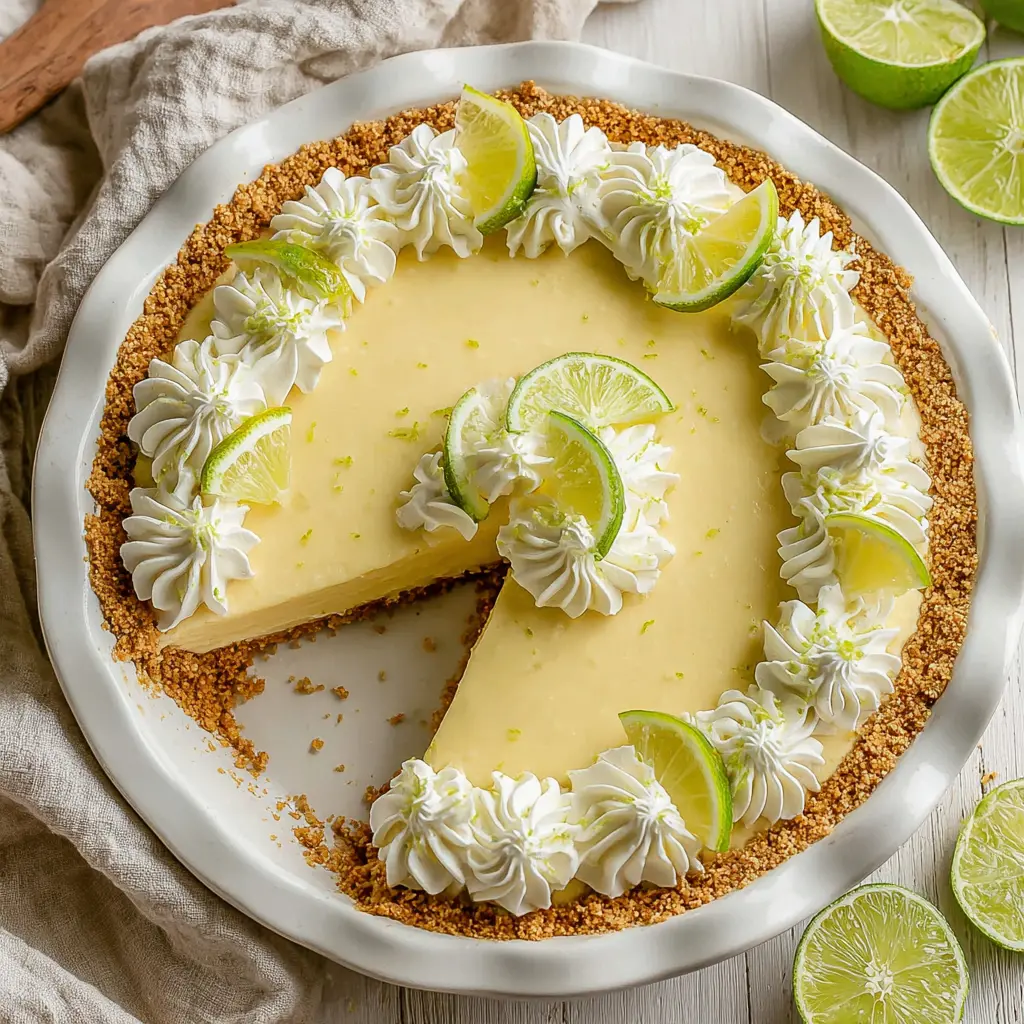
This is the fun part. A dollop of homemade whipped cream is classic, but you can get creative. Pipe it in rosettes for a fancy look, or just spoon it on for a casual vibe. Add a sprinkle of lime zest on top for color and a burst of fresh flavor. Thin lime slices make a beautiful garnish too.
For serving, use a sharp knife and wipe it clean between slices for the neatest cuts. This pie is perfect on its own, but it also pairs beautifully with fresh berries or a light raspberry sauce if you’re feeling extra.
Storage and Make-Ahead Tips
This key lime pie is a dream for make-ahead desserts. You can bake it a day in advance (without the whipped cream) and keep it covered in the fridge. Add the whipped cream just before serving for the best texture.
Leftovers? Store them covered in the fridge for up to 3 days. The crust might soften slightly, but the flavor will still be fantastic. You can also freeze the pie (without whipped cream) for up to a month. Wrap it tightly in plastic wrap and foil, then thaw in the fridge overnight before serving.
Common Key Lime Pie Mistakes
I’ve made all of these mistakes so you don’t have to. Here’s how to avoid them:
- ❌ Mistake: Over-baking the pie. ✅ Solution: Pull it out when the center is still slightly jiggly. The residual heat will finish the job.
- ❌ Mistake: Not pressing the crust firmly enough. ✅ Solution: Use a flat-bottomed measuring cup to really compact the crumbs. A loose crust will crumble when you slice.
- ❌ Mistake: Skipping the refrigeration time. ✅ Solution: Chill for at least 4 hours, preferably overnight. The pie needs time to set properly.
- ❌ Mistake: Using bottled juice that’s old or low-quality. ✅ Solution: Fresh key lime juice is best, but if using bottled, go with Nellie & Joe’s it’s the most reliable brand.
Frequently Asked Questions
Make this for your Fourth of July cookout and watch it disappear. Seriously, it’s that good. And if you want to save this recipe for later, pin it to your summer desserts board on Pinterest.
Source: Nutritional Information