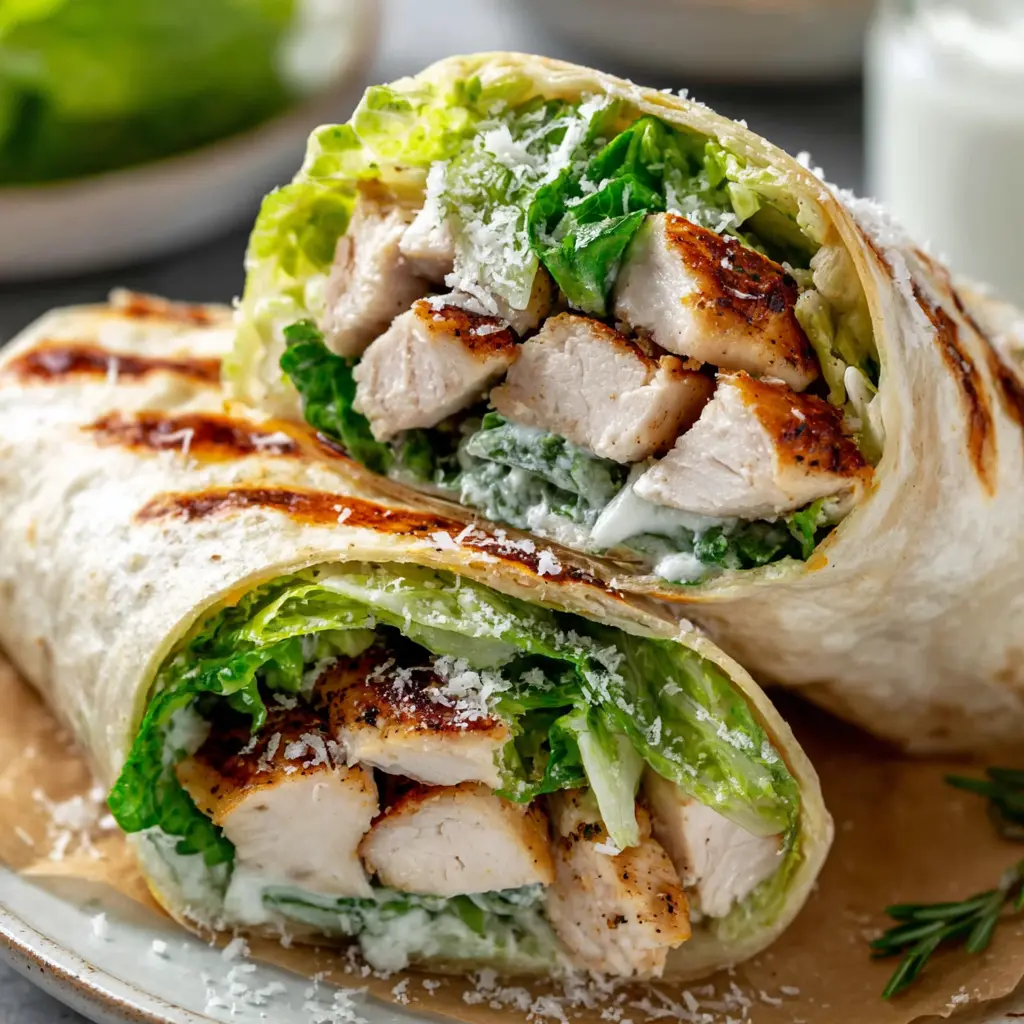
Why These Grilled Chicken Caesar Wraps Work
You know that feeling. It’s a Saturday morning in July, the cooler’s half-packed, and you’re staring at a sad loaf of bread thinking, there has to be something better than soggy sandwiches. I’ve been there. Actually, I’ve been there with a beach bag full of wraps that turned into a wet, sad mess by the time we hit the sand. Not my finest moment.
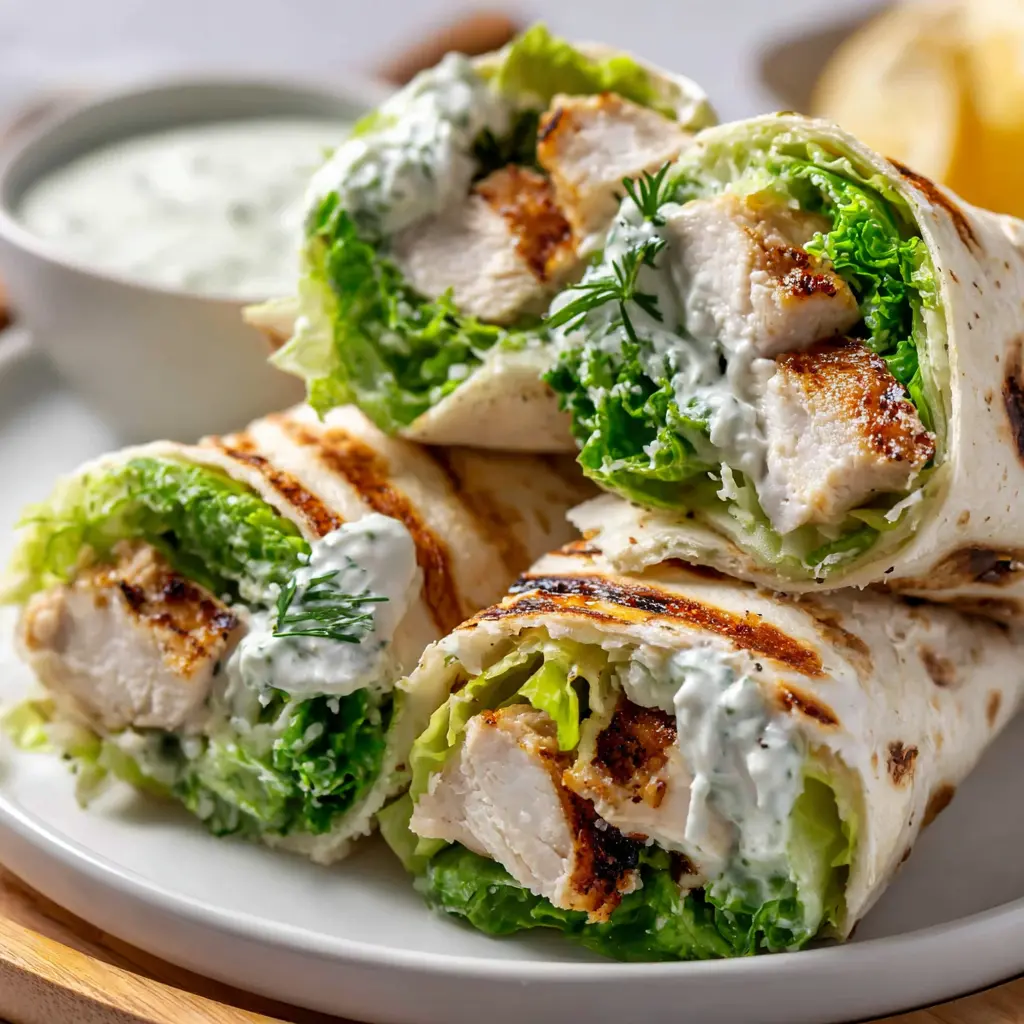
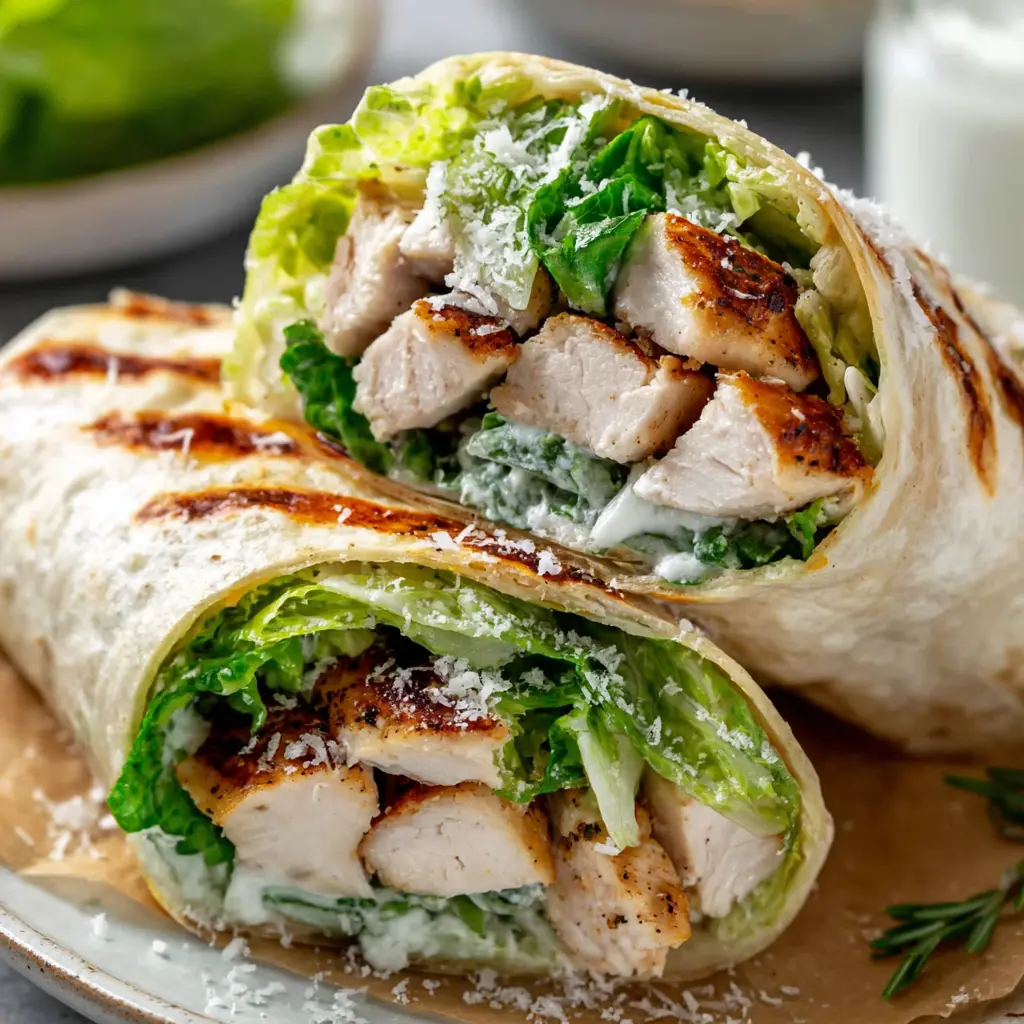
But these grilled chicken caesar wraps? They’re different. They’re the kind of portable lunch that actually makes you excited to eat. Think about it smoky grilled chicken, crisp romaine, shaved Parmesan, and that creamy dressing all wrapped up in a golden-brown tortilla. That first bite where the crunch meets the creaminess? Yeah, it’s all happening.
What makes these wraps work is the technique. I’m not just throwing stuff in a tortilla and hoping for the best. Every step from how I grill the chicken to how I layer the ingredients is designed to keep things crisp, flavorful, and portable. No sogginess. No dry chicken. Just pure, delicious chaos in wrap form.
And honestly? They’re perfect for beach lunches, July 4th picnics, or just a Tuesday when you need something better than a sad desk salad. Trust me on this.
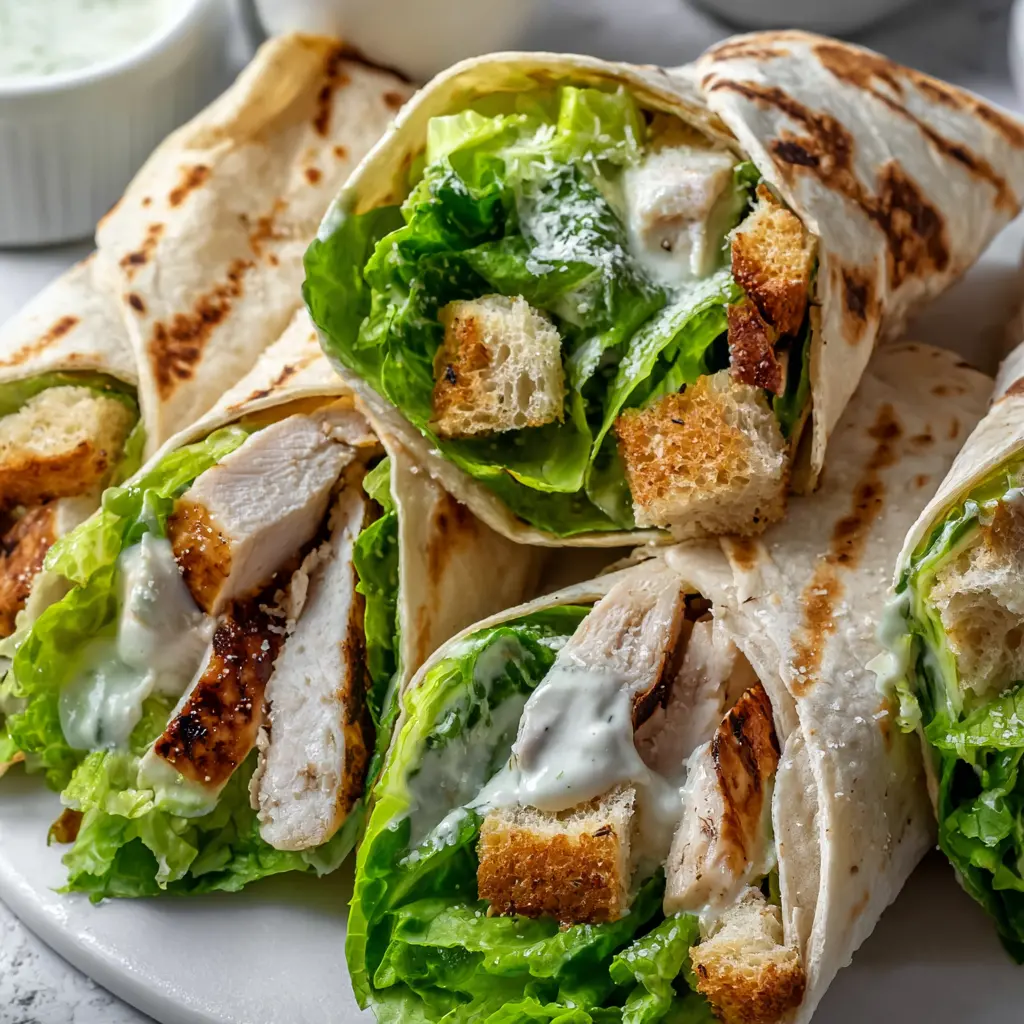
Key Ingredients for the Best Wraps
Let’s talk ingredients. I’m a firm believer that great food starts with what you put in it. And for these grilled chicken caesar wraps, every component pulls its weight. Here’s what you need and why it matters:
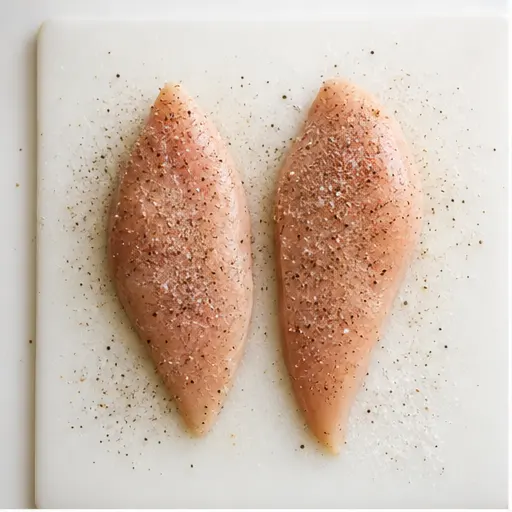
- Boneless skinless chicken fillets The star. You want them about 1 pound total, and pat them dry before seasoning. Wet chicken doesn’t sear well, and we want that golden crust.
- California olive oil Just a tablespoon for searing. It adds a subtle fruitiness that complements the smoky chicken.
- Kosher salt and black pepper Simple seasoning that lets the chicken shine. Don’t skimp on the salt; it helps create that crust.
- Romaine lettuce Four cups, chopped. The crunch factor. But here’s the thing: you need to dry it thoroughly after washing. Wet lettuce is the enemy of a good wrap.
- Shaved Parmesan cheese A third of a cup. Real Parmesan, not the stuff in a green can. The nutty, salty flavor is irreplaceable.
- Rustic sourdough croutons One cup, lightly crushed. This is my secret weapon. The crunch adds texture, and crushing them prevents them from poking holes in your tortilla.
- Creamy Caesar dressing Half a cup. Store-bought is totally fine. We’re not judging here; we’re here for tasty.
- Soft white flour tortillas Four large burrito-size ones. You need the size to fit all that goodness inside.
Pro tip: Warm your tortillas slightly before filling them. It makes them more pliable and less likely to tear. I just pop them in the microwave for 10 seconds or warm them in a dry skillet.
Tips for Perfect Grilled Chicken
Okay, let’s get real about the chicken. This is where most people mess up. You either end up with dry, rubbery chicken or undercooked chicken that’s sketchy for a beach lunch. Neither is good.
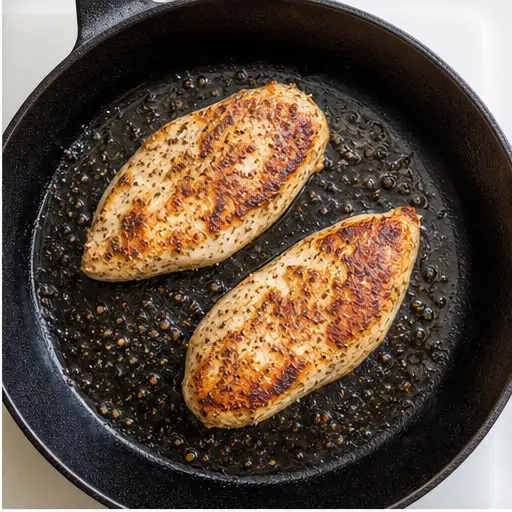
Here’s the thing about grilling chicken for these wraps: it’s all about the sear and the rest. I heat my heavy skillet over medium-high heat with that tablespoon of California olive oil. Once it’s hot like, shimmering hot I add the seasoned chicken. You should hear that satisfying sizzle. That’s the sound of flavor happening.
Sear each side for 5-6 minutes. You’re looking for a deep golden-brown crust. That crust isn’t just for looks; it locks in moisture and adds that smoky flavor that makes these wraps sing. The internal temperature should reach 165°F. If you don’t have a thermometer, you can check by cutting into the thickest part the juices should run clear, and there should be no pink.
But here’s the step most people skip: let the chicken rest for 5 minutes after cooking. I know, you’re hungry. But if you slice it immediately, all those juices run out onto the cutting board instead of staying in the meat. Rest it, then slice into thick strips. Trust me, this one step makes a huge difference.
For beach meal prep, you can grill the chicken a day ahead. Just let it cool completely before storing it in an airtight container in the fridge. Cold chicken slices beautifully for wraps.
How to Assemble Wraps Without Tearing
This is where the magic happens. Or where things go horribly wrong. I’ve had wraps that looked like a tortilla exploded in my hands. Not cute. But with a few tricks, you’ll be rolling like a pro.
First, don’t overfill. It’s tempting to pile on the goods, but a stuffed wrap is a torn wrap waiting to happen. Spoon the dressed salad onto the lower-middle of each tortilla, then top with sliced chicken. You want a nice even layer, not a mountain.
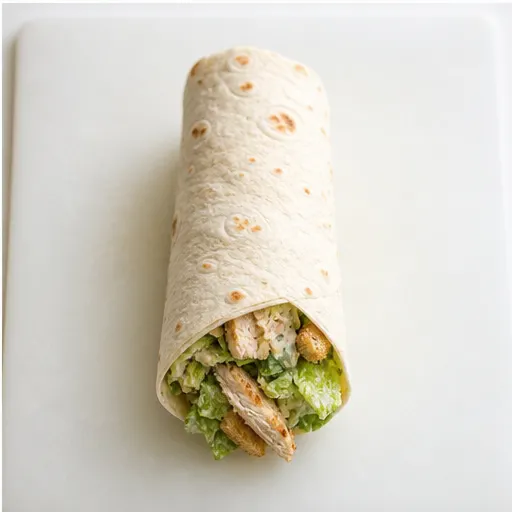
The wrapping technique is simple but specific. Fold the left and right sides inward first. This creates a pocket that keeps everything from falling out the ends. Then roll tightly from the bottom up, tucking as you go. Think of it like rolling a burrito firm but gentle.
After rolling, toast the wraps seam-side down in a dry skillet over medium heat for 1-2 minutes per side. This does two things: it seals the seam so the wrap stays closed, and it gives you that gorgeous golden-brown exterior. The contrast between the warm, crispy tortilla and the cool, creamy filling is everything.
Cut in half on a diagonal. It looks prettier that way, and it’s easier to eat. Plus, you get to see those beautiful layers.
Common Mistakes to Avoid
❌ Overfilling the wrap → ✅ Use about ¾ cup of filling per tortilla. Leave room to fold and roll.
❌ Using wet lettuce → ✅ Dry romaine thoroughly with a salad spinner or paper towels. Wet lettuce makes dressing slide off and creates sogginess.
❌ Not distributing ingredients evenly → ✅ Spread chicken and salad across the entire width of the tortilla, not just in a clump in the middle.
❌ Skipping the toast step → ✅ That 1-2 minutes in a dry skillet seals the deal. Don’t skip it.
Variations and Substitutions
I get it. Not everyone eats the same way. Maybe you’re gluten-free, or you want to switch things up. These grilled chicken caesar wraps are surprisingly flexible. Here are some ways to customize them:
- Gluten-free option: Use gluten-free tortillas and make sure your Caesar dressing is certified gluten-free. Most store-bought dressings are, but check the label. Also, swap the sourdough croutons for a gluten-free version.
- Low-carb/keto: Skip the tortilla entirely and serve the filling over a bed of extra romaine. Or use large lettuce leaves as wraps. It’s basically a deconstructed Caesar salad with chicken.
- Add avocado: Diced California avocado adds creaminess and healthy fats. It’s a natural fit with the Caesar flavors.
- Swap the chicken: Use store-bought rotisserie chicken or leftover shredded cooked chicken for easy assembly. Or try air-fried chicken cutlets for a different texture.
- Add tomatoes: Slices of Roma tomato or halved cherry tomatoes add brightness and acidity. Just pat them dry first to avoid sogginess.
- Extra dressing for dipping: If you’re like me, serve with an extra serving of dressing on the side. It’s indulgent, but worth it.
These variations are great for making the recipe your own. The base stays the same, but you can adapt it to whatever you have on hand or whatever your family likes.
Make Ahead and Storage
Here’s the thing about meal prep for beach lunches: you can’t just assemble everything and hope it survives. Trust me, I learned this the hard way. My first attempt at make-ahead wraps was a soggy disaster. But I’ve figured out a system that works.
The key is storing components separately until you’re ready to eat. Here’s my make-ahead strategy:
- Grill the chicken up to 2 days ahead. Let it cool completely, then store in an airtight container in the fridge. Slice it just before assembling.
- Wash and dry the romaine up to 2 days ahead. Store it in an airtight container lined with a paper towel to absorb excess moisture. The paper towel is crucial.
- Make or buy the Caesar dressing up to 5 days ahead. Store in a jar or container in the fridge.
- Crush the croutons and store in a ziplock bag at room temperature.
- Shave the Parmesan and store in the fridge.
When you’re ready to eat, just toss the salad with dressing, warm the tortillas, and assemble. It takes 5 minutes. For beach trips, I pack everything in separate containers and assemble on the spot. No sogginess, no drama.
If you’ve already assembled the wraps, keep them refrigerated and eat within 24 hours. To reheat, put them in a dry skillet over medium heat for 2-3 minutes per side. They won’t be quite as crispy as fresh, but they’ll still be good.
What to Serve With These Wraps
These grilled chicken caesar wraps are pretty substantial on their own each one has about 485 calories, 38 grams of protein, and plenty of carbs to keep you going. But if you’re feeding a crowd or want a full picnic spread, here are some ideas:
- Fresh fruit: Watermelon slices, berries, or grapes. Something sweet and refreshing to balance the savory wraps.
- Potato chips: Classic, salty, and perfect for dipping. I love kettle-cooked chips for extra crunch.
- Coleslaw: A tangy, crunchy side that complements the Caesar flavors. Go easy on the dressing to keep things light.
- Grilled vegetables: Zucchini, bell peppers, or asparagus. Toss them on the grill while the chicken cooks.
- Extra dipping sauce: More Caesar dressing, obviously. Or try a lemon aioli for something different.
- Iced tea or lemonade: The perfect summer beverages. Cold, refreshing, and not too sweet.
For a July 4th picnic, I’d serve these wraps with watermelon salad, chips, and maybe some grilled corn on the cob. It’s a meal that feels special but doesn’t require hours in the kitchen.
Conclusion
These grilled chicken caesar wraps are everything I want in a summer lunch: smoky, creamy, crunchy, and portable. They’re the kind of recipe that makes you look like a hero at the beach or the picnic table, even though they come together in 30 minutes.
What I love most is how foolproof they are once you know the tricks. Dry the lettuce. Sear the chicken properly. Don’t overfill the tortilla. Toast it to seal the deal. Follow these steps, and you’ll never have a sad, soggy wrap again.
I’d love to see your versions of these wraps! Tag me on Pinterest when you make them. And if you have any questions, drop them in the comments. I’m always here to help you nail that perfect bite.
Save this recipe on Pinterest for your next beach trip!
Grilled Chicken Caesar Wraps with California Avocado
Ingredients
Method
- Pat the chicken breasts dry with paper towels. Season all over with kosher salt and black pepper.
- Heat the olive oil in a heavy skillet over medium-high heat. Sear the chicken for 5-6 minutes per side until a deep golden-brown crust forms and the internal temperature reaches 165°F.
- Transfer the chicken to a cutting board and let rest for 5 minutes. Slice into thick strips.
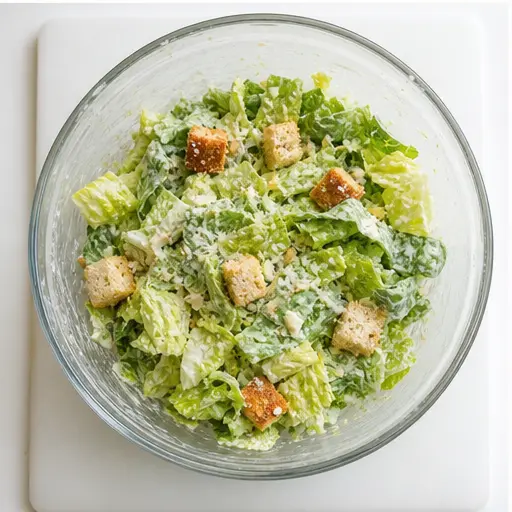
- In a large bowl, combine the chopped romaine, shaved Parmesan, and lightly crushed croutons. Drizzle with the Caesar dressing and toss well to coat.
- Warm the tortillas slightly. Spoon the dressed salad onto the lower-middle of each tortilla. Top with the sliced chicken.
- Fold the left and right sides of each tortilla inward, then roll tightly from the bottom up to form a secure wrap.
- Place the wraps seam-side down in a dry skillet over medium heat. Toast for 1-2 minutes per side until lightly golden. Cut in half and serve.
Nutrition
Notes
Tried this recipe?
Let us know how it was!Frequently Asked Questions
Source: Nutritional Information