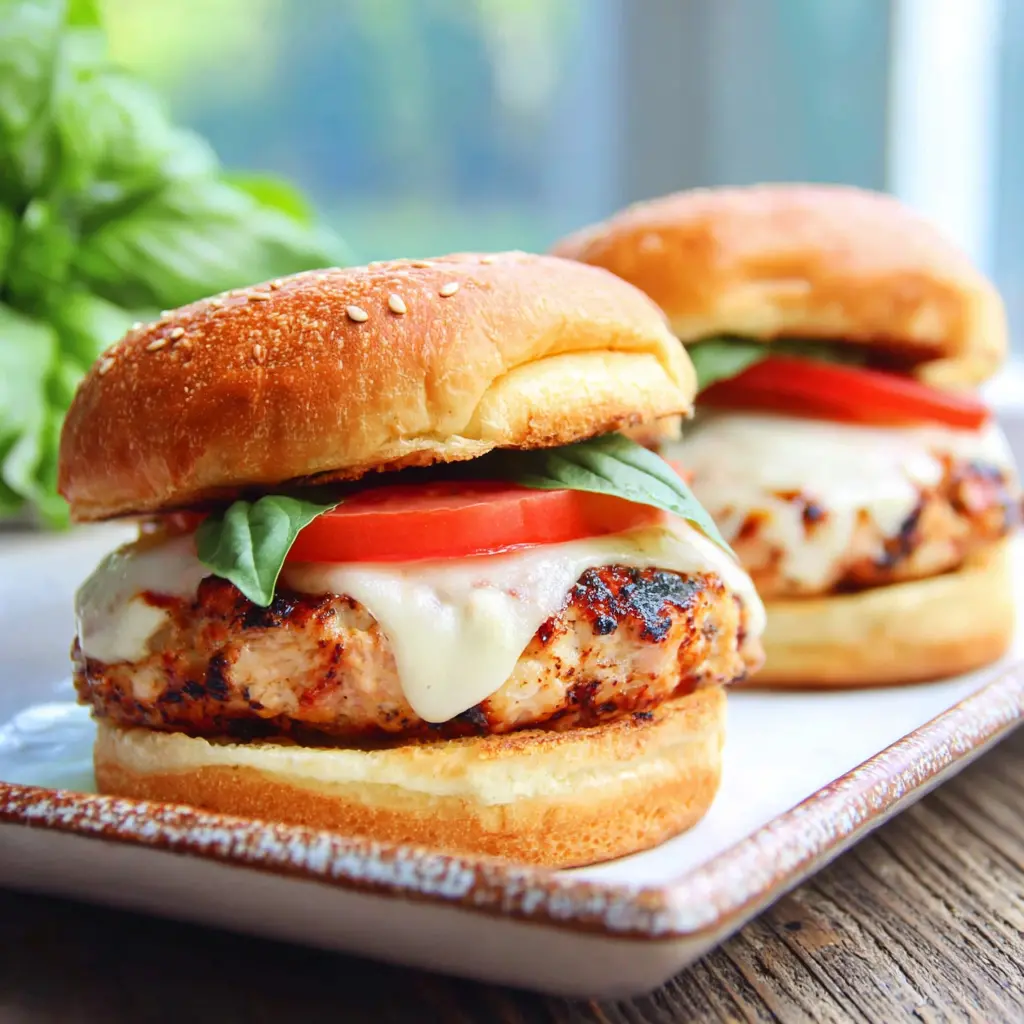

Chicken Piccata Recipe with Golden Meyer Lemon Butter Sauce
Ingredients
Method
- Slice each chicken breast horizontally into thin cutlets, then pound to an even 1/4 inch (6 mm) thickness. Season both sides with salt and black pepper.
- Dredge the cutlets in flour, shaking off the excess so each piece has a light, even coating.
- Heat the olive oil and 1 tablespoon of the butter in a large skillet over medium-high heat. Add the chicken in a single layer and cook until golden brown, 3 to 4 minutes per side. Transfer to a plate and set aside.
- Pour the wine into the same skillet and scrape up the browned bits from the bottom. Stir in the lemon juice and capers, then simmer until the liquid is reduced by half.
- Reduce the heat to low and whisk in the remaining 3 tablespoons of cold butter, one tablespoon at a time, until the sauce is glossy and smooth.
- Return the chicken to the skillet and turn it in the sauce to coat. Garnish with lemon wheels and chopped parsley before serving.
Nutrition
Notes
Tried this recipe?
Let us know how it was!What Is Chicken Piccata?
I used to only order chicken piccata at restaurants. I figured it was one of those French technique driven dishes that required a culinary degree. Turns out, no. It’s an Italian American weeknight staple, and it’s honestly one of the easiest things you can make on a busy Tuesday.
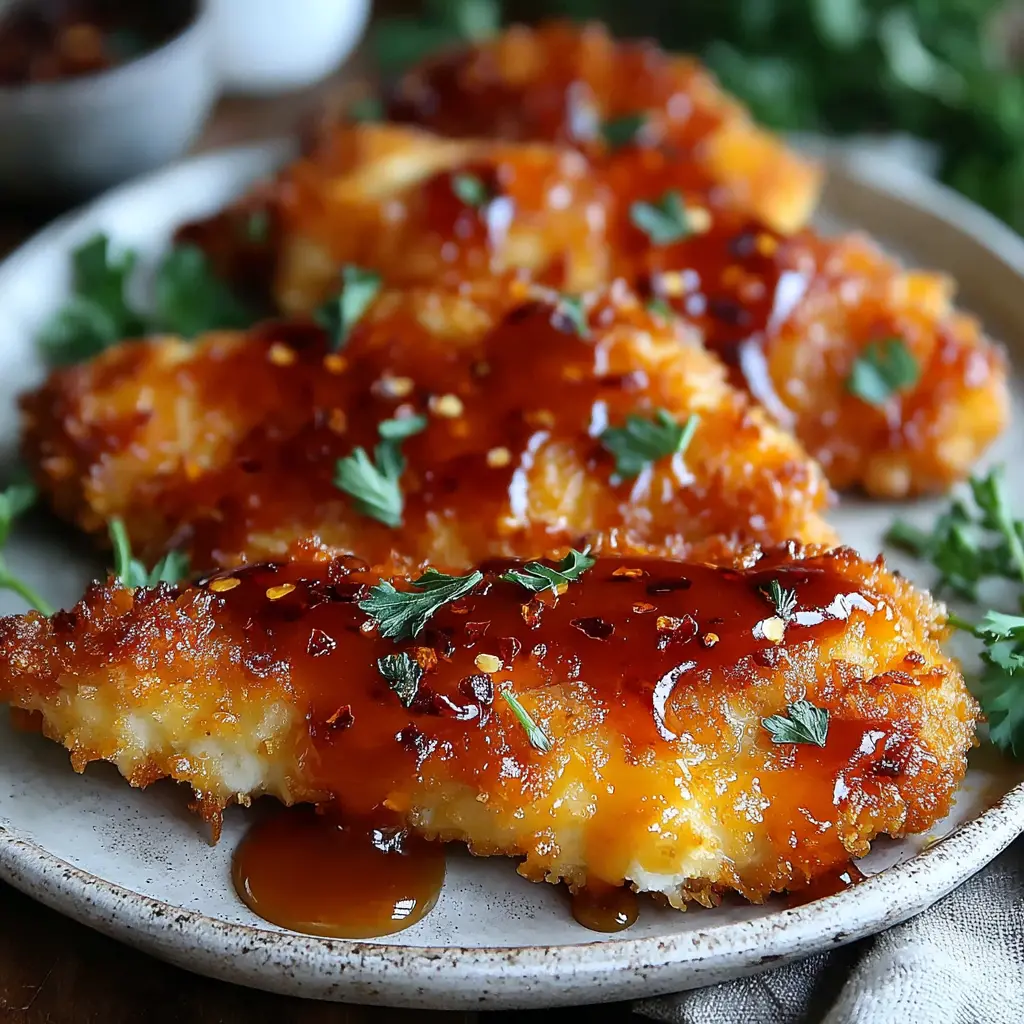
Chicken piccata is thin cutlets of boneless skinless chicken breast, dredged in flour, seared until golden, then finished in a bright lemon caper butter sauce. The sauce comes together in the same skillet in minutes. That’s why it’s become my go to when dinner needs to feel special but I have zero energy left.
Why This Chicken Piccata Recipe Works
This hit every mark. The chicken gets crispy golden on the outside, tender on the inside. The lemon caper sauce is glossy, tangy, and just rich enough from a few tablespoons of cold butter. And it all happens in about 30 minutes, from the first slice to the final garnish.
Here’s why I keep coming back to this exact version:
- One pan, minimal cleanup. You sear the chicken and build the sauce in the same skillet. No stack of dishes waiting for you after dinner.
- Simple technique, consistent results. Pounding the cutlets to an even 1/4 inch means they cook through fast and stay juicy, no dry edges.
- The sauce is forgiving. Even if you’ve never made a pan sauce before, the cold butter trick gives you a smooth, glossy finish nearly every time.
- Family approved. The kid who normally pushes lemon aside asked for seconds. The capers bring a briny pop, not fishiness, and the butter mellows everything out.
Chicken Piccata Ingredients and Substitutions

You only need a handful of ingredients, and most of them are probably in your kitchen right now. I like to shop at Ralphs or Vons, but Trader Joe’s and Whole Foods carry everything too.
- Boneless skinless chicken breast. Look for thinner cutlets at the store, or buy regular breasts and slice them yourself. That’s the base for quick, even cooking. If you have smaller breasts, around 6 ounces each, pound them gently to 1/2 inch thickness. If they’re larger, slice them crosswise first, then pound.
- All purpose flour. The light dredge gives you that golden, crispy crust and also helps thicken the sauce as it simmers.
- Unsalted butter. You’ll use a tablespoon for searing and a few cold pieces to mount the sauce. Keep the butter cold until the very end, that’s the secret to a silky texture.
- Fresh Meyer lemons. Meyer lemons are sweeter and more floral than regular lemons, which makes a softer, rounder sauce. Regular lemons work too. Just taste the sauce before serving and add a tiny pinch of sugar if it feels too sharp.
- Brined capers. These little green buds bring all that salty, briny personality. Drain them well before adding. If you’re not a caper person, you can swap in chopped green olives or artichoke hearts, or even a very small amount of finely chopped anchovy for depth.
- California olive oil. Use a good quality extra virgin olive oil for searing. It adds a slight fruitiness that plays well with the lemon.
- Fresh flat leaf parsley. Chop it right before serving. That hits of color and freshness make the whole dish look alive.
- Dry white wine. This is the classic deglazing liquid. Something dry and crisp like a Sauvignon Blanc or Pinot Grigio works perfectly. No wine on hand? Use low sodium chicken broth with an extra teaspoon of lemon juice. It’s not identical, but it’s genuinely delicious.
How to Make Chicken Piccata
The whole process is about sequence: prep, sear, sauce, finish. Let’s walk through each stage so you know exactly what you’re looking for in the pan.
Stage 1: Slice and Pound the Cutlets
Place each chicken breast flat on the cutting board. Hold it steady with one hand and slice horizontally into thin cutlets. Then cover with plastic wrap and gently pound to an even 1/4 inch (6 mm) thickness. I usually use the flat side of a meat mallet, but a rolling pin works fine too. This is non-negotiable for even cooking. If some parts are thicker, they’ll be dry while other parts are still raw.
After pounding, season both sides with salt and black pepper. Let them sit while you get the flour ready. You’ll see the difference in the pan: thin, even cutlets turn golden in about 3 minutes per side.

Stage 2: Dredge and Sear
Put the flour in a wide, shallow dish. Dredge each cutlet through the flour, shake off the excess, and lay it on a separate plate. You want a light, even coating. Too much flour turns gummy when it hits the sauce. Think of it as a dusting, not a crust.
Heat the olive oil and 1 tablespoon of the butter in a large skillet over medium high heat. You want the oil shimmering but not smoking. Add the chicken in a single layer. Please, don’t crowd the pan. If your skillet is small, cook in batches. Crowding causes steam, and steam means pale, rubbery chicken instead of crispy golden goodness.
Watch for the edges to turn opaque, then golden brown after 3 to 4 minutes. Flip once and cook another 3 to 4 minutes. The flour coating should look deeply golden and crunchy. Transfer the chicken to a plate and set it aside. You’re about to build the best part in the same pan.

Stage 3: Deglaze and Build the Sauce
Pour the dry white wine into the skillet while it’s still hot. It’ll hiss and bubble immediately, that’s the sound of dinner coming together. Use a wooden spoon to scrape up all those browned bits from the bottom. This step, called deglazing, pulls all the flavor that’s stuck to the pan into the sauce. Don’t skip it.
Stir in the fresh lemon juice and the drained capers. Let everything simmer until the liquid reduces by half. You’ll see the sauce thicken slightly around the edges. That concentration is what gives it body.
Now the magic move: reduce the heat to low and whisk in the remaining 3 tablespoons of cold butter, one piece at a time. The butter melts slowly and emulsifies into the sauce, creating a glossy, velvety texture. This is what makes the sauce cling to the chicken instead of just pooling underneath.

Stage 4: Return the Chicken and Glaze
Slide the seared cutlets back into the skillet. Turn each piece to coat it in the sauce. Let everything warm through for about a minute. The sauce will cling to that flour coating and soak into every little crevice.
To serve, arrange the chicken on a platter and spoon the extra lemon caper sauce over the top. Scatter chopped fresh parsley and a few thin lemon wheels over the dish. The parsley adds color and the lemon wheels look beautiful, plus they give the whole thing an incredible aroma at the table.

Pro Tips for the Best Chicken Piccata
Here are the small things that turn a good chicken piccata into a great one. Some of these I learned the hard way, so you don’t have to.
- Pound to an even thickness. It’s the single most important step. Even cutlets cook evenly and stay tender.
- Keep the butter cold. Cold butter, whisked in over low heat, gives the sauce a satiny finish. Warm butter can cause the sauce to break or look greasy.
- Don’t crowd the skillet. Give each piece room to brown. If you have to cook in batches, do it. It only adds a few minutes.
- Watch for flour scorching. If the pan gets too hot, the flour can turn bitter and dry. Keep it at medium high, not max heat.
- Taste before seasoning. Capers and caper brine are salty. Start with less added salt, then adjust at the end.
- If the sauce is too thin, let it simmer a little longer before adding the butter. It will thicken as it reduces.
- If the sauce splits, take the pan off the heat and whisk in a small piece of cold butter. It usually pulls back together.
- If the chicken sticks to the pan, your pan wasn’t hot enough, or you tried to move it too early. Give it more time before flipping.
What to Serve with Chicken Piccata
The classic pairing is angel hair pasta. The thin noodles catch the lemony butter sauce in every strand. But you have options, and they’re all good.
- Angel hair pasta, spaghettini, or linguine, lightly tossed in some sauce before adding the chicken.
- Mashed potatoes, which soak up that lemon caper sauce like a dream.
- Creamy polenta, for a softer, cozier side.
- Crusty sourdough bread, for dipping into every last drop.
- Roasted asparagus, steamed broccoli, green beans, or roasted cauliflower for a lighter meal.
Since it’s August right now, I love serving this with sautéed summer squash or a simple green salad. The bright lemon and capers pair beautifully with fresh seasonal produce, and you won’t heat up the whole kitchen.
How to Store and Reheat Chicken Piccata
Leftovers hold up surprisingly well, as long as you reheat them gently. Store the chicken with the sauce in an airtight container in the fridge for up to 3 days. The flavor actually settles and gets a bit more mellow overnight.
When you’re ready to eat, reheat slowly in a saucepan over low heat. Add a splash of chicken broth or water if the sauce has thickened too much. You can use the microwave in a pinch, but use 50% power and short bursts so the chicken doesn’t turn tough.
down to about 15 minutes of active cooking on the night you serve it. That’s the kind of prep-ahead move that makes a busy Wednesday feel like a relaxed Sunday.Recipe Science: Why Cold Butter Makes the Sauce Glossy
I’m not a food scientist, but I’ve ruined enough pan sauces to finally ask why the cold butter thing matters so much. Here’s the short version: when you whisk cold butter into a barely simmering liquid, the butter doesn’t fully melt into oil. Instead, it breaks into tiny droplets that stay suspended in the sauce, helped along by the starch left behind from the flour dredge. That suspension is the emulsion, and it’s what gives the sauce that glossy, velvety finish that clings to the chicken.
If the heat is too high, the butter melts completely and separates. The sauce turns greasy, thin, and a little sad. That’s why I always drop the heat to low before adding the last few pieces of butter. It’s the exact same principle as finishing a risotto with a cold pat of butter: slow, gradual melting gives you a smoother, more luxurious result every time.
And yes, that means the order matters. Wine and lemon juice first, let it reduce, then butter last. If you add the butter too early and let it boil, you lose the emulsion before it ever forms.
Dietary Adaptations
One of the things I love about this recipe is how easily it bends to fit different diets. Here are the swaps I’ve tested and actually enjoyed, not just the ones that sound good on paper.
- Gluten-Free. Swap the all purpose flour for a 1:1 gluten-free flour blend or plain rice flour. Rice flour gets especially crispy, which I honestly didn’t expect. The sauce will thicken a little less, so let it simmer an extra minute or two before adding the butter.
- Dairy-Free. Use a high quality plant butter for the final mount, or just rely on extra olive oil. It won’t be quite as glossy, but the lemon and capers are strong enough to carry the whole dish.
- Low-Carb / Keto. Skip the flour entirely, or use a light dusting of almond flour. Serve over cauliflower mash or zucchini noodles instead of pasta, and you’ve got a completely keto-friendly dinner that still feels indulgent.
- Lower Sodium. Rinse the capers before using them and reach for low sodium chicken broth in the sauce. You’ll lose a little of that briny punch, but the lemon carries the brightness.
Chicken Piccata FAQ
Here are the questions I get most often from friends and readers, answered honestly.
Can I use bottled lemon juice?
You can, but I’ll be upfront about it: fresh lemon juice makes a noticeably brighter sauce. Bottled juice tends to taste flat and slightly metallic after simmering. If it’s all you have, use a little less and taste as you go. When Meyer lemons are in season, they’re absolutely worth the splurge.
Can I use chicken thighs?
Absolutely. Boneless skinless thighs are even more forgiving than breasts because they have a little more fat. Pound them to the same even thickness and add a minute or two per side since dark meat needs slightly more time to cook through.
Can I make this with shrimp?
Yes, and it’s genuinely excellent. Skip the pounding and dredging step. Sear the shrimp briefly until just pink, remove them, build the sauce, then return them to the pan just long enough to warm through. Overcooked shrimp turn rubbery fast, so watch the clock.
Can I freeze chicken piccata?
Since this version doesn’t include cream, it freezes better than you’d think. Cool everything completely, then store in an airtight container for up to 4 months. Thaw overnight in the fridge and reheat gently on the stove. The sauce might lose a little of its gloss, but the flavor stays strong and bright.
How do I prevent the sauce from separating?
The two rules are: low heat and constant whisking when the cold butter goes in. If it still breaks on you, pull the pan off the heat and whisk in one more small piece of cold butter. Nine times out of ten, that rescues it.
How do I thicken a sauce that’s too thin?
Let it simmer a few minutes longer before you add the butter. Reduction is your friend. If you’ve already finished the sauce and it’s still thin, whisk in a teaspoon of flour mixed with a little water and let it bubble briefly. Problem solved.

Final Thoughts and Expert Notes
After testing this recipe more times than I can count, here’s what I want you to remember most. The technique matters more than the ingredient list. Thin, even cutlets cook in about 3 to 4 minutes per side and hit that perfect juicy texture without any guesswork. The internal temperature should reach 165°F, and letting the chicken rest for even a few minutes before serving helps lock in the juices.
The active time breaks down to roughly 10 minutes of prep, 8 minutes of searing, and 6 minutes for the sauce. That’s a complete dinner in about 30 minutes, with most of that time just watching the pan do its thing. For the data-driven among you: that’s about half the time it takes to get delivery, and it tastes twice as good.
One last thing worth mentioning is that capers and lemon are doing heavy lifting on both salt and acid. If you’re watching your sodium, use low sodium broth and go easy on added salt. And if you’re feeling adventurous, a splash of cream at the end turns this into a completely different but equally delicious dinner.
That’s it. That’s everything I know about chicken piccata, and honestly, I’m a little proud of how simple this one turned out to be. Make it once, and I think you’ll agree: this is the recipe you’ll reach for whenever dinner needs to feel special without requiring a special occasion.