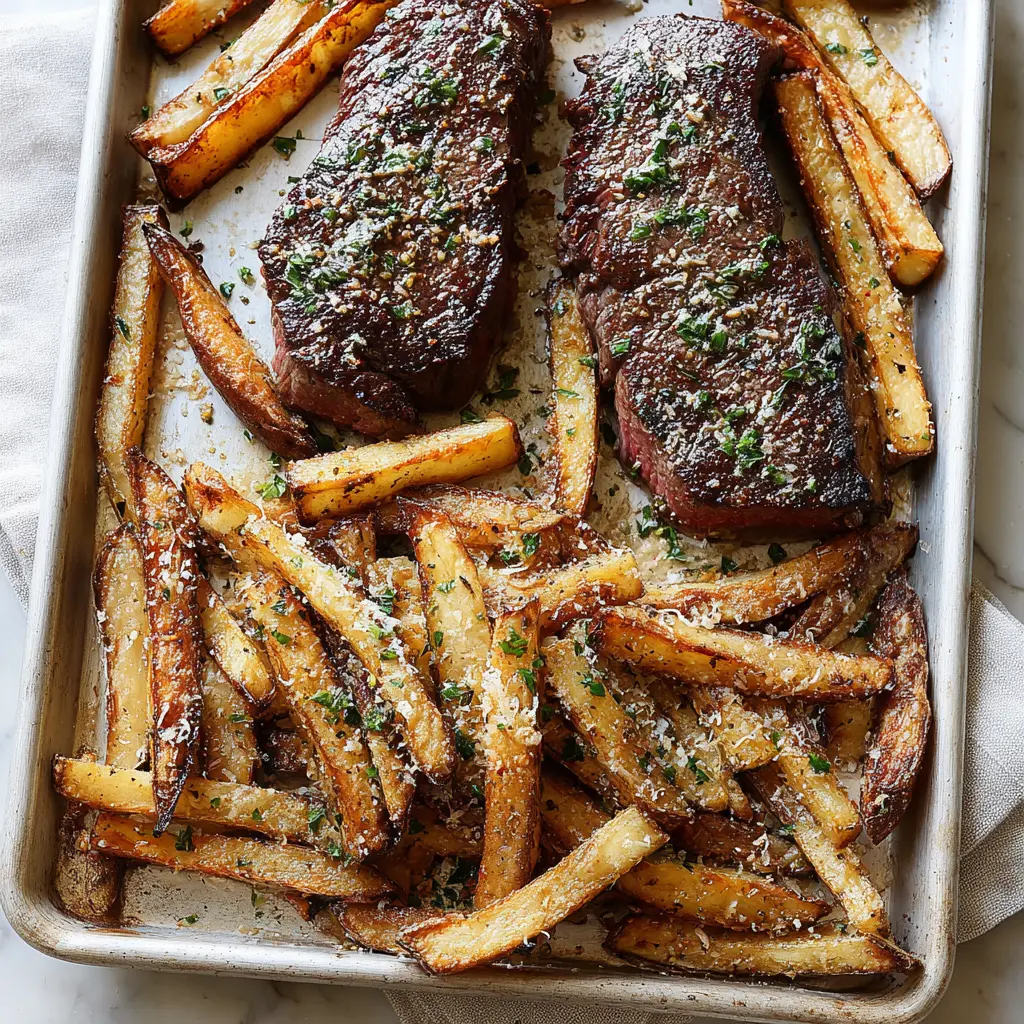
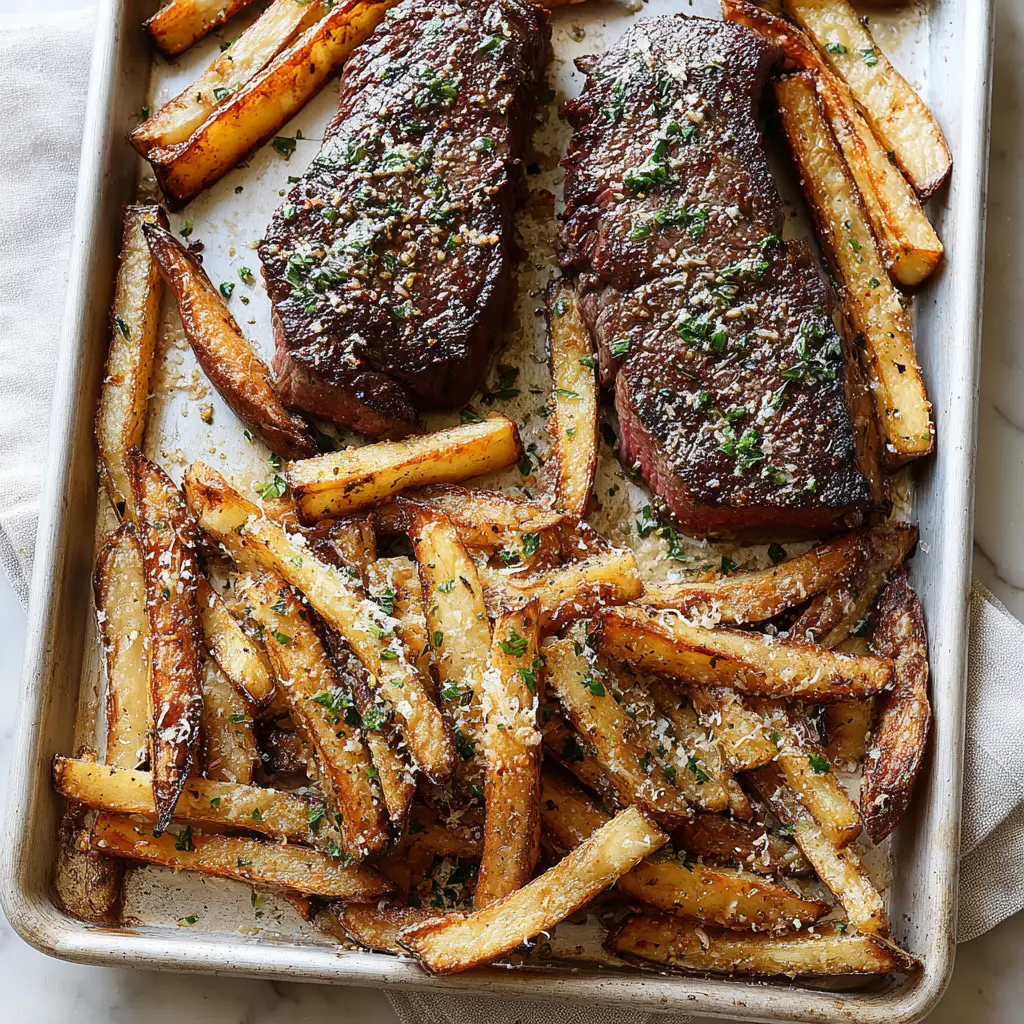
Sheet Pan Steak and Fries
Ingredients
Method
- Preheat your oven to 375°F. Lightly grease a large sheet pan with oil or coat with nonstick spray.
- On one side of the prepared pan, arrange the potato fries in a single layer. Drizzle with olive oil, add the minced garlic, Italian seasoning, and Parmesan. Season with salt and pepper. Toss gently to combine.
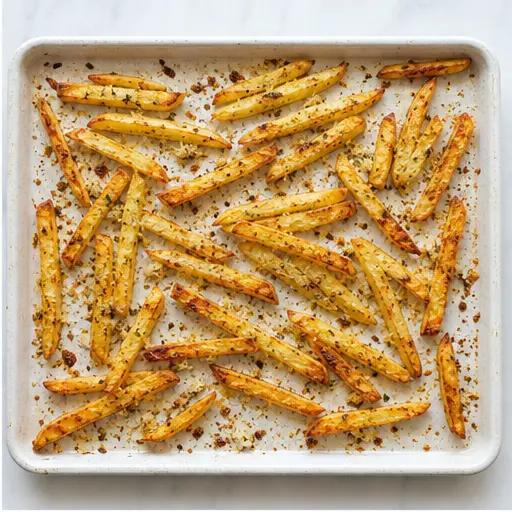
- Bake the fries for 20-25 minutes, tossing occasionally, until they are golden brown and crisp.
- Switch the oven to broil.
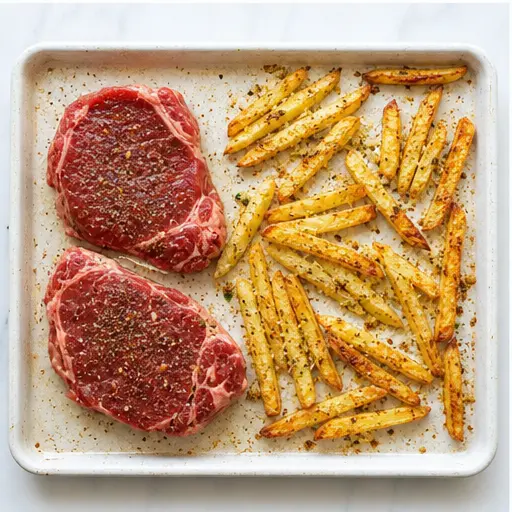
- Season the steaks generously with salt and pepper. Place them on the opposite side of the sheet pan, in a single layer.
- Broil the steaks for 4-5 minutes per side for medium-rare, or until they reach your desired doneness. Look for a browned, charred edge.
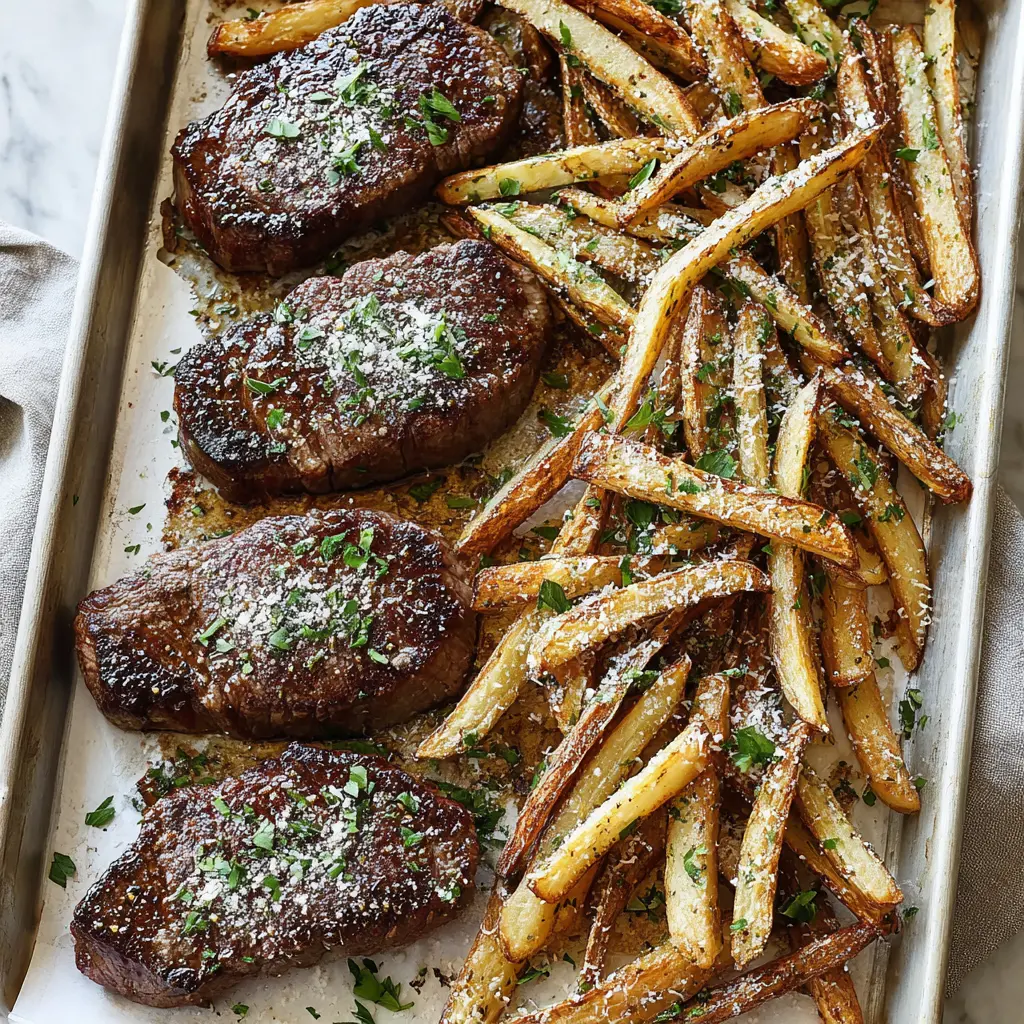
- Serve the steak and fries immediately, garnished with chopped parsley and garlic butter if desired.
Nutrition
Notes
Tried this recipe?
Let us know how it was!Why This Sheet Pan Steak and Fries Actually Works
It’s 5:15 PM. You just got home from work. You’re tired, maybe a little hangry, and the last thing you want to do is stand over a hot stove or fire up the grill. Especially in the middle of summer when your kitchen already feels like a sauna. I’ve been there more times than I can count.
That’s where this sheet pan steak and fries comes in. It’s my go-to when I need a satisfying dinner that feels special but takes almost zero effort. The whole thing cooks on one pan, in the oven, with barely any active time. You toss the fries, season the steak, and let the oven do the heavy lifting.
And here’s the thing it actually works. The fries get crispy, the steak comes out perfectly cooked, and you have maybe five minutes of cleanup. That’s it. No multiple pans, no splattering oil on the stove, no hovering over a grill.
I remember the first time I tried this method. I was skeptical, honestly. I thought there was no way the steak and fries would both be good at the same time. But I was wrong. Dead wrong. The fries came out golden and crunchy, and the steak was juicy with a nice browned crust. My husband asked if I ordered takeout. That’s the kind of reaction we’re going for here.
This one-pan steak recipe is perfect for those nights when you want something hearty but don’t have the energy for a production. Trust me on this one.
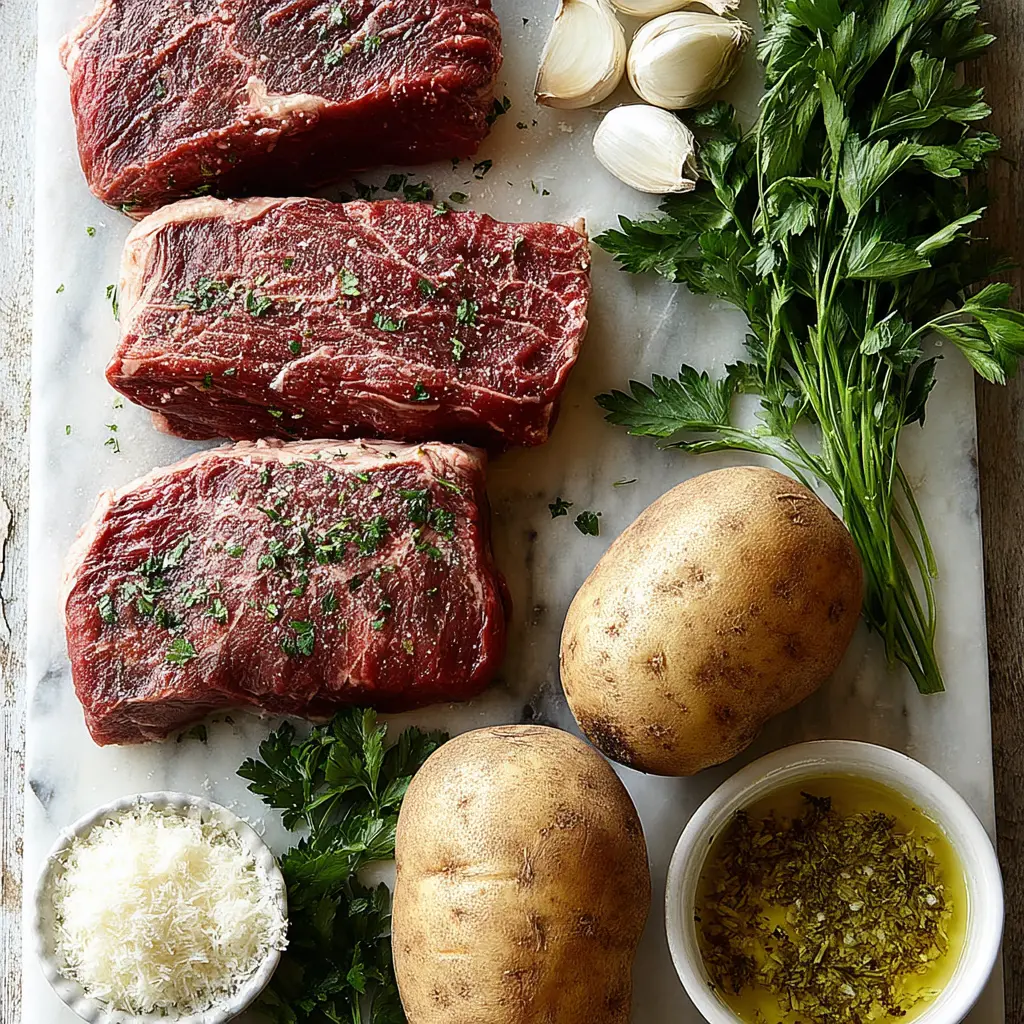
Best Steak for Your Sheet Pan Dinner
Let’s talk steak. For this sheet pan dinner idea, you want a cut that’s going to cook relatively quickly and stay tender. I use top sirloin steaks that are about an inch thick. They’re affordable, they have good flavor, and they cook up nicely under the broiler.
Top sirloin is kind of the Goldilocks of steaks not too fancy, not too tough, just right for a weeknight. You can absolutely use other cuts if you prefer. Ribeye would be incredible. New York strip would work great too. Just make sure whatever you pick is about an inch thick so the timing works out.
Here’s what I look for when I’m at the store:
- Thickness matters: 1-inch steaks cook perfectly in the time it takes to finish the fries
- Marbling is your friend: A little fat running through the steak keeps it juicy
- Room temperature: Let the steaks sit out for about 20 minutes before cooking for even results
If you’re feeding two people, two steaks is plenty. For a family of four, grab four steaks. This recipe scales up easily as long as you don’t overcrowd the pan. More on that in a minute.
Garlic Parmesan Fries: Tips for Crispiness
Okay, let’s be real for a second. The biggest challenge with any steak and fries sheet pan dinner is getting the fries actually crispy. Nobody wants soggy fries. That’s just sad.
The secret? Crispy oven fries start with the right technique. You want russet potatoes they have the right starch content for that fluffy interior and crispy exterior. Cut them into even strips, about a quarter-inch thick. Too thin and they’ll burn. Too thick and they won’t get crispy.
Here’s what I’ve learned after many, many batches:
- Don’t crowd the pan: Give those fries room to breathe. If they’re piled on top of each other, they’ll steam instead of crisp up
- Use enough oil: Two tablespoons of olive oil might not seem like much, but toss the fries well so each one is lightly coated
- Flip them halfway: Toss the fries once or twice during baking so they brown evenly
- Parmesan at the start: Adding the cheese before baking gives it time to get golden and crispy on the fries
The garlic and Italian seasoning infuse the fries while they bake. By the time they’re done, your whole kitchen smells incredible. Like, seriously incredible. The kind of smell that makes people wander into the kitchen asking what’s for dinner.
Texture Target
What you’re looking for: The fries should be golden brown on the outside with a slight crunch when you bite into them. The inside should be fluffy and tender. If you tap a fry on the pan, it should make a faint clicking sound that’s the crispiness indicator.
How to Cook Steak and Fries on One Pan
This is where the magic happens. The whole process is designed to be as hands-off as possible. You’re basically doing two things: baking the fries, then broiling the steak. That’s it.
Stage 1: Get the fries going. Preheat your oven to 375°F. Lightly grease your sheet pan I use a little olive oil or nonstick spray. On one side of the pan, arrange your potato fries in a single layer. Drizzle with olive oil, add the minced garlic, Italian seasoning, and Parmesan. Toss everything gently to combine. Pop it in the oven for 20-25 minutes, tossing occasionally. You want them golden and crisp.
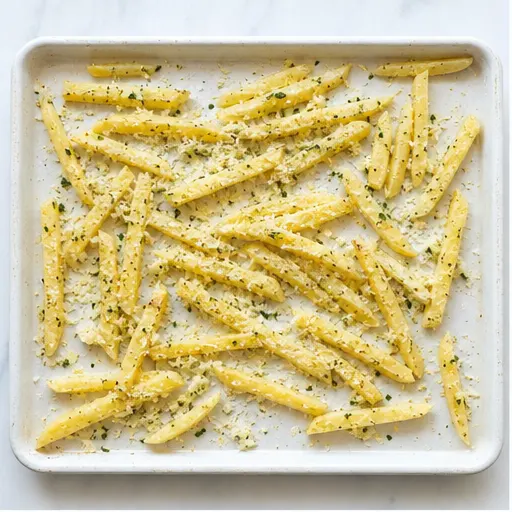
Stage 2: Switch to broil. Once the fries are looking good, switch your oven to broil. This is important the high heat is what gives the steak that beautiful browned crust. Season your steaks generously with salt and pepper on both sides. Place them on the opposite side of the sheet pan, away from the fries. You want them in a single layer with a little space between each steak.
Stage 3: Broil the steaks. Broil the steaks for 4-5 minutes per side for medium-rare. You’re looking for a browned, charred edge. The smell at this point is absolutely unreal that searing meat aroma fills the kitchen. If you like your steak more done, give it another minute or two per side. But honestly, medium-rare is where it’s at for top sirloin.
Stage 4: Rest and serve. Let the steaks rest for about 5 minutes after they come out of the oven. I know, I know, you want to dig in right away. But trust me on this resting lets the juices redistribute so every bite is tender and juicy. Garnish with chopped fresh parsley and garlic butter if you’re feeling fancy. Serve immediately.
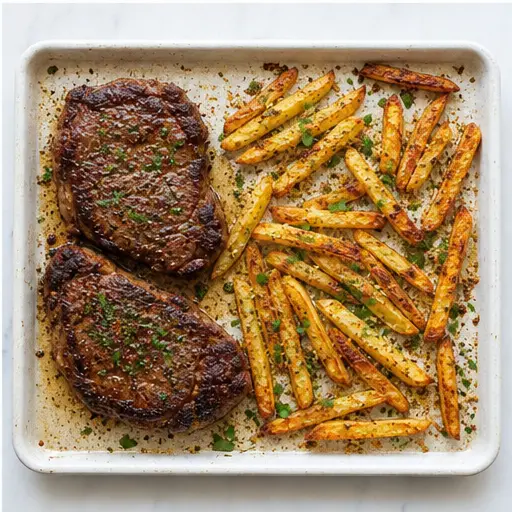
One thing I love about this method? There’s no flipping the steak in a hot pan. No splattering oil. No standing at the stove. The broiler does all the work. It’s basically the no flip steak recipe you’ve been looking for.
Doneness Guide for Sirloin Steak
Getting the steak to your preferred doneness is easier than you think. Here’s a rough guide based on the broiling method in this recipe:
- Rare: 3-4 minutes per side (125°F internal)
- Medium-rare: 4-5 minutes per side (135°F internal) this is my sweet spot
- Medium: 5-6 minutes per side (145°F internal)
- Medium-well: 6-7 minutes per side (155°F internal)
- Well-done: 7-8 minutes per side (165°F internal)
If you don’t have a thermometer, use the poke test. Touch the steak and compare it to the fleshy part of your hand below your thumb. When your hand is relaxed, that’s rare. Touch your thumb to your index finger that’s medium-rare. Middle finger is medium. Ring finger is well-done. It’s not perfect, but it works in a pinch.
Even if the steak is a bit past your target, don’t stress. It’ll still be delicious, especially with those garlic parmesan fries alongside it.
Common Mistakes to Avoid
I’ve made every mistake in the book so you don’t have to. Here are the big ones:
❌ Using shoestring or skinny-cut fries they burn too quickly under the broiler. Stick with hand-cut fries about a quarter-inch thick.
❌ Using steak fries those thick wedges don’t get crispy enough in this timeframe. Save them for a different recipe.
❌ Not watching the fries and steak during broiling broilers are aggressive. Check on everything after 3 minutes. If the fries are getting too dark, remove them from the pan while the steak finishes.
❌ Letting raw steak touch the almost-baked fries keep them on opposite sides of the pan. Food safety matters, and you don’t want raw meat juice on your nearly-done fries.
❌ Overcrowding the pan if everything is piled together, nothing cooks evenly. Use a large sheet pan and give everything space.
✅ The solution: Use a half-sheet pan (18×13 inches), keep the fries and steak on separate sides, and check on things frequently during the broil step. You’ve got this.
Storage and Reheating Leftovers
If you somehow have leftovers which honestly, rarely happens in my house here’s how to handle them. Store the steak and fries in an airtight container in the fridge for up to 3 days. Keep them separate if you can, because the fries will absorb moisture from the steak.
For reheating, skip the microwave. I know it’s tempting, but it’ll turn your steak rubbery and your fries soggy. Instead, reheat in the oven at 350°F for about 10 minutes. The steak warms through gently and the fries crisp back up. It’s worth the extra few minutes, I promise.
This steak and fries meal prep approach works great if you’re planning ahead. You can bake the fries a day in advance, then just broil the steak and reheat the fries together. Dinner in under 15 minutes.
For a complete meal, serve with a simple green salad or some roasted vegetables. The minimal cleanup dinner aspect means you’re not dirtying extra pans for sides anyway.
Variations and Serving Ideas
This recipe is super flexible. Here are some ways to switch it up:
- Different herbs: Swap the Italian seasoning for dried rosemary or thyme. Use fresh sage if you have it about 5-6 leaves, finely minced
- California twist: Squeeze some Meyer lemon over the finished dish. It adds a bright freshness that cuts through the richness
- Garlic butter: While the steak rests, melt a tablespoon of butter with a minced garlic clove and brush it over the steak. So good
- Frozen fries shortcut: Use a good brand of frozen fries. Avoid shoestring or skinny-cut fries (they burn) and steak fries (not crispy enough). Hand-cut-style fries with extra coating work best
- Side dish: Serve with a simple green salad dressed with lemon vinaigrette. The acidity balances the richness of the steak and fries
This is also a fantastic 4th of July dinner idea when the grill is already packed with burgers and hot dogs. Pop this in the oven and you’ve got a steak dinner without waiting in line at the grill.
Frequently Asked Questions
So there you have it. A sheet pan steak and fries dinner that’s easy, delicious, and leaves you with hardly any dishes. It’s become one of my most-requested weeknight meals, and I think it’ll become one of yours too.
If you try this recipe, I’d love to hear how it turned out. Did you go medium-rare? Did you add garlic butter? Did the kids clean their plates? Let me know in the comments below!
And if you’re looking for more sheet pan dinner ideas, check out my Pinterest board. I’ve got a whole collection of one-pan meals that make weeknight cooking a breeze.
Save this sheet pan steak and fries recipe on Pinterest for later!
Source: Nutritional Information