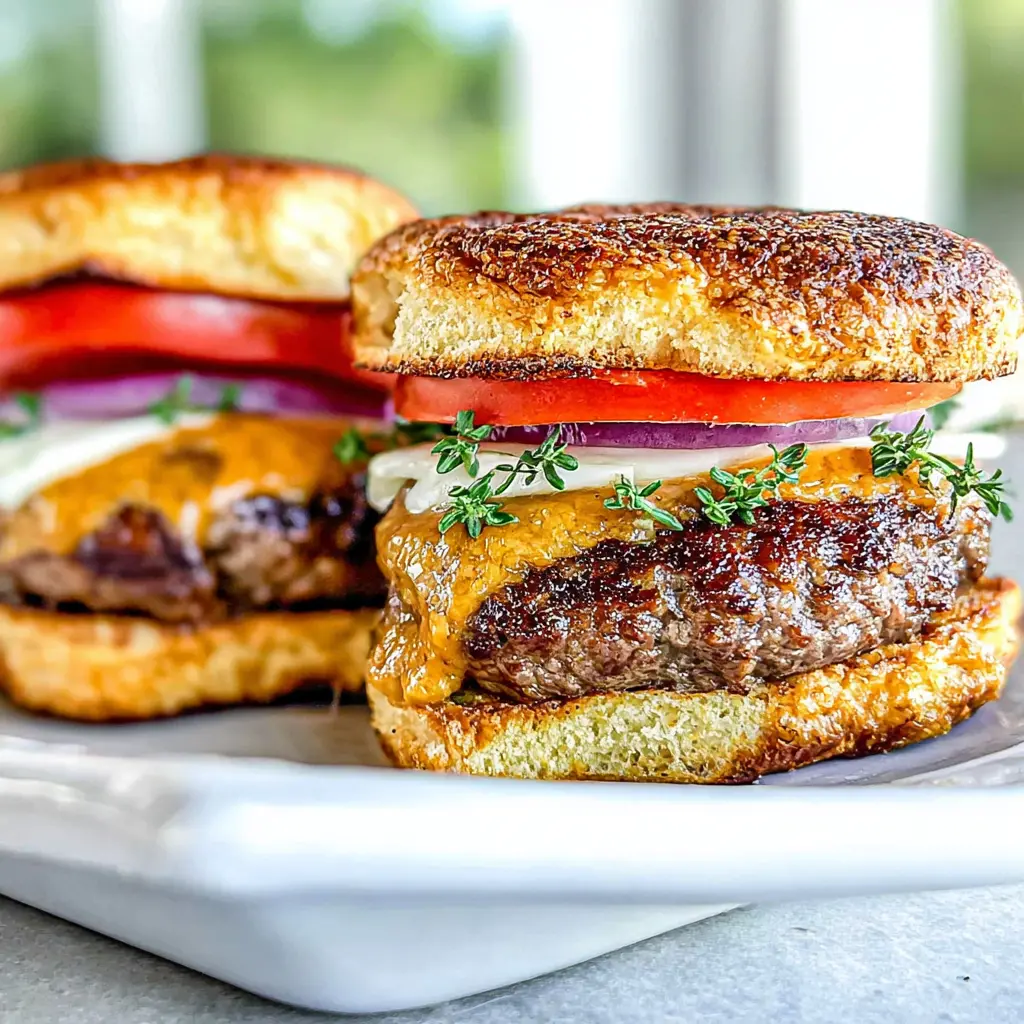
You’re standing there, spatula in hand, staring at the grill. The patties are ready. The buns are waiting. But that one question is nagging at you: how long to grill burgers to get them perfect? Not dry, not raw in the middle, but that sweet spot of juicy and flavorful. I’ve been there more times than I can count. And honestly? It’s easier than you think once you know the simple rule.
This is the guide I wish I had when I started grilling. We’ll cover exact timings, the best temperature, and all the little tricks that turn a good burger into a great one. Because nobody wants to serve hockey pucks at their BBQ. Trust me, I’ve done it. Let’s make sure you don’t.
How Long to Grill Burgers: The Simple Answer
Here’s the thing: how long to grill burgers depends on a few things. Patty thickness, grill heat, and how you like your meat cooked. But for a standard 1-inch thick patty on a gas grill at around 500°F, you’re looking at about 12 minutes total. That’s 5 minutes on the first side, 2 more with a rotation for those fancy crosshatch marks, then 3 minutes after flipping, and finally 1-2 minutes for cheese. Easy, right?
But let’s break it down by doneness. Because we all have that one friend who wants their burger well-done and another who wants it practically mooing. Here’s your cheat sheet for a 1-inch patty:
- Rare (120-125°F): About 4 minutes per side. Warm red center.
- Medium-Rare (130-135°F): About 5 minutes per side. Bright red, very juicy.
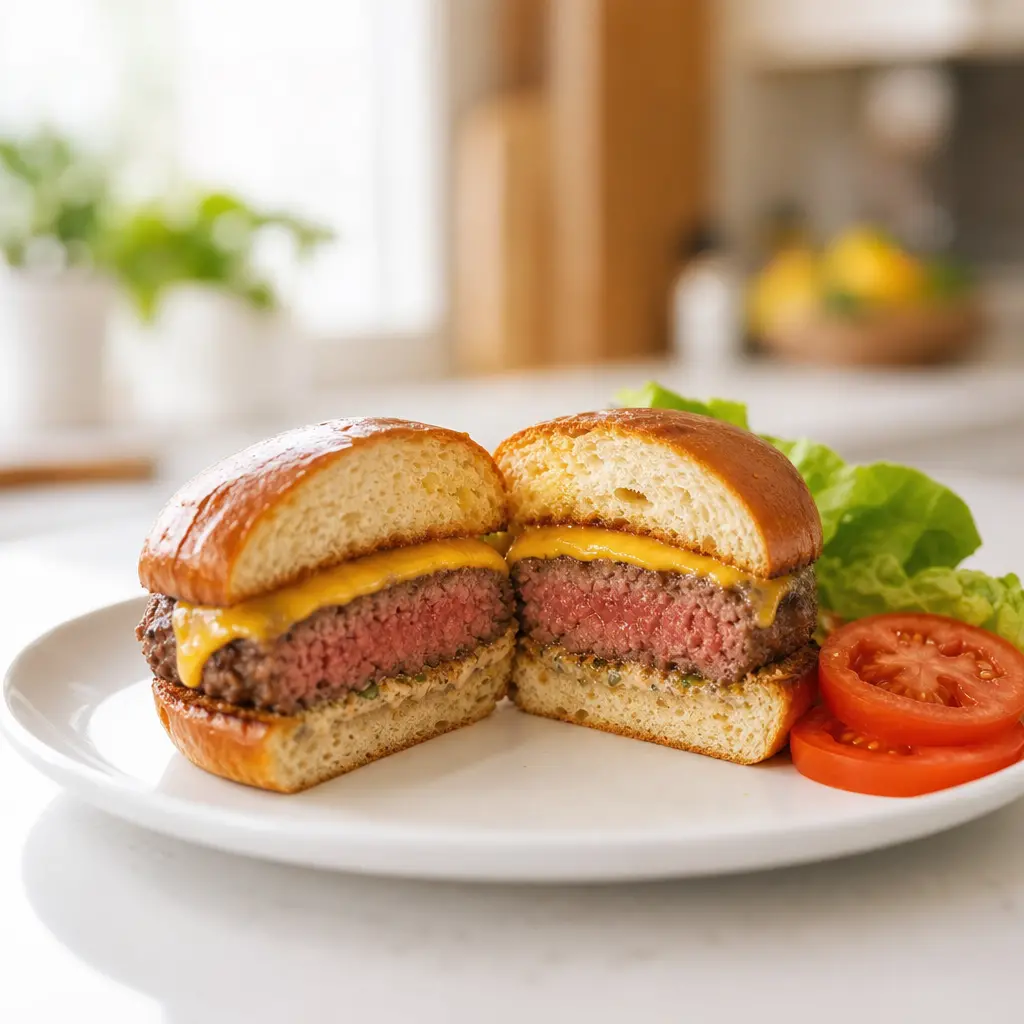
- Medium (135-140°F): About 5-6 minutes per side. Pink center, still juicy. This is my sweet spot.
- Medium-Well (145-150°F): About 6-7 minutes per side. Slight hint of pink.
- Well-Done (155°F+): About 7-8 minutes per side. No pink, but still moist if you’re careful.
And remember, the burger keeps cooking after you take it off the grill. So pull it off when it’s about 5 degrees below your target temp. That’s the burger grilling time hack that changes everything.
What Affects Burger Grill Time?
Okay, so those times are a great starting point. But life happens. Your patties might be thicker. Your grill might run hot or cold. Here’s what messes with your how long to cook burgers on grill calculations:
Patty thickness. A thin smash burger (about 1/4 inch) will cook in like 2-3 minutes total. A thick pub-style patty (1.5 inches) can take 15-18 minutes. For this recipe, we’re using 8-ounce patties that are about 1 inch thick. That’s the sweet spot for a classic burger.
Grill temperature. We’re preheating to 500°F. If your grill runs cooler, you’ll need more time. If it’s hotter, less time. That’s why a thermometer is your best friend. The best temperature for grilling burgers is high heat to get that crust, then finishing on indirect heat to cook through without burning.
Meat blend. 80/20 ground beef is the gold standard. That 20% fat keeps things juicy and flavorful. If you use leaner meat like 90/10, it’ll cook faster but also dry out faster. You’ve been warned.
Starting temperature. Cold patties straight from the fridge take longer to cook through than room temperature ones. I like to let mine sit out for about 15 minutes before grilling. Not too long, just enough to take the chill off.
Choose the Best Burger Meat
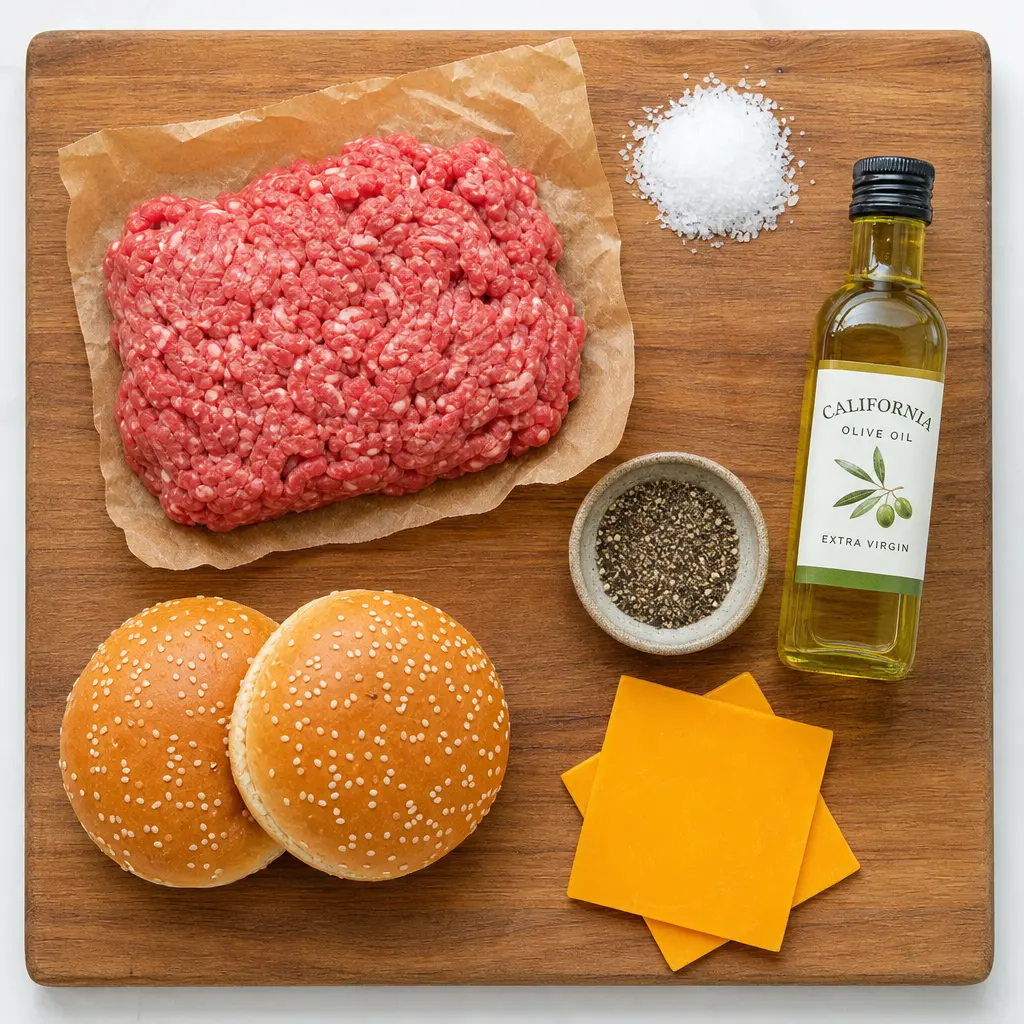
Let’s talk meat. Because you can have the perfect gas grill burger time down to the second, but if you start with bad meat, you’re fighting an uphill battle. For this recipe, we’re keeping it simple with just three ingredients: ground beef, salt, and pepper. That’s it. No breadcrumbs, no eggs, no fancy seasonings. Just pure beef flavor.
The 80/20 blend is non-negotiable for me. That 20% fat is what keeps the burger moist and gives it that rich flavor. When you cook it, the fat renders and bastes the patty from the inside. Leaner blends might seem healthier, but they almost always result in dry, crumbly burgers. And nobody wants that.
Where do you buy it? I usually grab mine from Ralphs or Whole Foods. Look for ground chuck if you can find it. It’s from the shoulder and has that perfect fat ratio. If you’re at Costco, their 80/20 ground beef is great for bulk grilling sessions.
Internal Temperature of Burgers (Chart)
I’m a big believer in using a meat thermometer. It takes all the guesswork out of burger internal temp chart. Here’s the breakdown for your reference:
- Rare: 120-125°F
- Medium-Rare: 130-135°F
- Medium: 135-140°F (my target)
- Medium-Well: 145-150°F
- Well-Done: 155°F+
But here’s the thing. The USDA recommends cooking ground beef to 160°F for safety. That’s well-done territory. If you’re cooking for kids, elderly folks, or anyone with a compromised immune system, follow that guideline. For everyone else, medium is generally safe if you’re starting with good quality meat from a trusted source.
And please, for the love of all things grilled, don’t cut into the burger to check if it’s done. That lets all the juices run out. Just use the thermometer. It’s a $10 investment that’ll save you from dry burgers forever.
How to Grill Burgers (Step-by-Step)
Alright, let’s get to the actual cooking. This is the method I use every time, and it’s never let me down. We’re going to break it into four stages. Each one builds on the last to get you that perfect burger.
Stage 1: Form the Patties
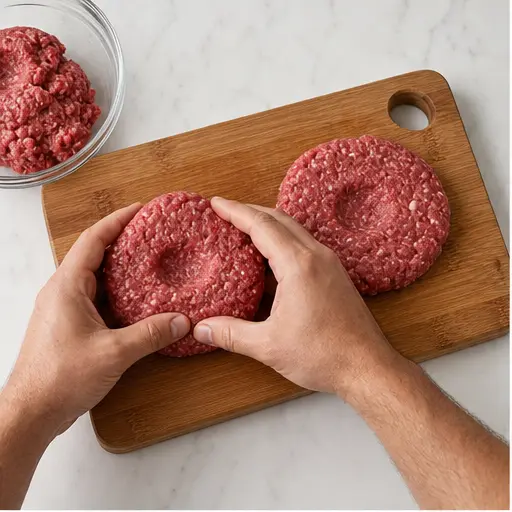
Start with your 1 pound of 80/20 ground beef. Divide it into two equal portions. Each one should be about 8 ounces. Gently shape each portion into a loose ball, then flatten it into a disc. Make it slightly larger than your buns because it’ll shrink as it cooks.
Here’s the pro tip: press a shallow indent in the center of each patty with your thumb. About 1/3 inch deep. This prevents the burger from puffing up like a balloon in the middle. You’ll get a flat, even patty that fits perfectly on the bun. I learned this after way too many dome-shaped burgers that slid off the bun.
Season right before grilling. If you season too early, the salt draws out moisture and you get dry burgers. I like to sprinkle both sides with salt and pepper just as they hit the grill. Simple and effective.
Stage 2: Preheat and Sear
Fire up your gas grill to high heat. We’re aiming for about 500°F. Let it preheat for at least 10-15 minutes with the lid closed. You want that grill screaming hot so you get a good sear.
While it’s heating, brush the cut sides of your buns with California olive oil. Set those aside for later. They’ll go on the grill while the burgers rest.
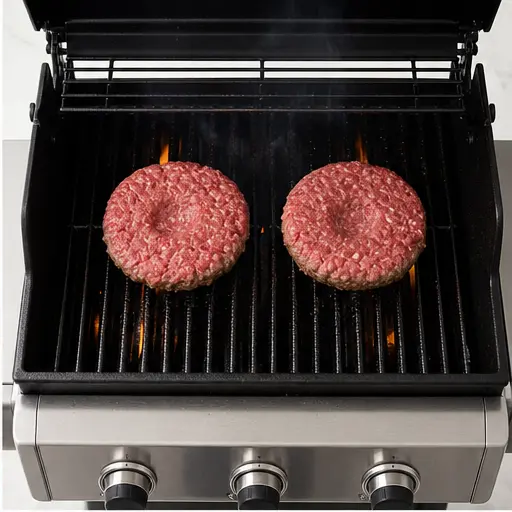
Place the patties directly over the flame. Close the lid and let them cook for 5 minutes without touching them. I know it’s tempting to peek, but resist the urge. That lid traps the heat and gives you a better crust.
Stage 3: Rotate and Flip
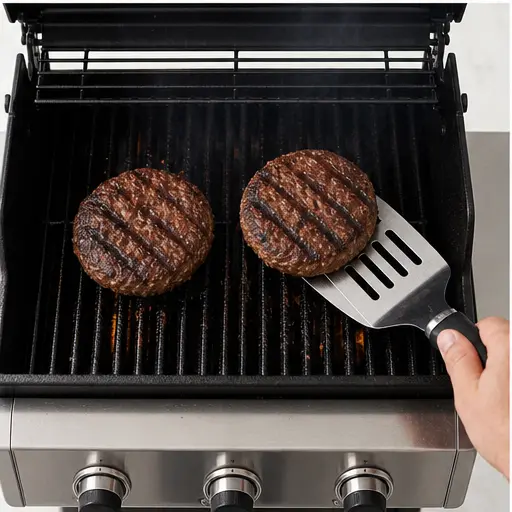
After 5 minutes, rotate the patties 90 degrees. Don’t flip them yet. This creates those beautiful crosshatch grill marks that make everyone think you’re a pro. Close the lid and cook for another 2 minutes.
Now flip the burgers. You should see a gorgeous golden-brown crust with dark grill marks. Cook the second side with the lid closed for 3 minutes. At this point, check the internal temperature. You’re looking for it to be about 5 degrees below your target.
Here’s where the flip burgers once advice comes in. Some people flip multiple times, but I find one flip gives you a better crust and more even cooking. The less you mess with them, the better they turn out.
Stage 4: Cheese and Rest
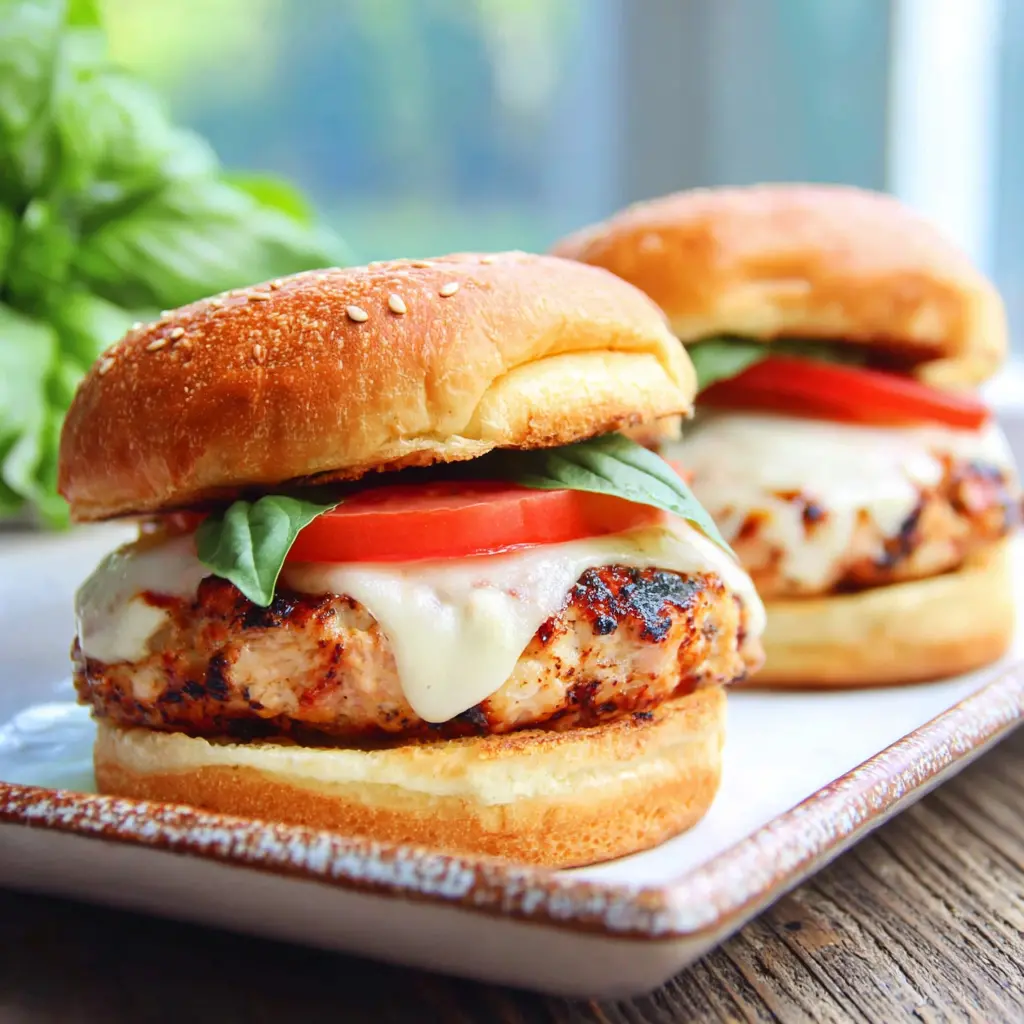
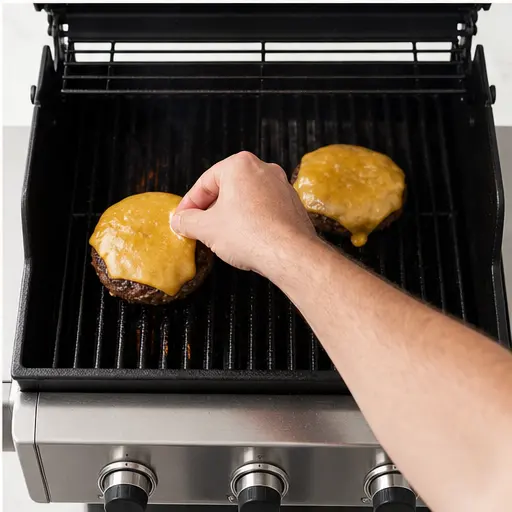
Move the burgers to indirect heat. If your grill has a top rack or a cooler zone, that’s perfect. Place a slice of cheese on each patty. Close the lid and let it cook for 1-2 minutes until the cheese is melted and bubbly.
Transfer the burgers to a cutting board and let them rest for 5-10 minutes. I know it’s hard to wait, but this step is crucial. The juices need time to redistribute throughout the meat. If you cut into it right away, all that goodness ends up on the plate instead of in your mouth.
While they rest, throw those oiled buns on the indirect heat zone. Cook for 1-3 minutes until they have nice grill marks. Then assemble your burgers with whatever toppings you love and serve immediately.
Why Burgers Turn Out Dry (And How to Fix It)
We’ve all been there. You bite into a burger and it’s dry and crumbly. It’s heartbreaking. Here are the most common mistakes and how to avoid them:
❌ Overmixing the ground beef. The more you handle it, the tougher it gets. Mix just enough to combine the ingredients. Less is more.
❌ Not adding an indent. Without that thumbprint, the patty puffs up in the center. You end up with a dome-shaped burger that’s overcooked on the edges and raw in the middle.
❌ Pressing down on burgers while grilling. This is a big one. Every time you press with the spatula, you squeeze out the juices. Let them be. The grill lid open or closed debate? Keep it closed. It maintains even heat and helps cook the burger through.
❌ Flipping too often. One flip is all you need. Constant flipping prevents a good crust from forming and can dry out the meat.
❌ Using too lean beef. 80/20 is your friend. Anything leaner and you’re asking for trouble.
❌ Overcooking. Use a thermometer. It’s the only way to be sure. The medium rare burger temperature is 130-135°F. Pull it off at 125-130°F and let it rest.
❌ Not letting burgers rest. Resting is not optional. It’s the difference between a juicy burger and a dry one.
❌ Seasoning too early. Salt draws out moisture. Season right before grilling for the best results.
The Best Burger Toppings
Okay, you’ve got the perfect patty. Now what? Toppings can make or break a burger. Here are my go-to combinations:
Classic American: Lettuce, tomato, pickles, ketchup, and mayo on a toasted sesame bun. Simple and perfect.
California Style: Avocado slices, lettuce, tomato, and grilled onions. This is my personal favorite. The creamy avocado with the juicy beef is a match made in heaven.
Cheese Options: American cheese is classic for a reason. It melts beautifully. Cheddar adds a sharper flavor. Pepper jack gives it a kick. Swiss is great if you’re feeling fancy.
Special Sauce: Mix ketchup, mayonnaise, a little honey, some relish, salt, and a splash of apple cider vinegar. It’s like Thousand Island dressing but better. Trust me on this one.
Charcoal Grill vs Gas Grill
This is the eternal debate. I’m a gas grill guy for weeknight dinners because it’s quick and consistent. But charcoal has its place. Here’s the breakdown:
Gas Grill: Preheats in 10-15 minutes. Temperature is easy to control. You get consistent results every time. Perfect for this recipe. The gas grill burger time is predictable and reliable.
Charcoal Grill: Takes longer to heat up (20-30 minutes). Temperature control is trickier. But you get that smoky flavor that gas can’t replicate. If you’re using charcoal, set up a two-zone fire. One side hot for searing, one side cooler for finishing. The charcoal grill burgers will have a deeper, smokier flavor.
For this recipe, I’m using a gas grill. It’s what most people have, and it’s the easiest way to get consistent results. But if you have charcoal, go for it. Just adjust your how long to cook burgers on grill times based on your heat management.
How to Store and Reheat Leftover Burgers
If you somehow have leftovers, here’s how to handle them. Cooked burgers will last 3-4 days in the refrigerator in an airtight container. To reheat, the best method is in a skillet over medium heat. Add a splash of water and cover with a lid. This steams the burger and keeps it moist. Microwave works in a pinch but it’ll be drier.
For raw patties, you can form them ahead of time and refrigerate for up to 24 hours. Bring them to room temperature for 15 minutes before grilling. You can also freeze uncooked patties separated by parchment paper for up to four months. Thaw in the fridge overnight before cooking.
So there you have it. The complete guide to grilling burgers. No more guessing, no more dry patties, no more stress. Just juicy, flavorful burgers that’ll make you the hero of every BBQ. Go fire up that grill. You’ve got this.
And hey, if you want to save this for later, pin this guide to your grilling board on Pinterest. You’ll thank yourself next time burger season rolls around.
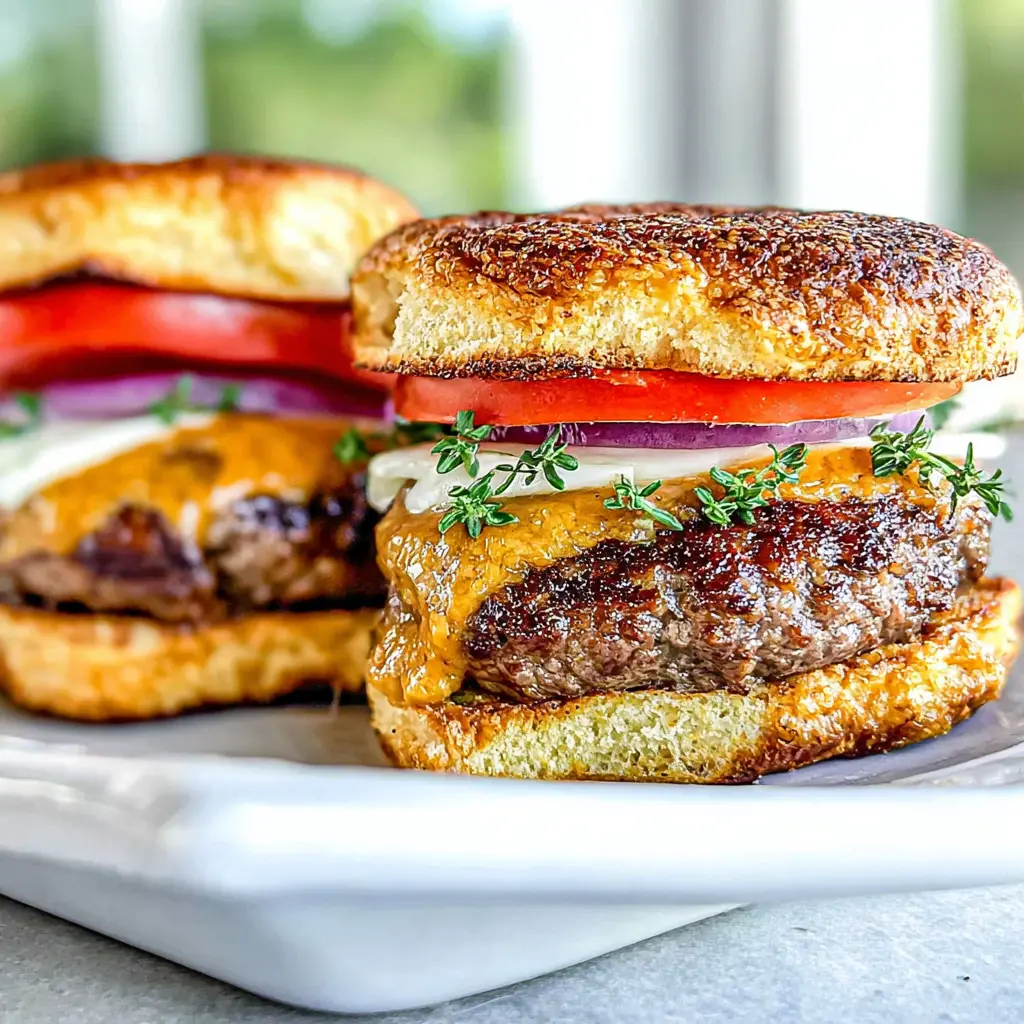
How Long to Grill Burgers: Perfect Gas Grill Times
Ingredients
Method
- Option A: In a large bowl, combine the ground beef with salt and pepper, mixing gently. Divide the meat in half and shape into two 8-ounce patties.
- Option B: Form the patties without seasoning, then sprinkle both sides with salt and pepper just before grilling.
- Shape each portion into a loose ball, then flatten into discs slightly larger than your buns. Press a shallow indent (about 1/3 inch deep) in the center with your thumb to prevent puffing.
- Chill the patties in the fridge for at least 15 minutes (up to 2 hours) before grilling.
- Preheat your gas grill to high heat, around 500 degrees F.
- Brush the cut sides of the burger buns with olive oil and set aside.
- Remove the patties from the fridge right before grilling. If you didn't season the meat earlier, sprinkle both sides with salt and pepper now (a little extra never hurts).
- Place the patties directly over the flame (direct heat) once the grill hits 500 degrees F. Close the lid and cook for 5 minutes.
- Rotate the patties 90 degrees (don't flip them yet) to create crosshatch grill marks. Close the lid and cook for another 2 minutes.
- Flip the burgers. Cook the second side with the lid closed for 3 minutes, or until the internal temperature is 1-2 degrees below your target (use a thermometer).
- Move the burgers to indirect heat (top rack or cooler zone). Place a slice of cheese on each patty and cook for 1-2 minutes more, until the cheese melts and the burgers reach your desired doneness. For medium, aim for 135-140 degrees F after resting.
- Transfer the burgers to a cutting board and let them rest for 5-10 minutes.
- While the burgers rest, grill the buns: place them oiled side down on the indirect heat area. Cook for 1-3 minutes until grill marks appear.
- Assemble the burgers with your favorite toppings and serve immediately.
Nutrition
Notes
Tried this recipe?
Let us know how it was!Frequently Asked Questions
Source: Nutritional Information