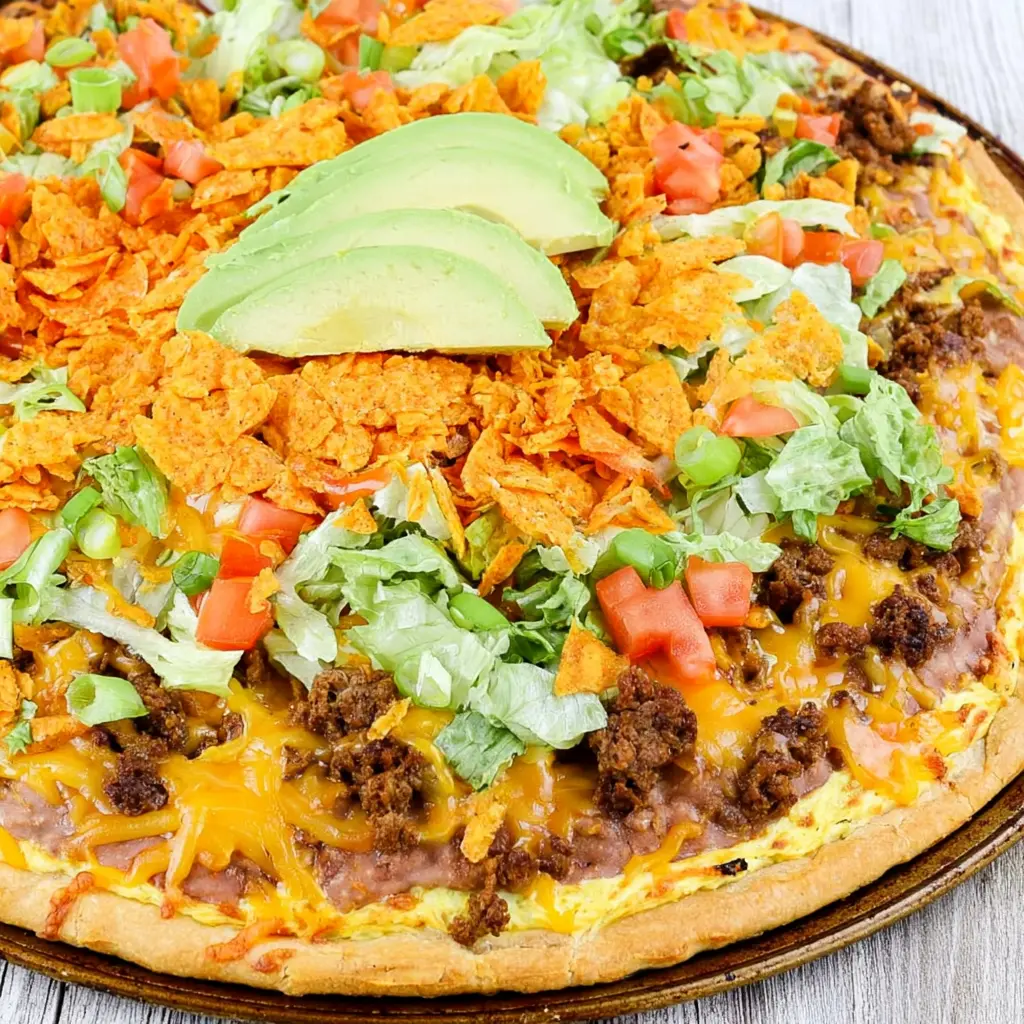
Why You’ll Love This Easy Taco Pizza
It’s 6 p.m. My toddler is orbiting my knees like a tiny hungry shark, and I’m standing in front of an open fridge that contains four kinds of mustard and absolutely nothing that resembles dinner.
Then I spot the tube of pizza dough in the back. Twenty minutes later, this easy taco pizza is on the table and nobody is complaining. That’s a big ole yes at my house.
Here’s what actually makes it work. This is not taco toppings dumped on a crust and called a day. The base is a creamy taco spread made from softened cream cheese and taco seasoning, and it does two jobs at once. Big flavor, plus a shield that keeps your crust from going soggy under all that beef and beans.
On top of that goes refried beans, seasoned ground beef, and enough cheddar to make a Texan nod approvingly. The cool, crunchy stuff gets piled on after the oven, never before.
Warm and cheesy underneath. Cool and crisp on top. My wife Maya runs the Desi Q food truck and has opinions about everything, and she took one bite and said “put this on the rotation.”
- 20 minutes start to finish
- One pan, one skillet, minimal cleanup
- Kid-approved flavors that don’t scare picky eaters
- Pantry staples you probably already own
What You Need (Plus Easy Swaps)
Nothing here requires a specialty market run. If my HEB has it, yours does too. This is the kind of quick weeknight dinner that lives on repeat because the shopping list is short and boring.
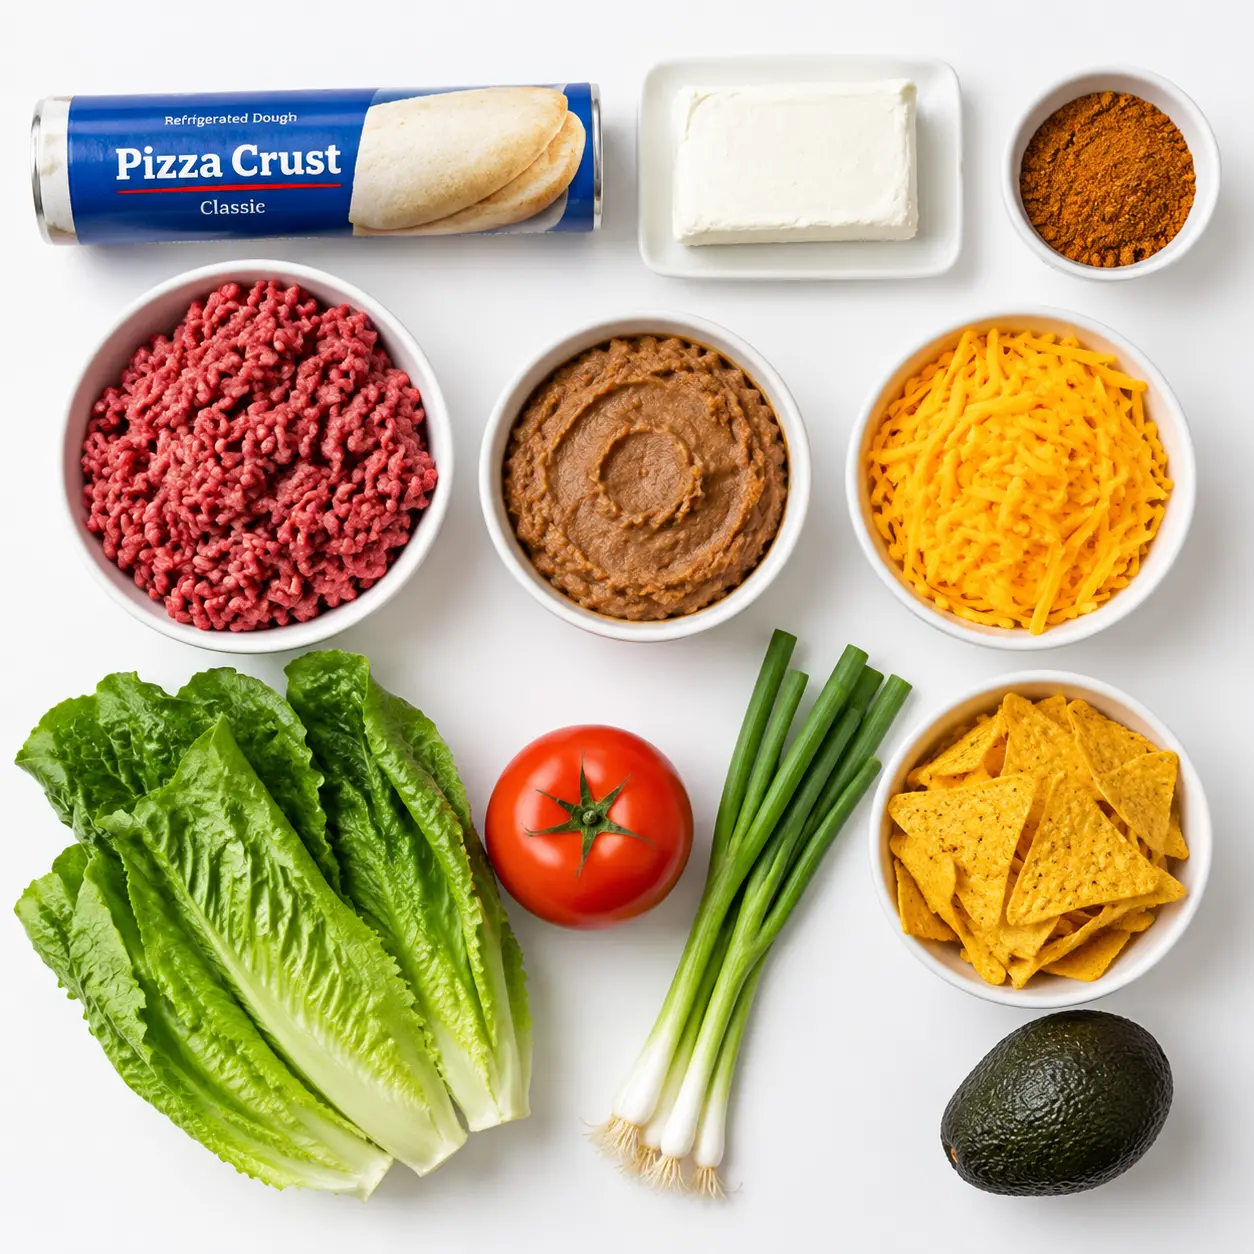
For the base:
- 1 tube refrigerated pizza crust dough (13.8 oz), thawed if frozen
- 8 oz cream cheese, softened at room temperature
- 1 1/2 tablespoons mild taco seasoning, about half a standard packet
- 1/2 lb cooked ground beef, crumbled and drained (about 2 cups)
- 1 cup refried beans, warmed slightly
- 2 cups shredded cheddar cheese
For the fresh finish:
- 2 cups shredded lettuce (romaine or iceberg)
- 1 medium tomato, seeded and chopped
- 1/2 cup green onions, thinly sliced
- 1 cup nacho cheese tortilla chips, lightly crushed
- 1 avocado, sliced, optional
Now the swaps, because I have absolutely been the person staring into an empty fridge at 6 p.m.:
- Out of ground beef? Ground turkey, shredded chicken, or seasoned black beans all step in fine. Toss a drained can of black beans into the mix if you want the meat to stretch further.
- No pizza dough? A crescent roll crust works in a pinch, though pizza dough gives you the crisper base.
- No cheddar? Monterey Jack melts like a dream.
- Want it bolder? Use the full packet of taco seasoning, or a hot blend instead of mild.
And about the sauce question, because I know you’re thinking it. Some folks spread salsa or enchilada sauce on the dough first. That’s fine, but thin sauce soaks straight in. The cream cheese spread holds its ground. Trust me on this one.
How to Make Easy Taco Pizza
Four stages, three of them done before the oven even gets going. Here’s how each one should look and feel.
Stage 1: Get the Crust Ready
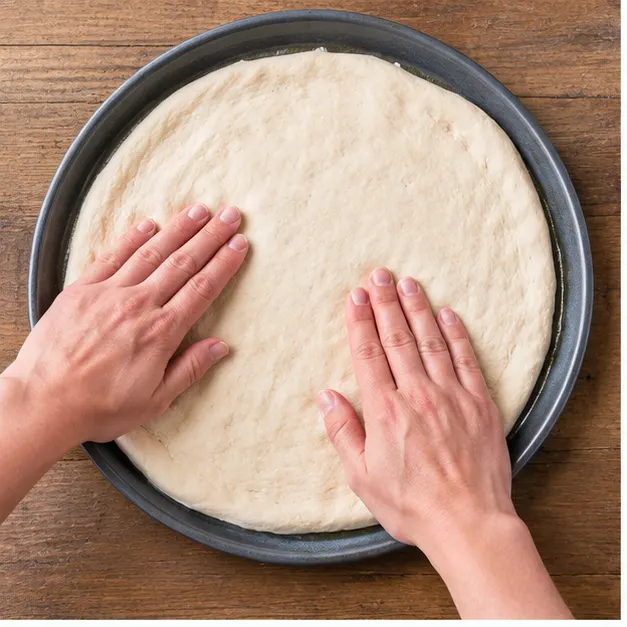
Heat the oven to 400 degrees Fahrenheit and give a round pizza pan or a large sheet pan a light coat of cooking spray. Press and stretch the dough out toward the edges so it forms an even layer. If it springs back at you, walk away for five minutes. Dough relaxes when you leave it alone.
Thick crust or thin? A 12-inch pan gets you a thicker, chewier base. A 14- or 16-inch pan gives you thin and crisp. A 9×13 works too if that’s the one that’s clean.
Stage 2: Mix the Creamy Taco Spread
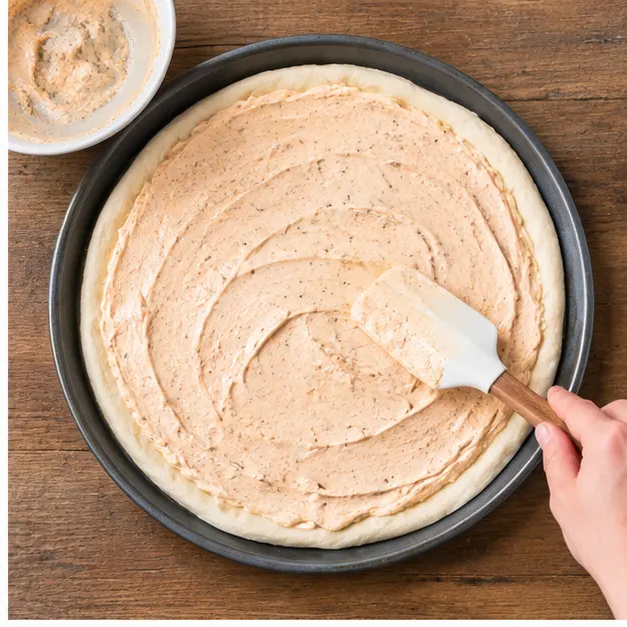
Stir the softened cream cheese together with the taco seasoning until it’s completely smooth. No lumps, no streaks of white. Then spread it in a thin, even coat across the entire dough surface, right out to the edges.
Here’s why this matters so much. That spread is your taco pizza sauce, and it’s also a barrier between the dough and everything wet coming next. Skip it and you’re rolling the dice on a soggy center.
Stage 3: Layer It Up and Bake
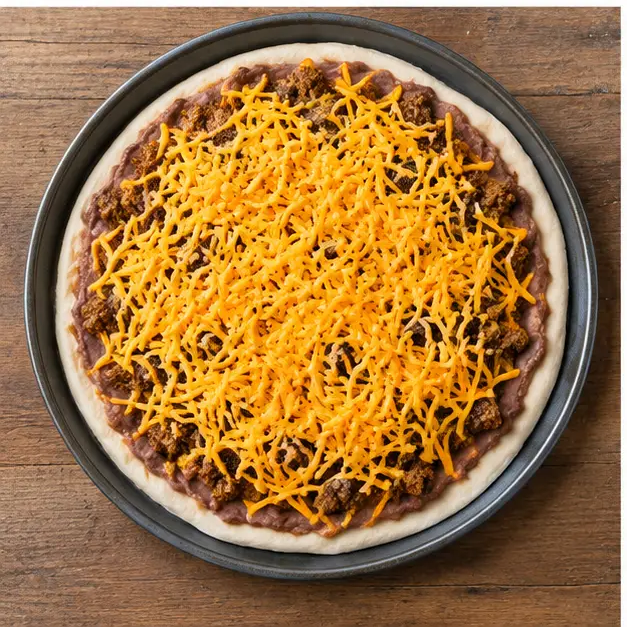
Spoon the warmed refried beans over the cream cheese layer, scatter the cooked ground beef on top, and finish with a generous blanket of shredded cheddar. Warm those beans for 20 to 30 seconds in the microwave first. Cold, stiff beans tear the dough when you spread them, and that’s a heartbreak nobody needs.
Into the oven for 8 to 10 minutes. You’re looking for fully melted cheese and a crust edge that’s turned a light golden brown. Not just warm. Bubbling, glossy, and edged with color.
Stage 4: Pile On the Cold Toppings
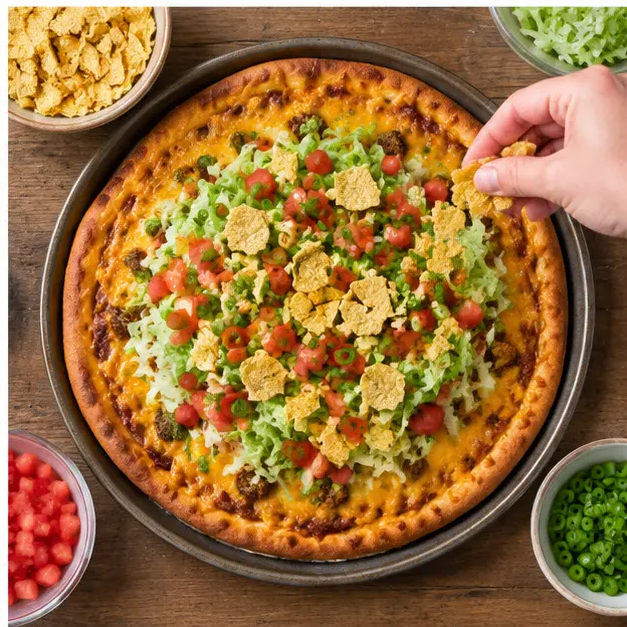
Pull it out and immediately shower it with green onions, chopped tomato, and shredded lettuce. Finish with a handful of crushed tortilla chips and avocado slices if you’ve got them.
Do this after baking. Always. Heat wilts lettuce into a sad green puddle and turns chips into mush. Everything crisp and cool stays off the heat, period.
Tips for the Perfect Taco Pizza
Small moves, big payoff. These are the ones I notice immediately when I skip them.
- Soften the cream cheese fully. Cold cream cheese tears the dough and spreads in clumps. Leave it out 30 minutes or give it a short burst in the microwave.
- Drain the beef like you mean it. Grease under the cheese is the number one cause of a floppy slice.
- Seed and chop the tomato. Those watery seeds are tiny sogginess bombs.
- Don’t overload it. More toppings doesn’t mean better pizza. It means a crust that can’t hold itself up.
- Rotate the pan halfway through if your oven runs hot on one side, which mine absolutely does.
- Let it sit two minutes before slicing. It firms up and the cheese stops sliding.
- Set the fresh toppings on the table. Let everyone build their own slice. My toddler gets a kick out of it and, honestly, so do I.
Common Mistakes to Avoid
I’ve made every one of these. Learn from my scars.
- ❌ Baking the lettuce, tomato, and chips. ✅ Add them after the pizza comes out. The oven destroys them.
- ❌ Spreading cold refried beans. ✅ Warm them 20 to 30 seconds first so they glide on without ripping the dough.
- ❌ Handing a slice to a kid straight from the oven. ✅ Those beans hold heat like lava. Give it a couple minutes.
- ❌ Using a pan that’s too big or too small. ✅ Match the pan to the crust you want, thick or thin.
- ❌ Skipping the cream cheese layer. ✅ It’s the flavor and the moisture barrier. Don’t cut that corner.
Easy Taco Pizza Variations
The base is a template. Change what you want underneath and it still works.
- Meatless: Swap the beef for a drained can of black beans or seasoned crumbles. Same layering, same bake time.
- Lighter: Ground turkey or shredded chicken in place of the beef. Nothing else changes.
- Spicier: Use a hot taco blend instead of mild, and a full packet if you want the whole thing to have a kick.
- Crescent roll crust: Press a tube of crescent roll dough into the pan instead. Softer and a touch sweeter, but it works on a rushed night.
Optional Toppings to Try
These aren’t part of the base recipe. Just good additions once you’ve got the hang of it.
- Sliced black olives
- Pickled or fresh jalapeños
- A dollop of sour cream on each slice
- A drizzle of salsa or taco sauce
- Chopped cilantro and a squeeze of lime
- Extra crushed chips, because the first handful disappears
Make-Ahead & Storage Tips
This is where this easy taco pizza earns its keep on a busy week.
To make it ahead, bake the topped crust completely, let it cool, and refrigerate the base by itself. When dinner rolls around, reheat at 350 degrees Fahrenheit for 6 to 8 minutes, then add the cold toppings fresh. That’s the whole trick.
Leftovers keep in the fridge for up to 2 days. Store the lettuce, tomato, and chips separately and add them after reheating. Otherwise you’re eating limp greens, and that’s nobody’s idea of a good time.
Freezing works too. Cool the baked base completely, wrap it tight, and freeze up to 2 months. Thaw overnight in the fridge and reheat the same way. I’ll be honest, the crust gives up a little crispness, but on a night when you have zero bandwidth, it’s a solid save.
One more thing. This pizza eats just as well cold as it does warm. Which means if you make it in the morning and life happens, you’re still fine at 7 p.m.
How to Serve Taco Pizza
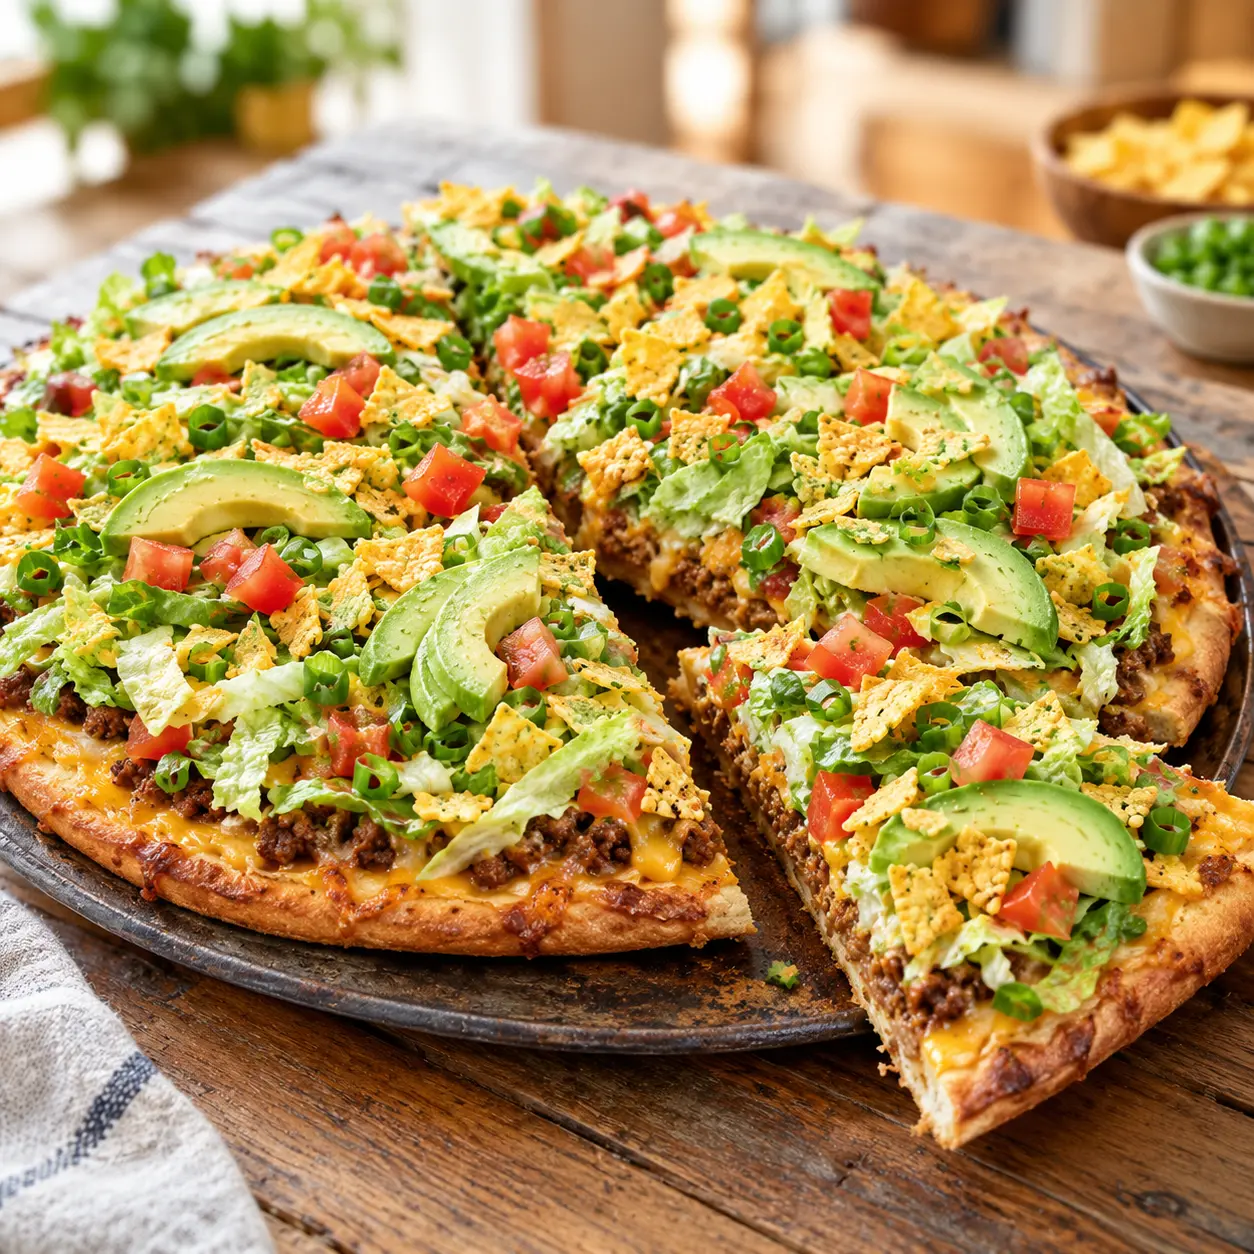
Cut it into wedges for a family dinner. Cut it into small squares for game day or a party and watch a whole pan vanish in four minutes.
- Side ideas: a simple green salad, chips and salsa, or a bowl of warm black beans.
- Serving size: one pan feeds about 4 as a meal, or 8 to 10 as an appetizer.
- Kid mode: slice into small pieces and let it cool a couple minutes before handing it over.
- Game day and Halloween nights: this is my go-to before the kids head out trick-or-treating. Hearty enough that they’re not raiding the candy bowl by 6:15.
When you pull this out of the oven, cheese bubbling and edges golden, your family will think you spent hours on it. You didn’t. And that’s between us.
Want more weeknight wins and backyard cooking ideas? Come hang out with me over on my Pinterest boards. I pin the recipes I actually cook, plus the ones that almost worked.
Easy Taco Pizza with Creamy Taco Spread
Ingredients
Method
- Set the oven to 400 degrees Fahrenheit and give a round pizza pan or large sheet pan a light coat of cooking spray.
- Press and stretch the pizza dough out across the pan, working it toward the edges so it forms an even layer.
- Stir the softened cream cheese together with the taco seasoning until it is smooth, then spread it in a thin, even coat over the entire dough surface.
- Spoon the refried beans over the cream cheese layer, scatter the cooked ground beef on top, and finish with a generous blanket of shredded cheddar.
- Slide the pan into the oven and bake for 8 to 10 minutes, until the cheese has fully melted and the crust edge turns a light golden brown.
- Pull the pizza out and immediately shower it with the green onions, chopped tomato, and shredded lettuce, then finish with a handful of crushed tortilla chips.
- Top with avocado slices if you like, cut into wedges, and serve right away.
Nutrition
Notes
Tried this recipe?
Let us know how it was!Easy Taco Pizza FAQ
Do You Need a Pizza Oven?
Not even a little. A standard sheet pan or round pizza pan in a regular 400 degree Fahrenheit home oven gives you a crisp, golden crust every time. A pizza stone or steel pushes the crispness further if you already own one, but it’s a bonus, not a requirement. I’ve made this on a beat-up aluminum pan for years and nobody at my table has ever complained.
Source: Learn More About This Dish