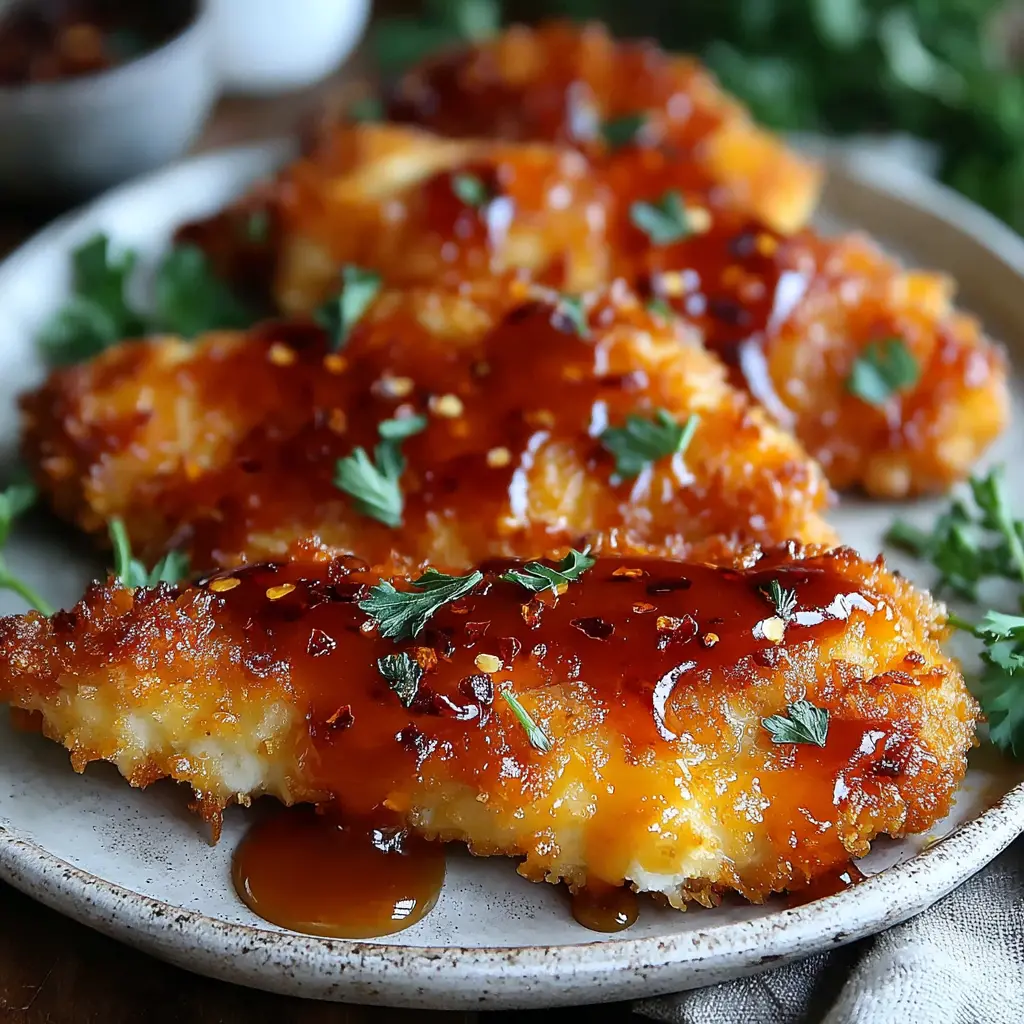
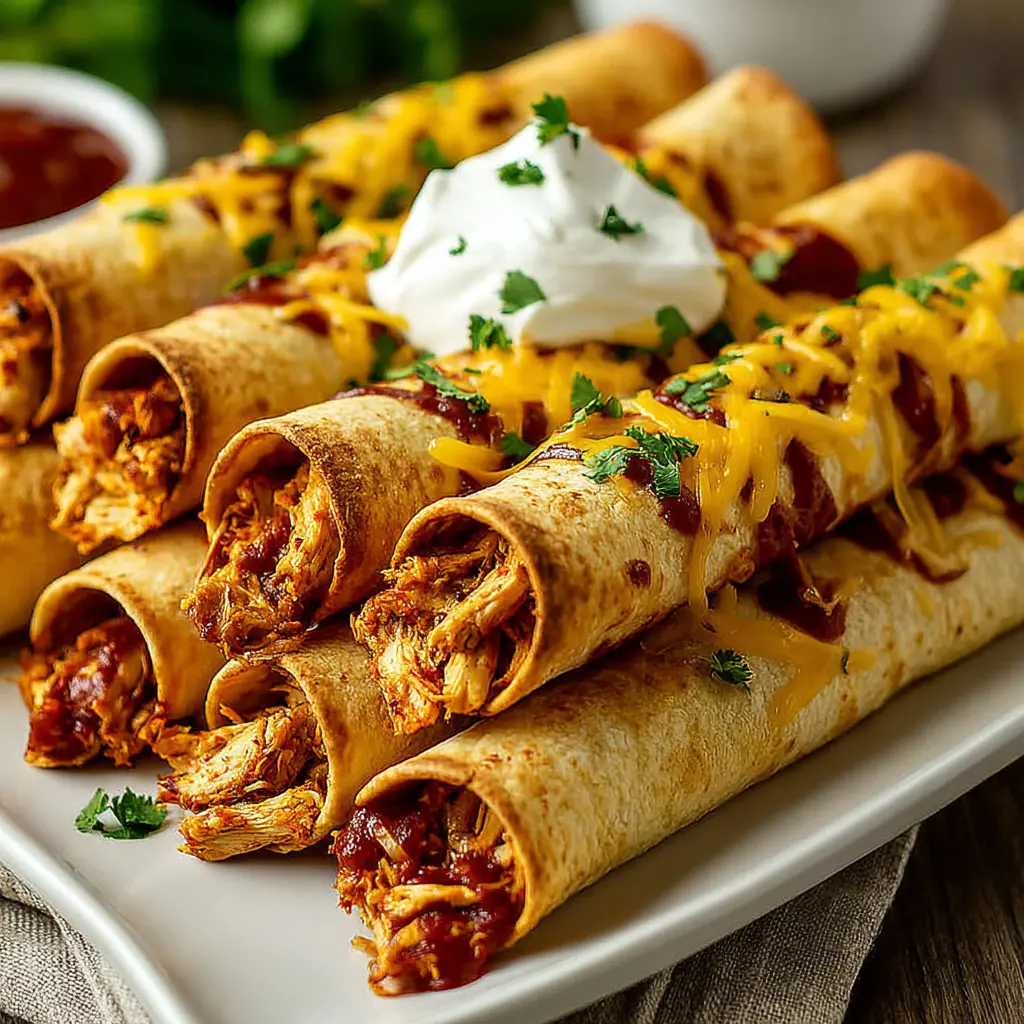
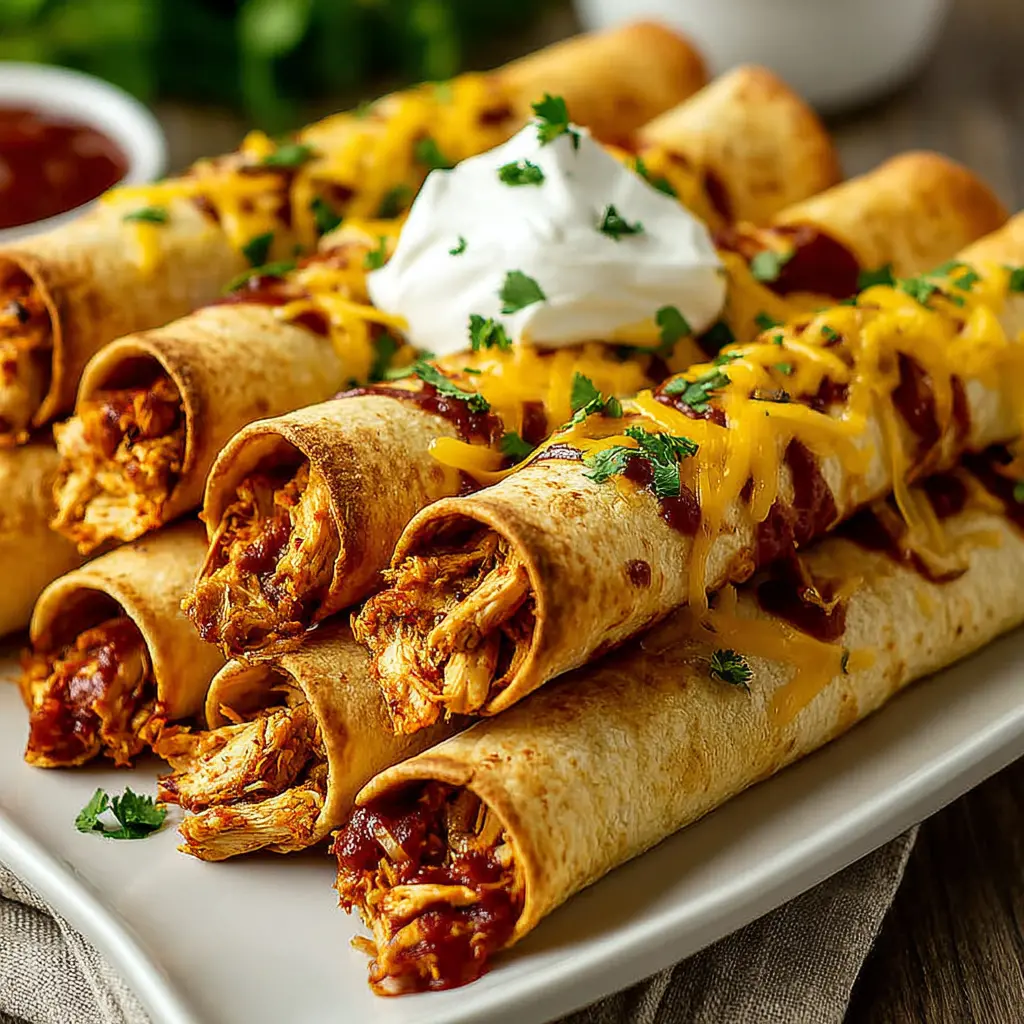
Smoky Honey BBQ Chicken Taquitos from the Slow Cooker
Ingredients
Method
- In a medium bowl, whisk together the ketchup, honey, molasses, apple cider vinegar, chili powder, smoked paprika, garlic powder, kosher salt, and black pepper until smooth. This is your homemade BBQ sauce.
- Place the chicken breasts in the bottom of a slow cooker. Pour the BBQ sauce evenly over the chicken. Cover and cook on low heat for 3 to 3 1/2 hours, or on high for 2 hours, until the chicken is tender and cooked through.
- Carefully transfer the cooked chicken to a large bowl, leaving the sauce behind in the slow cooker. Whisk the cornstarch into the sauce until completely dissolved. Turn the slow cooker to high and cook uncovered for 10 minutes, stirring occasionally, until the sauce thickens.
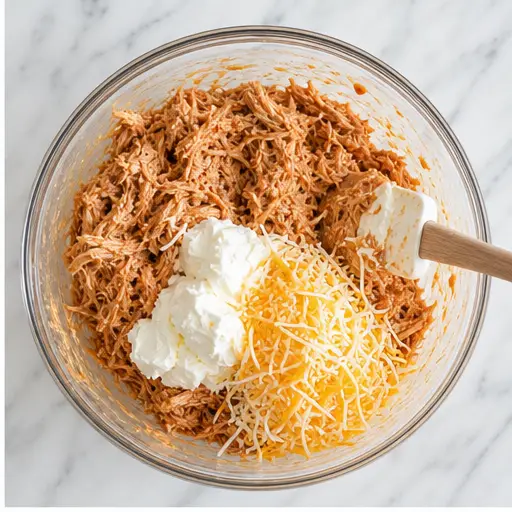
- While the sauce thickens, shred the chicken using two forks. Add 3/4 cup of the thickened sauce, the softened cream cheese, shredded Monterey Jack, and chopped cilantro to the shredded chicken. Stir until everything is well combined and creamy. Reserve the remaining BBQ sauce for serving.
- Preheat your oven to 400°F (200°C). Line a large baking sheet with parchment paper.
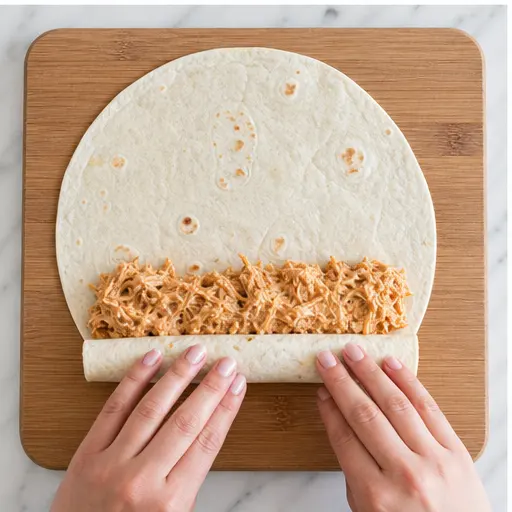
- To make rolling easier, warm the tortillas in the microwave between damp paper towels for about 30 seconds, just until pliable. Working one at a time, spoon about 1/4 cup of the chicken mixture onto the lower third of a tortilla. Roll it up tightly, tucking in the sides as you go.
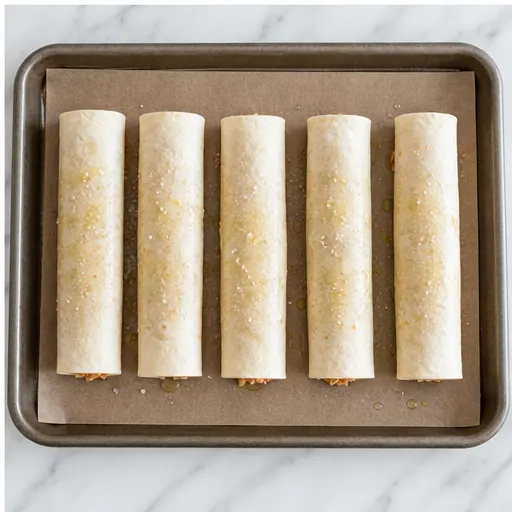
- Place the taquitos seam-side down on the prepared baking sheet. Repeat with the remaining tortillas and filling. At this point, you can freeze some or all of the unbaked taquitos for later (see notes).
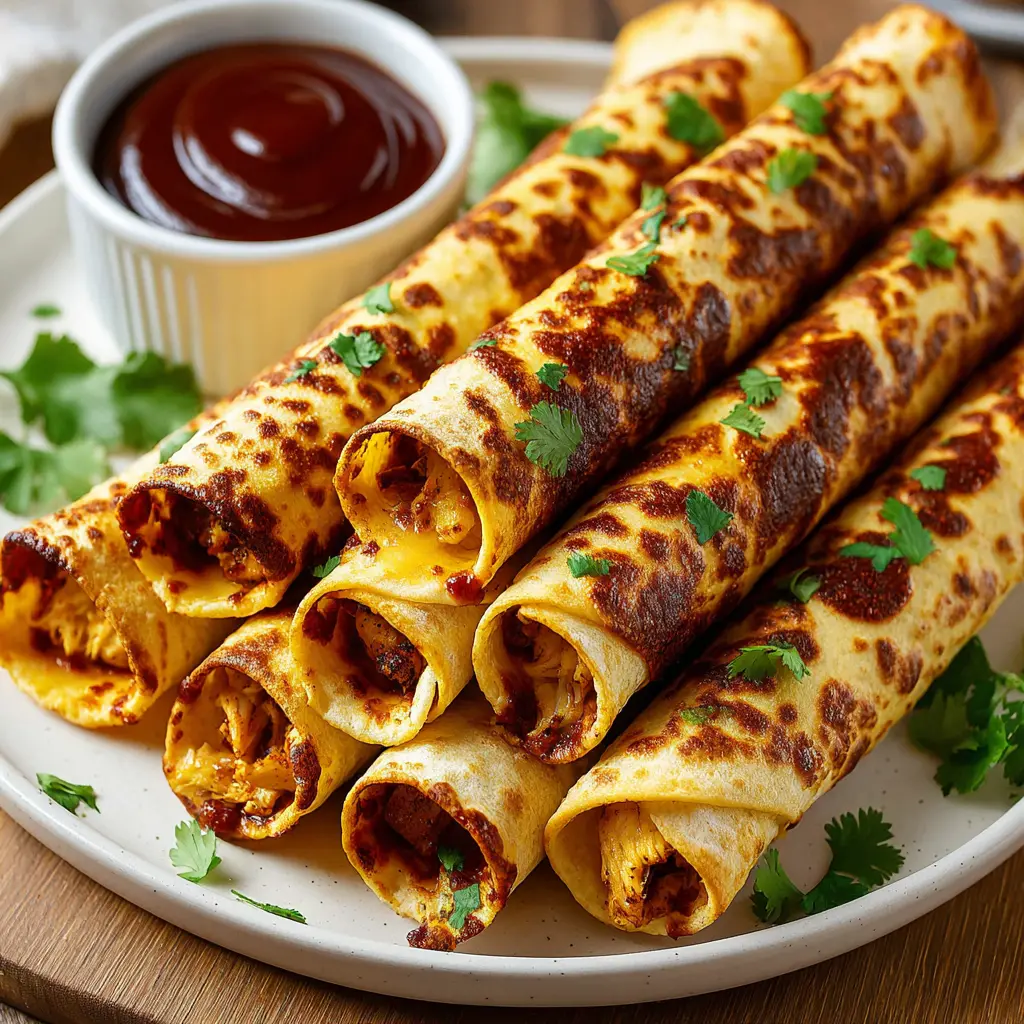
- Lightly spray the taquitos with cooking spray and sprinkle with a pinch of flaky sea salt. Bake for 12 to 16 minutes, until the taquitos are lightly golden and crisp. Serve warm with the reserved BBQ sauce for dipping.
Nutrition
Notes
Tried this recipe?
Let us know how it was!Why This Recipe Works
Okay, let’s be real for a second. It’s 5:30 PM, you’re staring into the fridge like it holds the secrets to the universe, and the kids are already circling like hungry sharks. I’ve been there more times than I can count. That’s exactly why these BBQ chicken taquitos became my secret weapon.
This isn’t just another easy chicken dinner recipe. It’s the one that makes you look like a kitchen hero without actually breaking a sweat. The slow cooker does all the heavy lifting, turning simple chicken into the most tender, flavorful filling you can imagine. And that homemade smoky honey BBQ sauce? Honestly, it’s the kind of thing you’ll want to put on everything.
The first time I made these, half of them fell apart. No joke. I was so frustrated. But guess what? They still tasted amazing. My family devoured them before I could even plate the ones that survived. So trust me when I say, even your “ugly” taquitos will be a hit. But I’ve since figured out all the tricks to get them perfect every time, and I’m sharing every single one with you.
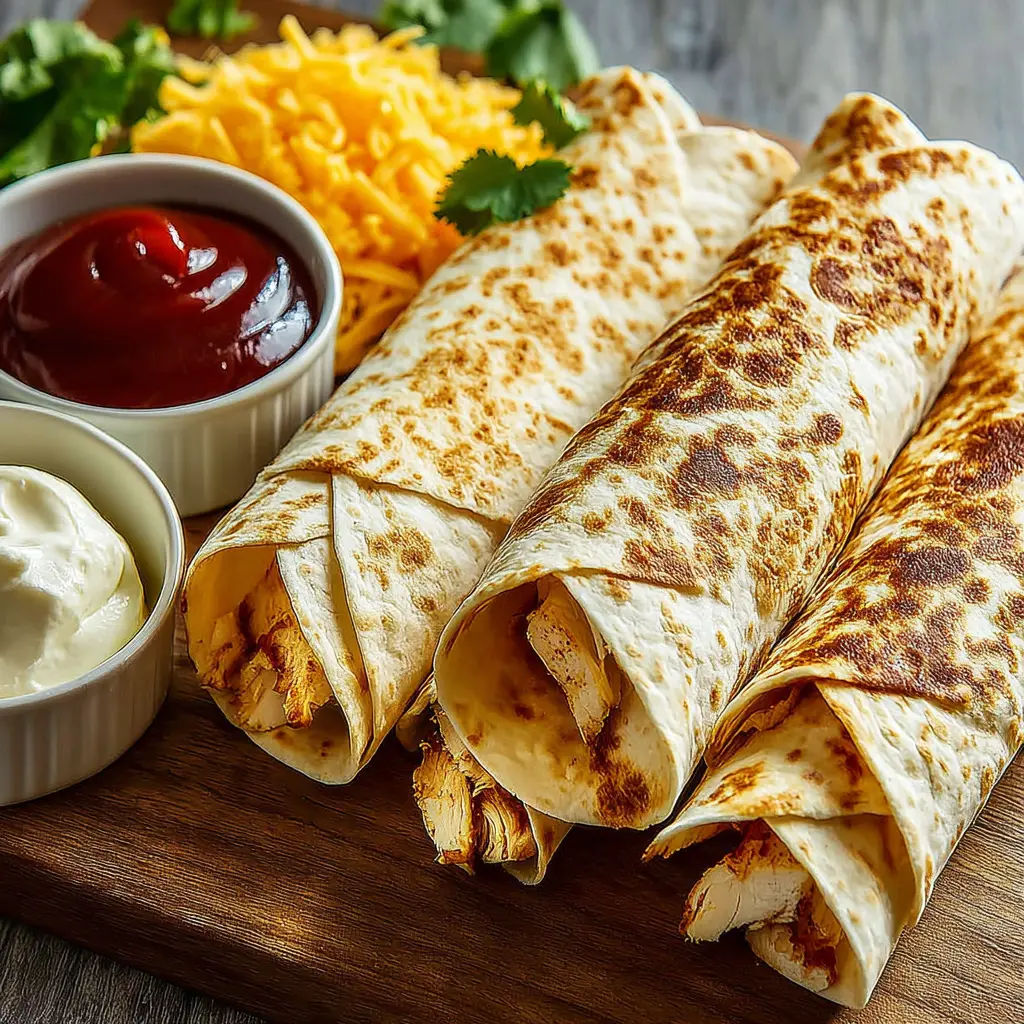
Ingredients You’ll Need
Here’s the thing about this recipe it uses mostly pantry staples. You probably have half of these already. No judgment if you don’t. I’m all about making life easy.
For the Smoky Honey BBQ Sauce: This is where the magic starts. You’ll need ketchup (the base), honey (for that sweet balance), molasses (for depth and that gorgeous dark color), apple cider vinegar (to cut through the sweetness), and a spice mix of chili powder, smoked paprika, garlic powder, salt, and pepper. The smoked paprika is non-negotiable, honestly. It gives that campfire flavor without actually having to build one.
For the Filling and Taquitos: You’ll need boneless, skinless chicken fillets (about 2 pounds), a little cornstarch to thicken the sauce, softened cream cheese (this is the secret to the creamiest, most luscious filling), shredded Monterey Jack cheese (so melty and good), fresh cilantro, and small 6-inch whole wheat or corn tortillas. A little cooking spray and flaky sea salt for the finish.
Budget Swap: If you don’t have Monterey Jack, any good melting cheese works. Think mozzarella, a mild cheddar, or even a Mexican blend. And if you’re out of molasses, you can use an extra tablespoon of honey and a teaspoon of dark brown sugar. Not exactly the same, but close enough for a Tuesday night.
Step-by-Step Instructions (The Easy Way)
I’m going to walk you through the four main stages here. The full detailed instructions are in the recipe card above, but this is where I share all the little tips and tricks I’ve learned along the way.
Stage 1: The Slow Cooker Magic
First, you whisk together your homemade BBQ sauce. It takes about two minutes. Then you place the chicken fillets in the slow cooker and pour that beautiful sauce all over them. Cover and let it do its thing. On low, that’s about 3 to 3.5 hours. On high, about 2 hours. The house will start smelling incredible, by the way. Like a summer cookout, but indoors, with no effort from you.
When the chicken is tender enough to fall apart with a fork, you transfer it to a bowl. Don’t toss that sauce! You whisk in a little cornstarch and let it simmer on high for 10 minutes to thicken. This is a game-changer. A thin sauce makes soggy taquitos. A thick, sticky sauce? That’s what you want.
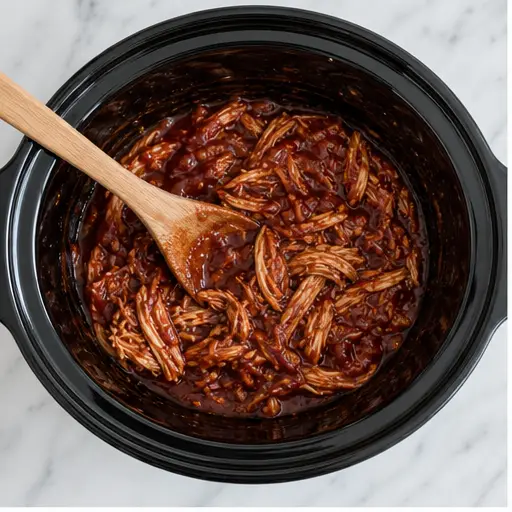
Stage 2: Building the Creamy Filling
This is where the cream cheese comes in. And I know, some of you might be skeptical. Cream cheese in a taquito? Trust me. It’s what makes the filling so incredibly creamy and holds everything together. Shred the chicken with two forks (so satisfying), then stir in 3/4 cup of that thickened sauce, the softened cream cheese, the shredded Monterey Jack, and the fresh cilantro. Mix it all up until it’s well combined and looks like the most delicious chicken salad you’ve ever seen.
Pro tip: Make sure your cream cheese is truly softened. Cold cream cheese won’t mix in smoothly, and you’ll end up with little white lumps. Not the end of the world, but not ideal. Leave it out on the counter for 30 minutes before you start.
Stage 3: Rolling Without the Tears
Okay, this is the part that used to stress me out. But I promise, it’s easy. Preheat your oven to 400°F. Line a baking sheet with parchment paper. Now, warm your tortillas. This is the single most important step for preventing breakage. Wrap a stack in damp paper towels and microwave for about 30 seconds. They become super pliable and flexible.
Working one at a time, spoon about 1/4 cup of the filling onto the lower third of a tortilla. Don’t overfill! That’s another common mistake. Roll it up tightly, tucking in the sides as you go. Pretend you’re wrapping a tiny burrito. You got this. Place each one seam-side down on the baking sheet.
Stage 4: Achieving Peak Crispiness
Here’s the final secret to crispy baked taquitos: spray them with cooking spray and sprinkle with flaky sea salt. The oil helps them brown and get that incredible crunch. Without it, they’ll be pale and soft. We don’t want that. Bake for 12 to 16 minutes, until they’re lightly golden and you can hear that crackle when you tap the shell. It’s pure magic.
When they come out of the oven, let them rest for a minute or two. They’ll crisp up even more as they cool slightly. Then serve them warm with the reserved BBQ sauce for dipping.
Tips for Perfect Taquitos
I’ve made these more times than I can count, and I’ve learned a few things along the way. Here are my best tips to make sure your taquitos come out perfect every single time.
- ❌ Mistake: Not heating tortillas first. ✅ Solution: Always warm them in the microwave between damp paper towels for 20-30 seconds. This makes them pliable and prevents tearing. Cold tortillas are brittle tortillas.
- ❌ Mistake: Overfilling the tortillas. ✅ Solution: Stick to about 1/4 cup of filling. It might not look like much, but it’s plenty. Overfilling leads to burst taquitos and a mess in your oven.
- ❌ Mistake: Not spraying with oil. ✅ Solution: The cooking spray is non-negotiable for crispiness. It helps them brown evenly and get that satisfying crunch. Don’t skip it.
- ❌ Mistake: Using wet filling. ✅ Solution: That’s why we thicken the sauce with cornstarch. A thick, sticky filling means the tortillas stay dry and get crispy. A wet filling makes them soggy.
Storage & Reheating
Leftovers are a beautiful thing with these taquitos. They store well and reheat like a dream, if you do it right.
In the Fridge: Store baked and cooled taquitos in an airtight container in the refrigerator for up to 4 days. They’ll lose a bit of their initial crunch, but don’t worry we’ll fix that.
To Reheat (Best Method): The air fryer is your best friend here. Pop them in at 350°F for 5-7 minutes. They come out almost as crispy as the day you made them. The oven works great too 350°F for 10-12 minutes. The microwave is the last resort. It works, but they’ll be soft. Sometimes that’s okay though, especially for a quick lunch.
Freezer Meal Instructions
This is where these BBQ chicken taquitos really shine. They are incredibly freezer friendly and perfect for meal prep.
To Freeze Unbaked: Assemble the taquitos, place them on a baking sheet (not touching), and freeze for 1-2 hours until solid. Then transfer them to a freezer bag or airtight container. They’ll keep for up to 3 months. To bake from frozen (no thawing needed), just pop them on a baking sheet and bake at 375°F for 18-20 minutes. Easy.
To Freeze Baked: Let the baked taquitos cool completely, then freeze them on a baking sheet until solid. Transfer to a freezer bag for up to 2 months. Reheat them straight from frozen in the oven or air fryer.
Frequently Asked Questions
What to Serve with BBQ Chicken Taquitos
These taquitos are pretty amazing on their own, but the right sides and dips take them to the next level. Here are some of my favorite ways to serve them.
- Dipping Sauces: Extra BBQ sauce is a must. But also try sour cream, guacamole, or a simple ranch dressing. The cool, creamy dips are perfect against the crispy, smoky taquitos.
- Side Dishes: A simple Mexican street corn salad, cilantro lime rice, or a black bean and corn salsa are all fantastic. For a lighter option, a crisp green salad with a tangy vinaigrette works beautifully.
- For a Party: These make incredible party finger food or July 4th appetizers. Serve them on a platter with a variety of dipping sauces and watch them disappear.
I really hope you give these a try. They’ve saved my sanity on more rushed evenings than I can count, and I know they’ll become a staple in your kitchen too. Tag me when you make them I want to see your crispy beauties! And if you’re looking for more inspiration, check out my Pinterest board for more easy dinner ideas.
Source: Nutritional Information