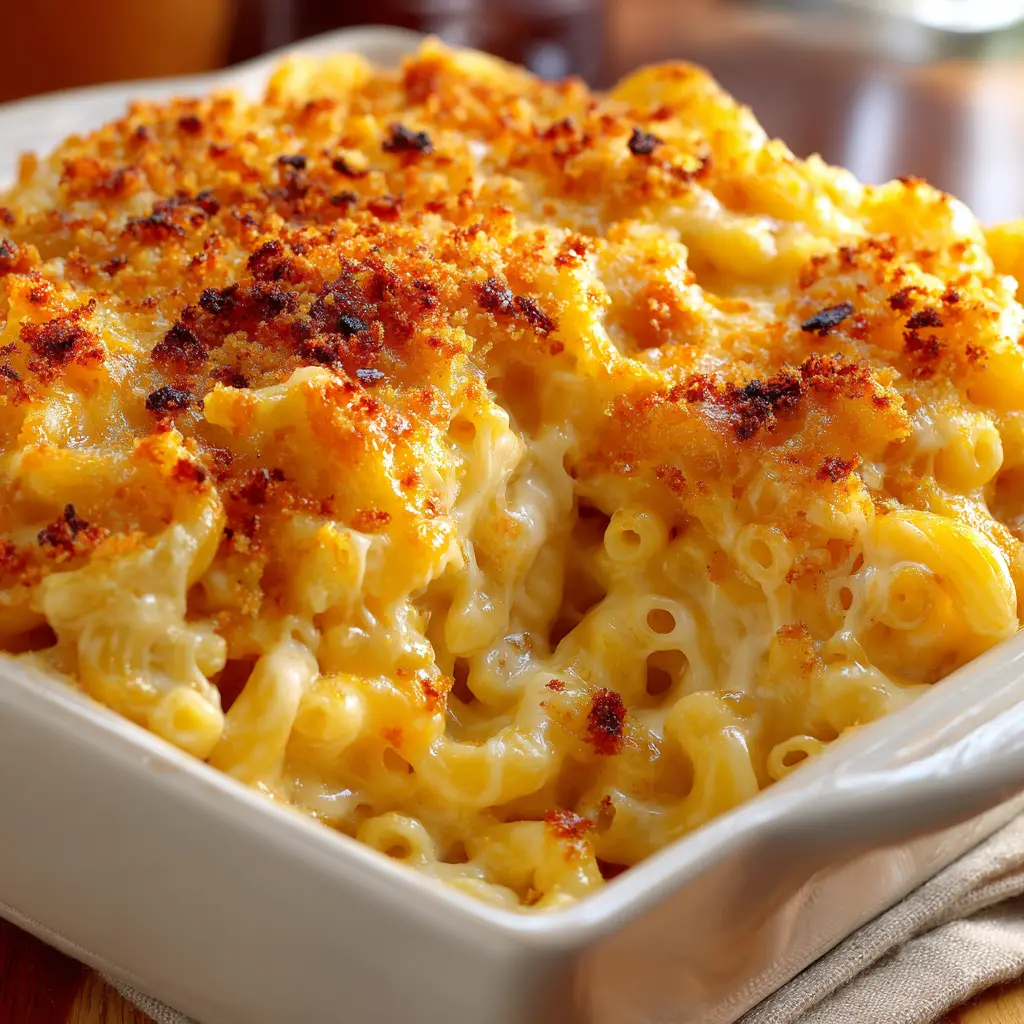
Why This Homemade Mac and Cheese Works
I still remember the first time I tried to make homemade mac and cheese from scratch. It was a disaster. The sauce was grainy, the pasta was mushy, and the whole thing tasted like flour. I almost gave up and went back to the box. But I’m stubborn, and I knew there had to be a better way.
So I went back to the kitchen. I tested different cheeses, different ratios of milk to cream, different cooking methods. And eventually, I landed on this recipe. It’s the one I make for every potluck, every holiday, every Tuesday night when I need something comforting. And it works every single time.
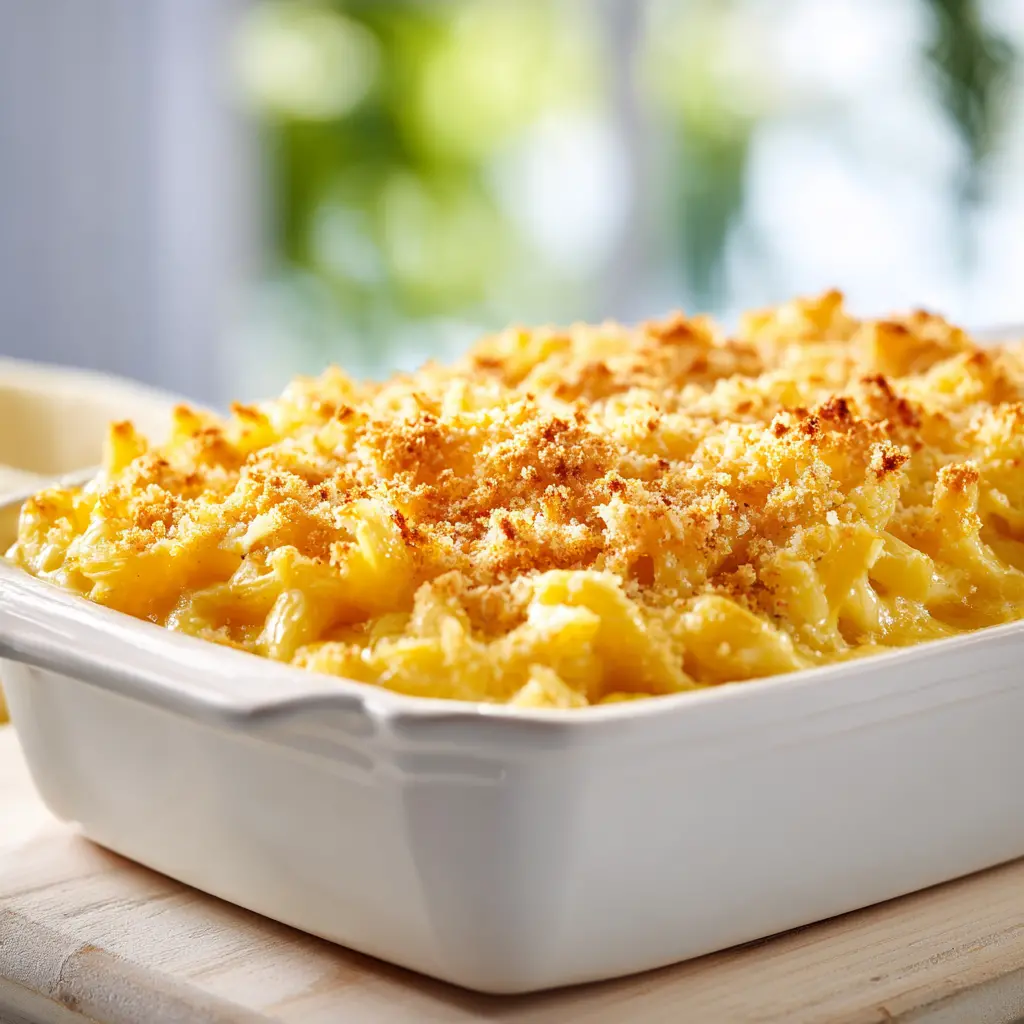
Here’s the thing about this particular homemade mac and cheese. It’s creamy without being heavy. It’s cheesy without being greasy. And that topping? It gets perfectly golden and crispy in the oven. I promise it’s easier than it sounds, even if you’ve never made a cheese sauce before.
What I love most about this recipe is how adaptable it is. You can keep it simple for a weeknight dinner, or dress it up for a party. It works as a side dish for grilled chicken or as a main course with a big green salad. And the leftovers? They reheat beautifully, which is saying something for a baked pasta dish.
So if you’ve been burned by grainy, disappointing mac and cheese before, trust me on this one. We’re going to get it right.
Ingredients & Substitutions
Before we get into the method, let’s talk about what you’ll need. The ingredient list is pretty straightforward, but a few things matter more than others.
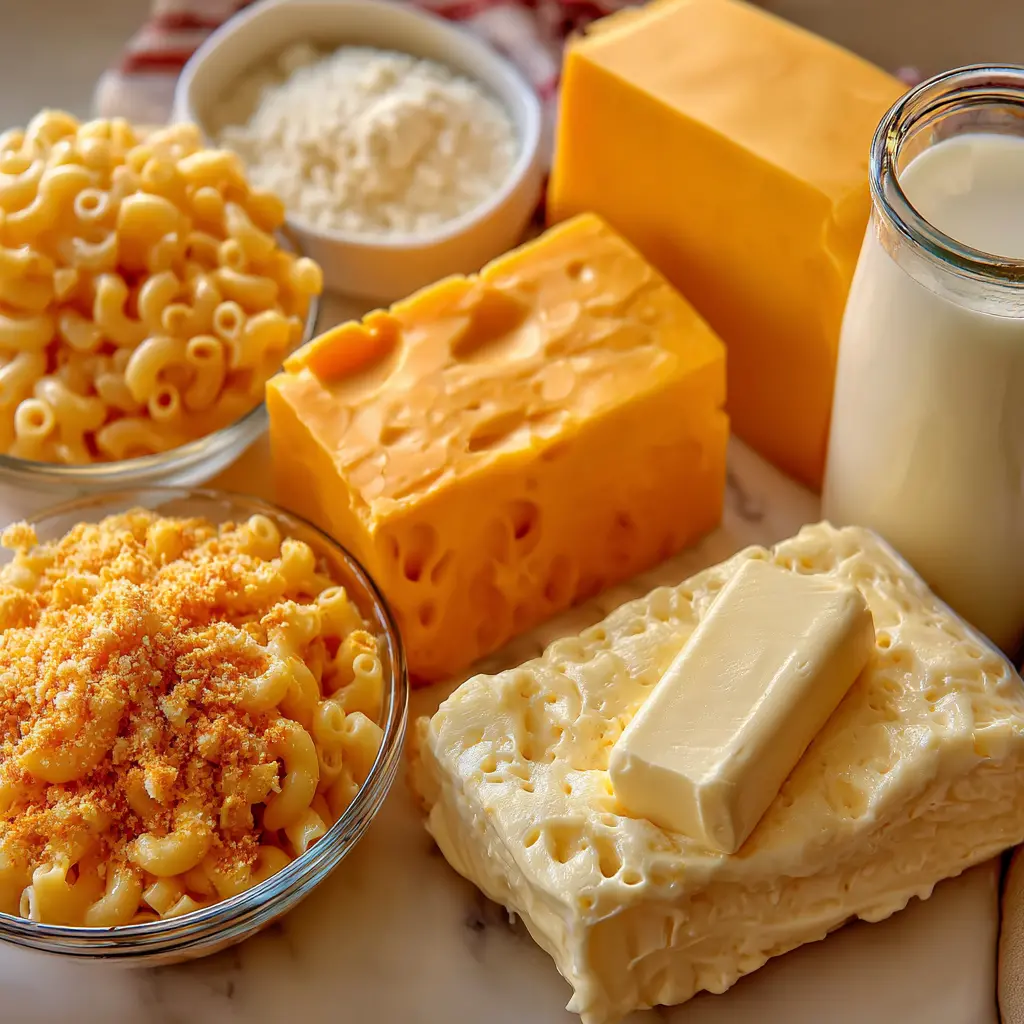
For the pasta, I use elbow macaroni. It’s classic for a reason. Those little tubes grab onto the cheese sauce in a way that other shapes just can’t. But if you want to mix it up, cavatappi or even shells work great. Just make sure you cook it to al dente, about a minute less than the package says. It’ll finish cooking in the oven, and nobody likes mushy pasta.
For the cheese sauce, you need three things: butter, flour, and a mix of cheeses. I use sharp cheddar for the main flavor, mozzarella for that gooey stretch, and Parmesan for a salty, nutty kick. But here’s the thing about the cheese.
- Sharp cheddar gives you the most flavor. Skip the mild stuff, it’s not worth it.
- Mozzarella adds that perfect stringy texture when you pull up a spoonful.
- Parmesan brings a savory depth that balances the richness.
Now, about the milk and cream. I use whole milk and heavy cream. The cream adds that extra richness that makes this mac and cheese feel decadent. If you only have 2% milk, it’ll still work, but the sauce won’t be quite as luxurious. And please, for the love of all things cheesy, do not use pre-shredded cheese. I know it’s convenient, but trust me on this. Pre-shredded cheese is coated in starches that prevent it from melting smoothly. You’ll end up with a grainy sauce, and nobody wants that.
As for the seasonings, garlic powder, dry mustard powder, and paprika are the secret weapons. The mustard powder doesn’t make it taste like mustard. It just makes the cheese taste more… cheesy. It’s a weird alchemy, but it works.
Best Cheeses for Mac and Cheese
Let’s dig deeper into the cheese situation, because this is where most people go wrong. The combination I use in this recipe is tried and true, but you can absolutely customize it.
The key is to use a mix of cheeses that melt well and have different flavor profiles. Sharp cheddar is your backbone. It’s what gives the sauce that classic mac and cheese flavor. Mozzarella is your texture helper. It melts into those long, stretchy strands that make the dish feel indulgent. And Parmesan adds a salty, savory finish that rounds everything out.
If you want to experiment, try swapping out some of the cheddar for Gruyere. It melts beautifully and has a nutty, slightly sweet flavor that pairs perfectly with the mustard powder. Or add a little smoked gouda for a deeper, smokier taste. Just make sure whatever cheese you use, you shred it yourself from a block. It makes a world of difference.
I also want to talk about the temperature of your cheese. Take it out of the fridge about 30 minutes before you start cooking. Cold cheese can cause the sauce to seize up and become grainy. Room temperature cheese melts much more smoothly. It’s a small step, but it matters.
How to Make Mac and Cheese (Step by Step)
Alright, let’s get into the actual cooking. I’m going to walk you through the four main stages. Each one is important, but none of them are hard. I promise.
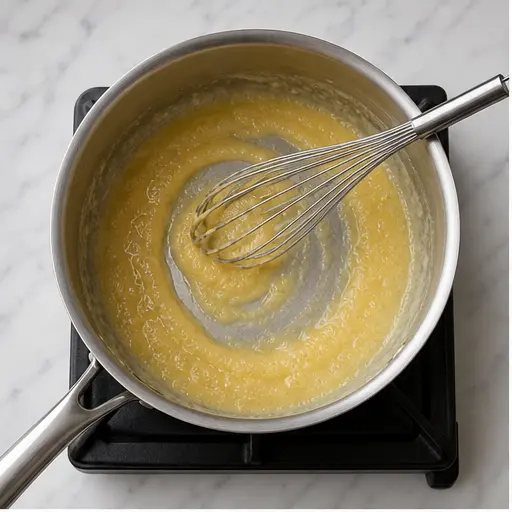
Stage 1: Make the roux. This is the foundation of your cheese sauce. Melt the butter in a large saucepan over medium heat. Once it’s fully melted, whisk in the flour. Keep whisking for a minute or two until the mixture turns a light golden color and starts to smell a little nutty. You’re looking for it to bubble gently but not brown too much. If it starts to smell like toast, you’ve gone too far.
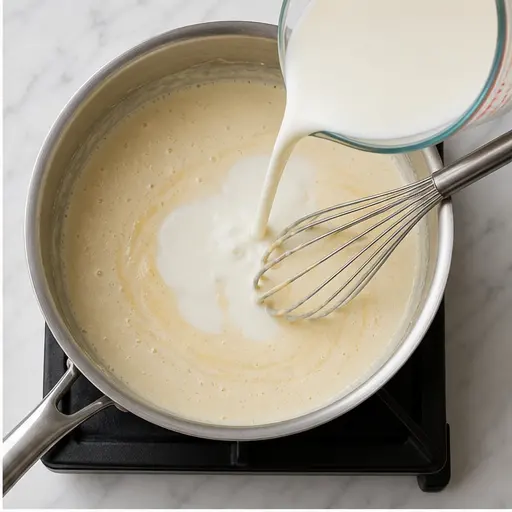
Stage 2: Build the béchamel. Now, slowly pour in the milk and cream while whisking constantly. Don’t dump it all in at once. A steady stream is your friend. Keep whisking until the sauce starts to thicken, about 4 to 6 minutes. You’ll notice it go from thin and watery to something that coats the back of a spoon. When it does that, it’s ready. Then stir in your seasonings: garlic powder, mustard powder, paprika, salt, and pepper.
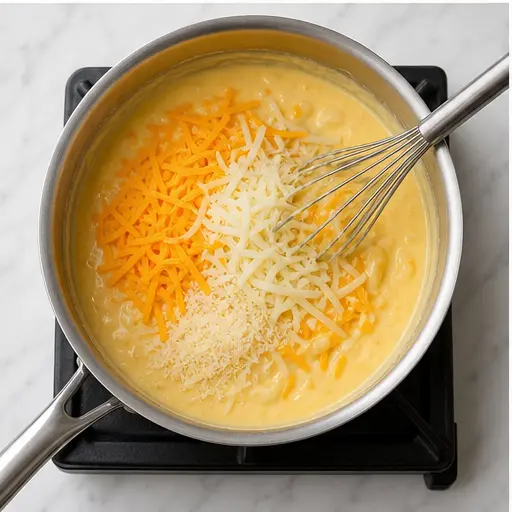
Stage 3: Melt the cheese. This is the most important part. Reduce the heat to low before you add the cheese. If your sauce is too hot, the cheese will separate and you’ll end up with a greasy, grainy mess. Add the shredded cheddar, mozzarella, and Parmesan a handful at a time, stirring gently until each batch is melted before adding the next. Don’t over-stir once the cheese is in. Just fold it in until it’s smooth.
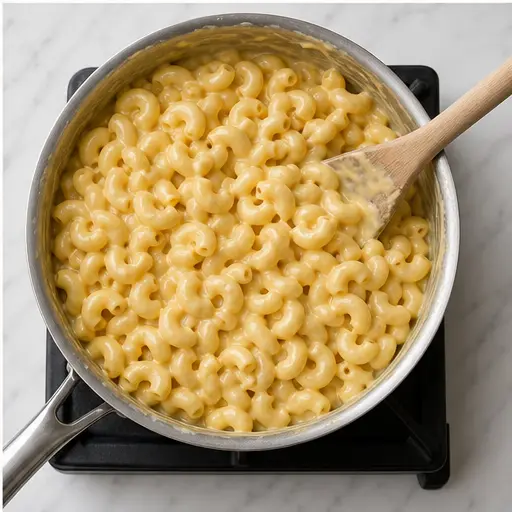
Stage 4: Combine and bake. Add your cooked, drained pasta to the cheese sauce. Stir gently until every piece is coated. Then pour the whole thing into a greased 9×13-inch baking dish. If you’re using the breadcrumb topping, mix the panko with melted butter and a pinch of smoked paprika, then sprinkle it evenly over the top. Bake at 350°F for 20 to 25 minutes, until it’s bubbly and golden. For an extra crispy topping, broil it for the last 2 to 3 minutes. Just watch it carefully so it doesn’t burn.
Tips for a Smooth Cheese Sauce
Let’s talk about the most common problems people run into with cheese sauce, and how to fix them.
Troubleshooting Your Cheese Sauce
❌ Grainy sauce: This usually happens when the heat is too high when you add the cheese, or when you use pre-shredded cheese. ✅ Solution: Always melt cheese over low heat. Shred your own cheese from a block. And don’t over-stir once it’s melted.
❌ Sauce is too thin: You might not have cooked the roux long enough, or you added too much liquid. ✅ Solution: Cook the roux until it’s lightly golden and bubbling. When you add the milk and cream, let it simmer until it thickens before adding the cheese.
❌ Sauce is too thick: You might have cooked it too long, or used too much flour. ✅ Solution: If your sauce is too thick before you add the cheese, whisk in a splash more milk. If it’s too thick after baking, let it rest for a few minutes before serving.
❌ Sauce separates or looks oily: The cheese got too hot, or you used a cheese that doesn’t melt well. ✅ Solution: Keep the heat low. Use cheeses that are known for melting, like cheddar, mozzarella, and Gruyere. Avoid hard, aged cheeses like extra-sharp cheddar on their own.
One more thing. When you’re making the roux, don’t walk away. It only takes a minute or two, and it can go from perfect to burnt in seconds. The sizzle of the butter and flour coming together, that nutty smell filling your kitchen, it’s a beautiful thing. Just stay with it.
To Bake or Not to Bake
This is a debate that divides mac and cheese lovers. Some people swear by the stovetop version, others insist on baking it. I’m firmly in the baked camp, but I’ll give you the pros and cons of both.
Stovetop mac and cheese is faster. You can have it on the table in about 20 minutes. The sauce stays super creamy and doesn’t have time to dry out in the oven. If you’re in a hurry or it’s a hot summer day and you don’t want to turn on the oven, this is your best bet. To make it stovetop, just skip the baking step. Cook the pasta to al dente, make the sauce, combine them, and serve immediately. You might want to add a little extra cheese to the sauce since you won’t have the oven to melt the topping.
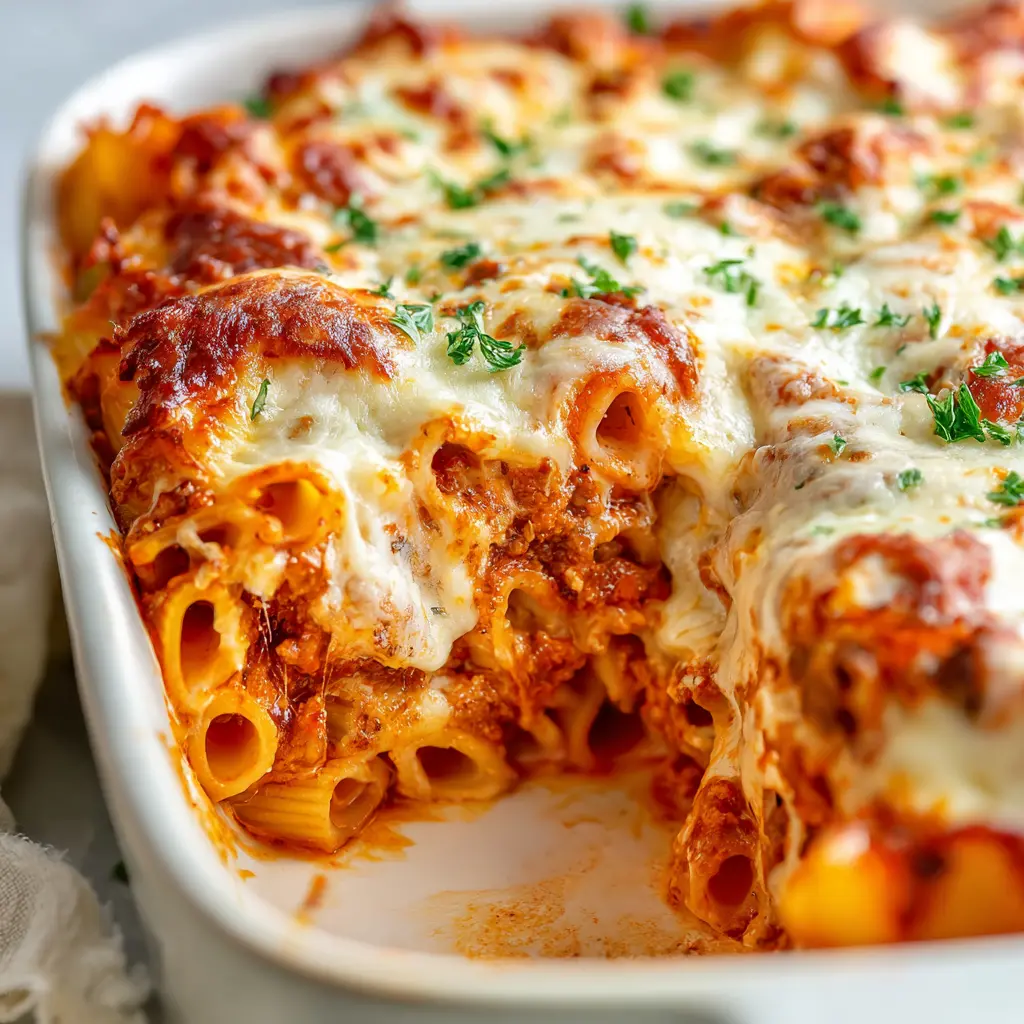
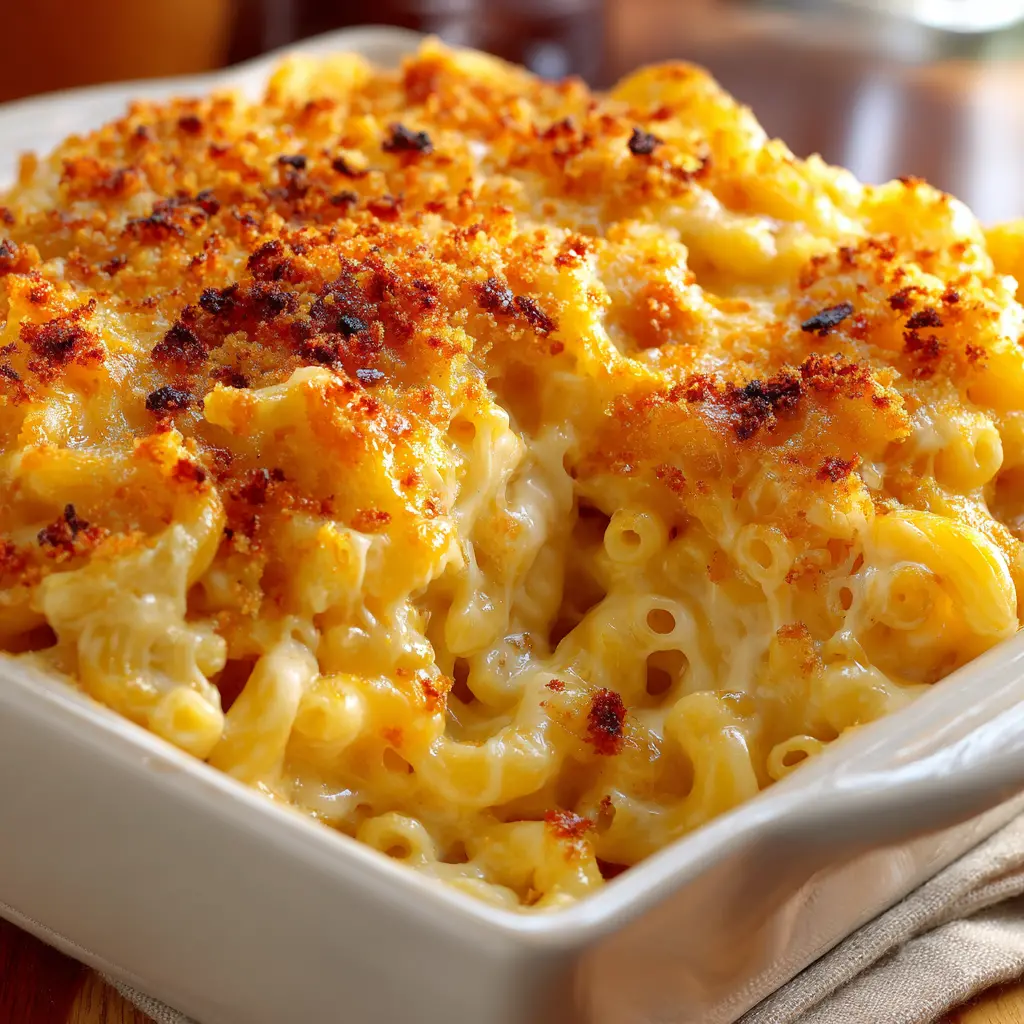
Baked mac and cheese is what this recipe is all about. The oven gives you that golden, crispy topping that contrasts with the creamy pasta underneath. The flavors meld together in a way that doesn’t happen on the stovetop. And that breadcrumb topping? It’s the best part. The panko gets crunchy and buttery, and the smoked paprika adds a little warmth. When you pull the baking dish out of the oven and see those bubbles breaking through the crust, you know you’ve done something right.
If you’re making this for a crowd or a holiday dinner, bake it. If you’re making it for a quick weeknight meal, go stovetop. Either way, it’s delicious.
Variations & Add-Ins
One of the best things about this homemade mac and cheese is how customizable it is. Here are some of my favorite ways to change it up.
- Lobster mac and cheese: Fold in cooked, chopped lobster meat before baking. It turns a side dish into a main course.
- Cauliflower mac and cheese: Add steamed cauliflower florets along with the pasta. It adds a little vegetable goodness without changing the flavor too much.
- Spicy mac and cheese: Add a pinch of cayenne pepper to the cheese sauce, or stir in some diced jalapeños.
- Bacon mac and cheese: Cook some bacon until crispy, crumble it, and sprinkle it over the top before baking. (Just make sure to use a different protein if you’re avoiding pork.)
- Vegetable mac and cheese: Roast some broccoli, peas, or carrots and fold them in before baking. Just make sure to pat them dry so they don’t water down the sauce.
Feel free to swap in your favorite cheese blend or add a pinch of cayenne. This recipe is forgiving. As long as you follow the basic method for the sauce, you can take it in any direction you want.
Make Ahead and Storage
This recipe is perfect for making ahead. Here’s how to do it.
To make ahead: Assemble the mac and cheese completely, but don’t add the breadcrumb topping. Cover the dish with foil and refrigerate for up to 24 hours. When you’re ready to bake, add the breadcrumb topping and bake as directed, adding about 10 minutes to the cooking time since you’re starting from cold.
To freeze: Assemble the mac and cheese without the topping. Let it cool completely, then wrap the dish tightly in plastic wrap and foil. Freeze for up to 3 months. To bake from frozen, remove the wrapping, add the breadcrumb topping, and bake at 350°F for 70 to 80 minutes, until it’s hot and bubbly throughout.
To store leftovers: Keep them in an airtight container in the fridge for up to 3 days. The sauce might thicken up a bit as it sits, but that’s normal.
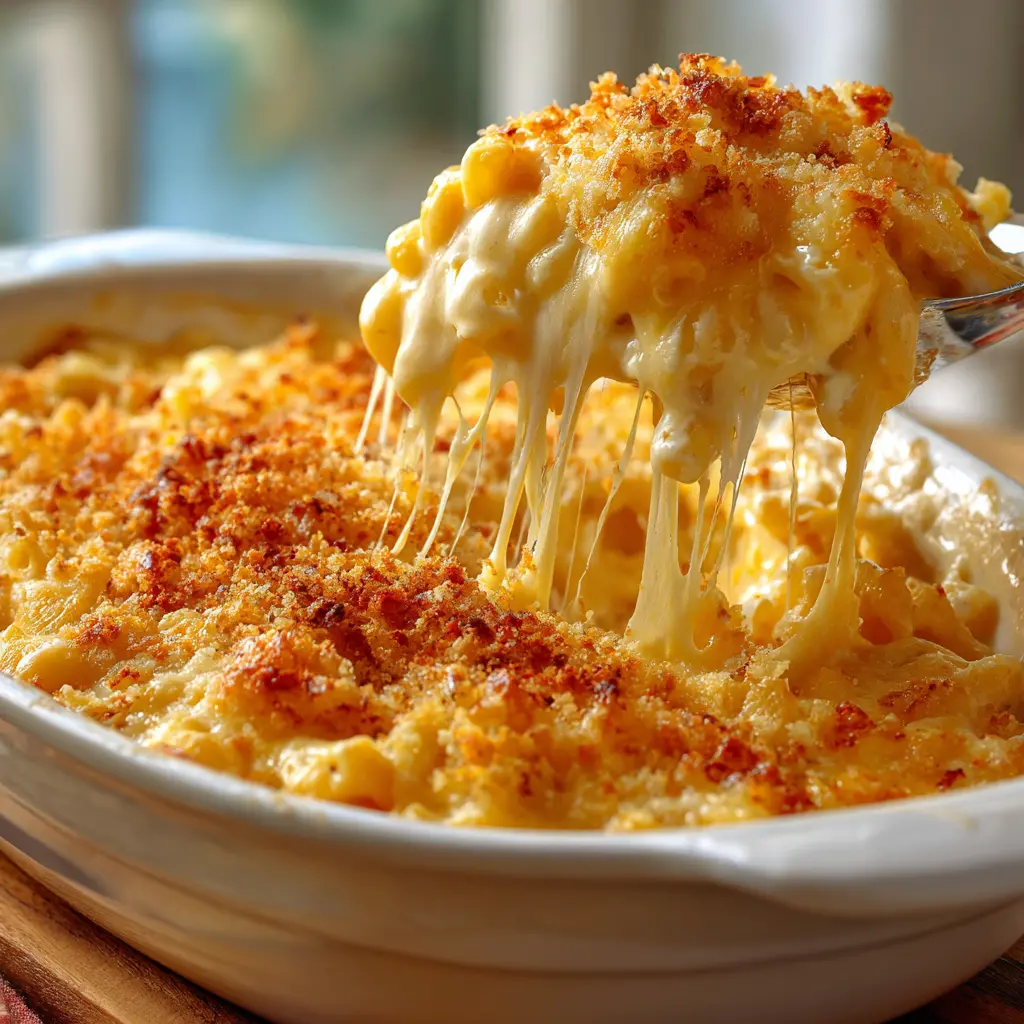
To reheat: The best way to reheat mac and cheese is in the oven. Add a splash of milk to the dish, cover it with foil, and warm it at 325°F for about 15 to 20 minutes. If you’re in a hurry, the microwave works too. Just add a tablespoon or two of milk, cover it, and heat in 30-second bursts, stirring between each one. The milk helps restore the creaminess.
One thing I’ve learned is that leftovers are almost better the next day. The flavors have time to meld together, and that first bite of reheated mac and cheese is pure comfort.
Frequently Asked Questions
I hope this recipe becomes a staple in your kitchen the way it has in mine. There’s something so satisfying about pulling a bubbling dish of homemade mac and cheese out of the oven, knowing you made it from scratch. It’s comfort food at its finest, and it never gets old.
If you make this recipe, I’d love to hear how it turns out. Tag me on Pinterest or leave a comment below. And if you’re looking for more easy dinner ideas, check out my other pasta recipes. Happy cooking!
Pin this homemade mac and cheese recipe for later and share it with someone who needs a little comfort in their life.
Ultimate Homemade Mac and Cheese with California Twist
Ingredients
Method
- Preheat your oven to 350°F (175°C). Lightly grease a 9x13-inch baking dish.
- Bring a large pot of salted water to a boil. Cook the elbow macaroni until just al dente, about 1 minute less than package directions. Drain and set aside.
- In a large saucepan over medium heat, melt the butter. Whisk in the flour and cook, whisking constantly, for 1-2 minutes until lightly golden and bubbling.
- Slowly pour in the milk and cream while whisking. Continue cooking until the mixture thickens slightly, about 4-6 minutes. Stir in garlic powder, mustard powder, paprika, salt, and pepper.
- Reduce heat to low. Stir in the shredded cheddar, mozzarella, and Parmesan until melted and smooth.
- Add the cooked macaroni to the cheese sauce. Stir well to coat all the pasta.
- Pour the cheesy pasta into the prepared baking dish and spread it evenly.
- If using, mix panko with melted butter and smoked paprika. Sprinkle over the top of the pasta.
- Bake uncovered for 20-25 minutes, until bubbly and lightly golden on top. For a crispier topping, broil for 2-3 minutes at the end.
- Let rest for 5-10 minutes before serving for best texture.
Nutrition
Notes
Tried this recipe?
Let us know how it was!Source: Nutritional Information