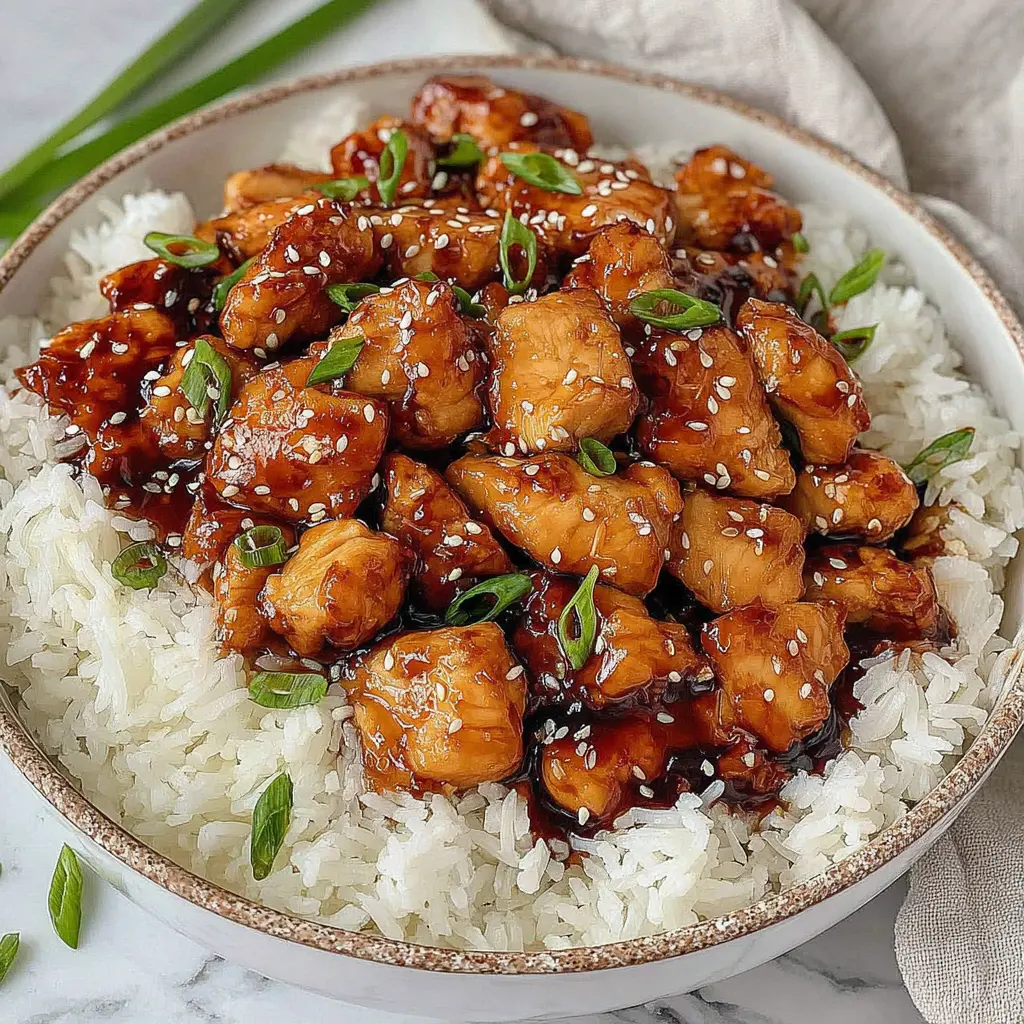
Why You’ll Love This Teriyaki Chicken Rice Bowl
You know those nights where you come home exhausted, the kids are hungry, and you just stare into the fridge hoping something magical appears? I’ve been there more times than I can count. And honestly, that’s how this teriyaki chicken recipe was born.
I used to order takeout teriyaki chicken all the time. It was my go-to when I had zero energy left. But then I realized I was spending way too much money on something I could totally make at home. The problem was, every recipe I tried either took forever or just didn’t taste right. The sauce was always too thin or too watery, you know?
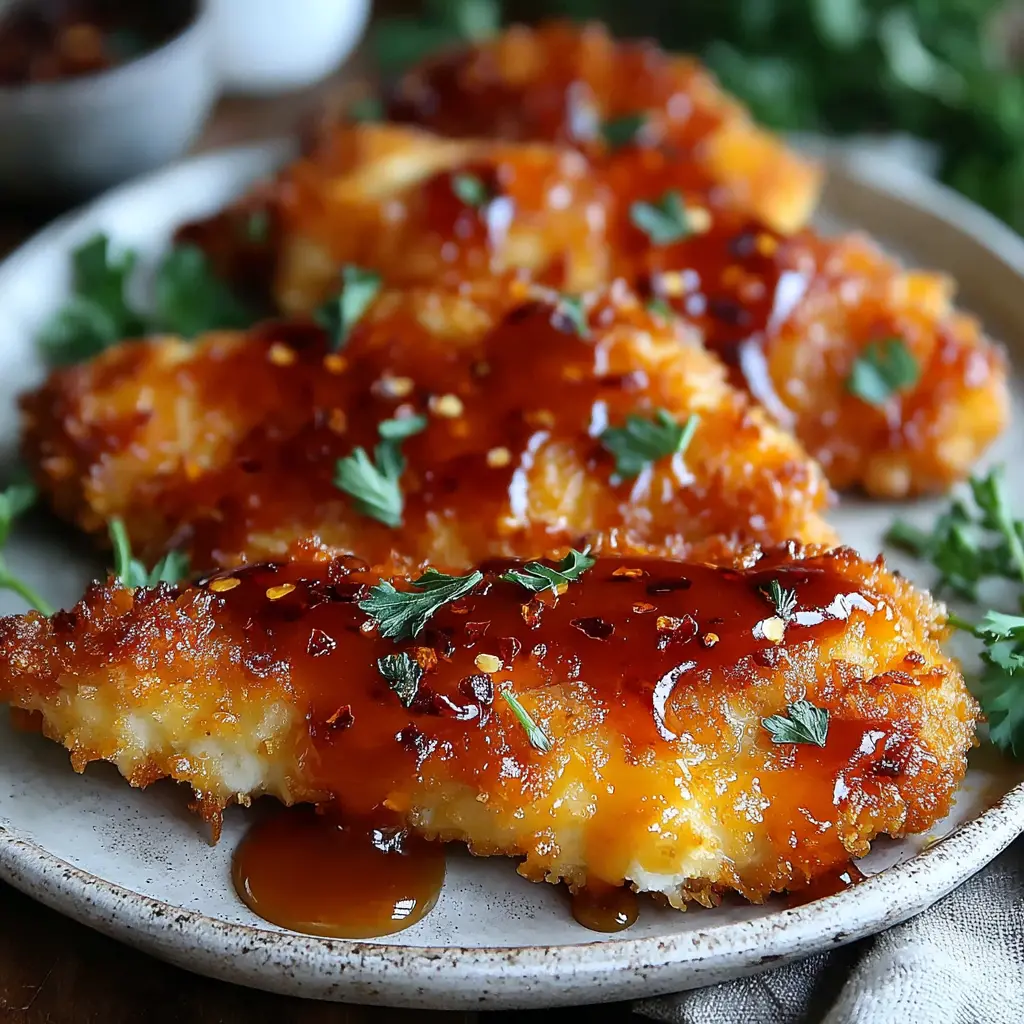
So I kept tinkering. And after many failures, I finally cracked the code. This easy teriyaki chicken recipe is the result. It’s ready in about 25 minutes, uses simple pantry ingredients, and honestly tastes better than takeout. The sauce gets thick and glossy, coating every single piece of chicken. It’s sweet, it’s savory, and it’s exactly what you need on a busy weeknight.
Plus, you don’t need any fancy equipment or hard-to-find ingredients. Just a skillet, some basic staples, and about 20 minutes of your time. That’s it. I promise, once you make this homemade teriyaki chicken, you’ll never go back to the bottled stuff.
Ingredients for Teriyaki Chicken
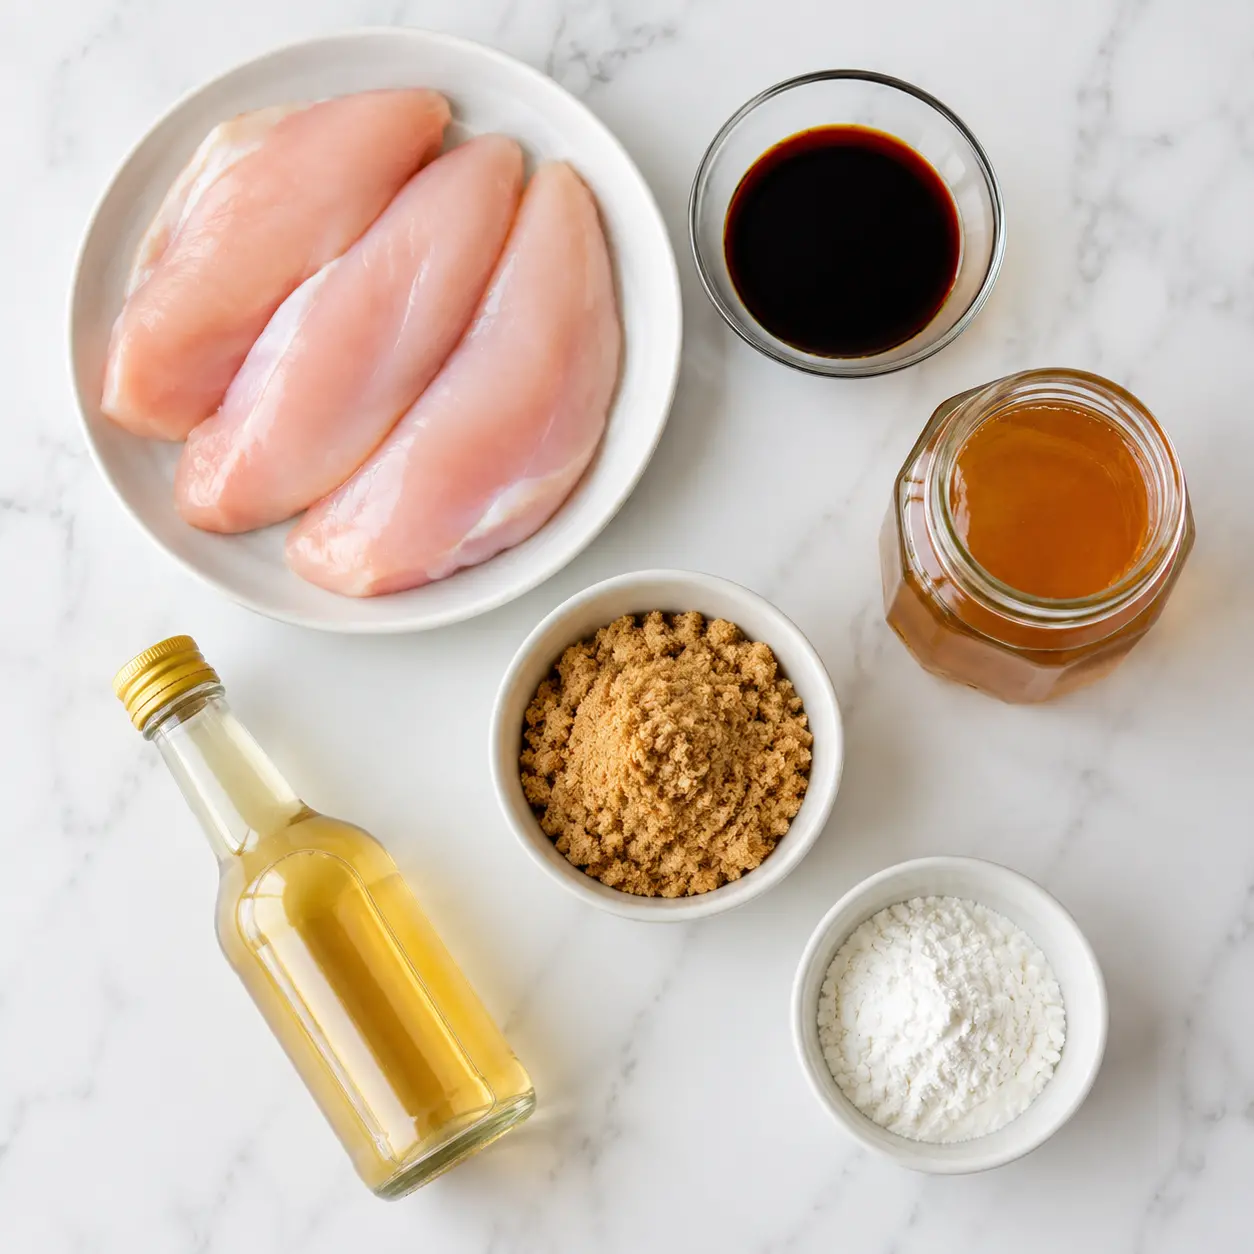
Let’s talk about what you’ll need. The beauty of this recipe is that most of these things are probably already in your pantry. And if they’re not, they’re easy to find at any grocery store. I usually grab everything during my weekly run to Ralphs or Trader Joe’s.
For the chicken, I use boneless skinless chicken breasts. I know some people swear by thighs for teriyaki chicken, and those work great too. But I find breasts are easier to cube and cook quickly. Plus, they’re usually what I have on hand. Just make sure you cut them into even 1-inch cubes so they cook evenly.
For the sauce, here’s the lineup:
- Low sodium soy sauce – this is key. Regular soy sauce can make everything way too salty. Low sodium gives you better control over the flavor.
- Water – helps balance the sauce without making it too intense.
- Packed light brown sugar and honey – the sweet combo. Brown sugar adds depth, honey gives that nice sticky texture.
- Rice vinegar – a little tang to cut through the sweetness. Don’t skip it!
- Sesame oil – optional but highly recommended. It adds a nutty flavor that makes it taste authentic.
- Ground ginger and minced garlic – the aromatics. Fresh works too, but ground is fine for quick cooking.
- Cornstarch – the secret to that thick, glossy glaze. This is what makes it cling to the chicken.
And for serving, you’ll want some cooked rice (white or brown, whatever you like), steamed vegetables like broccoli or snap peas, and garnishes like sesame seeds and sliced green onions. Oh, and if you’re feeling fancy, add some California-grown avocado slices on top. Trust me, it’s amazing.
How to Make Teriyaki Chicken Rice Bowl
Alright, let’s get cooking. I’m going to walk you through the four main stages. Don’t worry, it’s super straightforward. I’ve messed this up plenty of times, so I know exactly where things can go wrong. I’ll help you avoid those pitfalls.
Stage 1: Prep and Cube the Chicken
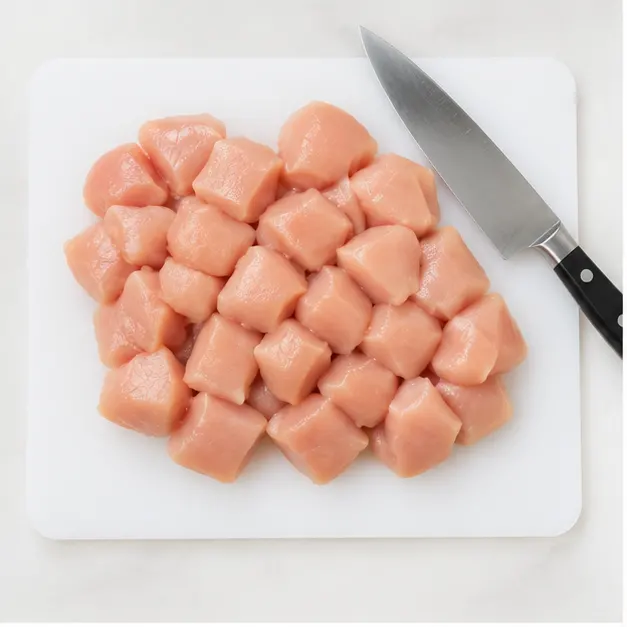
First things first, get your chicken ready. Take your boneless skinless chicken breasts and cut them into 1-inch cubes. Try to make them all about the same size. I know, it’s a little tedious, but it really matters for even cooking. If some pieces are bigger, they’ll be raw in the middle while the small ones dry out. Not a good look.
Once they’re cubed, pat them dry with a paper towel. This helps them get a nice golden sear instead of steaming in their own juices. I learned that the hard way after making sad, gray chicken for years.
Stage 2: Sear the Chicken
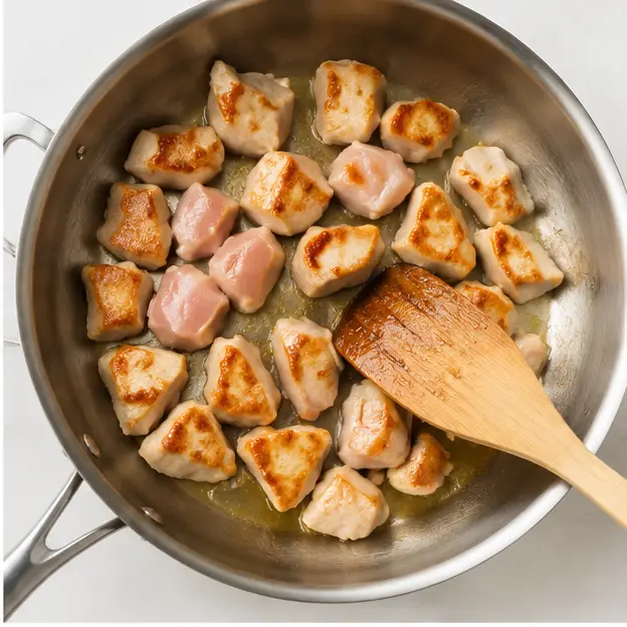
Heat a large skillet over medium-high heat and add your olive oil. I like using California-grown olive oil when I can find it. Once the oil is shimmering, add the cubed chicken in a single layer. Don’t overcrowd the pan – if you have too much chicken, cook it in batches. Otherwise it’ll steam instead of sear.
Cook the chicken, stirring occasionally, until it’s browned on all sides and cooked through. This usually takes about 6 to 8 minutes. You’ll know it’s done when there’s no pink inside and the internal temperature hits 165°F. The outside should be golden brown and slightly crispy in spots.
Stage 3: Make the Teriyaki Sauce
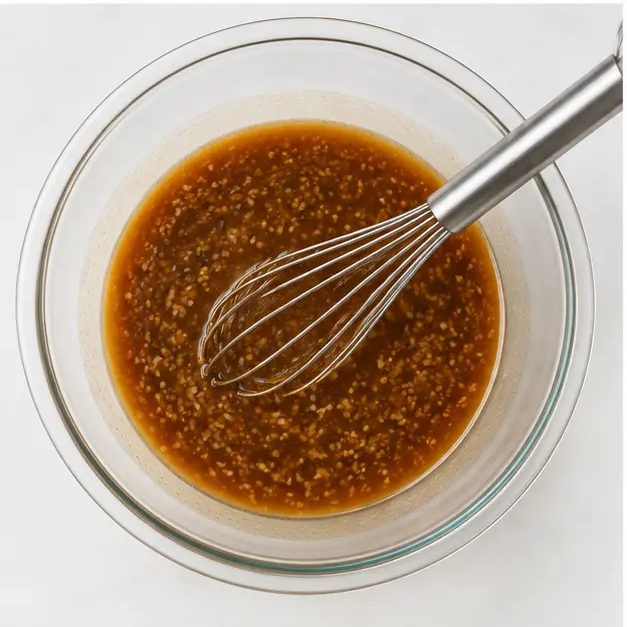
While the chicken is cooking, whisk together your sauce ingredients in a medium bowl. Add the soy sauce, water, brown sugar, honey, rice vinegar, sesame oil (if using), ground ginger, minced garlic, and cornstarch. Whisk until everything is smooth and the cornstarch is fully dissolved. No lumps allowed!
This is where the magic happens. The cornstarch is what gives you that thick, glossy teriyaki glaze. Without it, you’d just have thin, watery sauce that runs off the chicken. Not what we’re going for.
Stage 4: Glaze and Serve
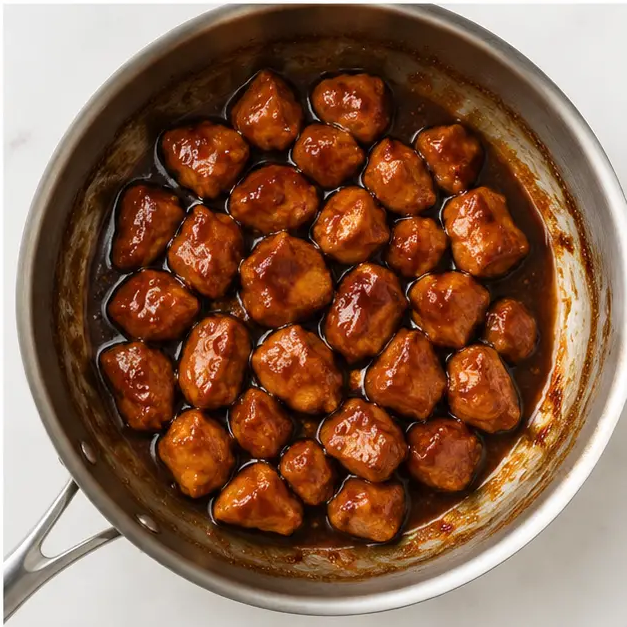
Once the chicken is cooked through, pour the teriyaki sauce right into the skillet. Stir constantly and let it cook for about 2 to 3 minutes. You’ll see the sauce start to bubble and thicken. Keep stirring so it doesn’t burn on the bottom.
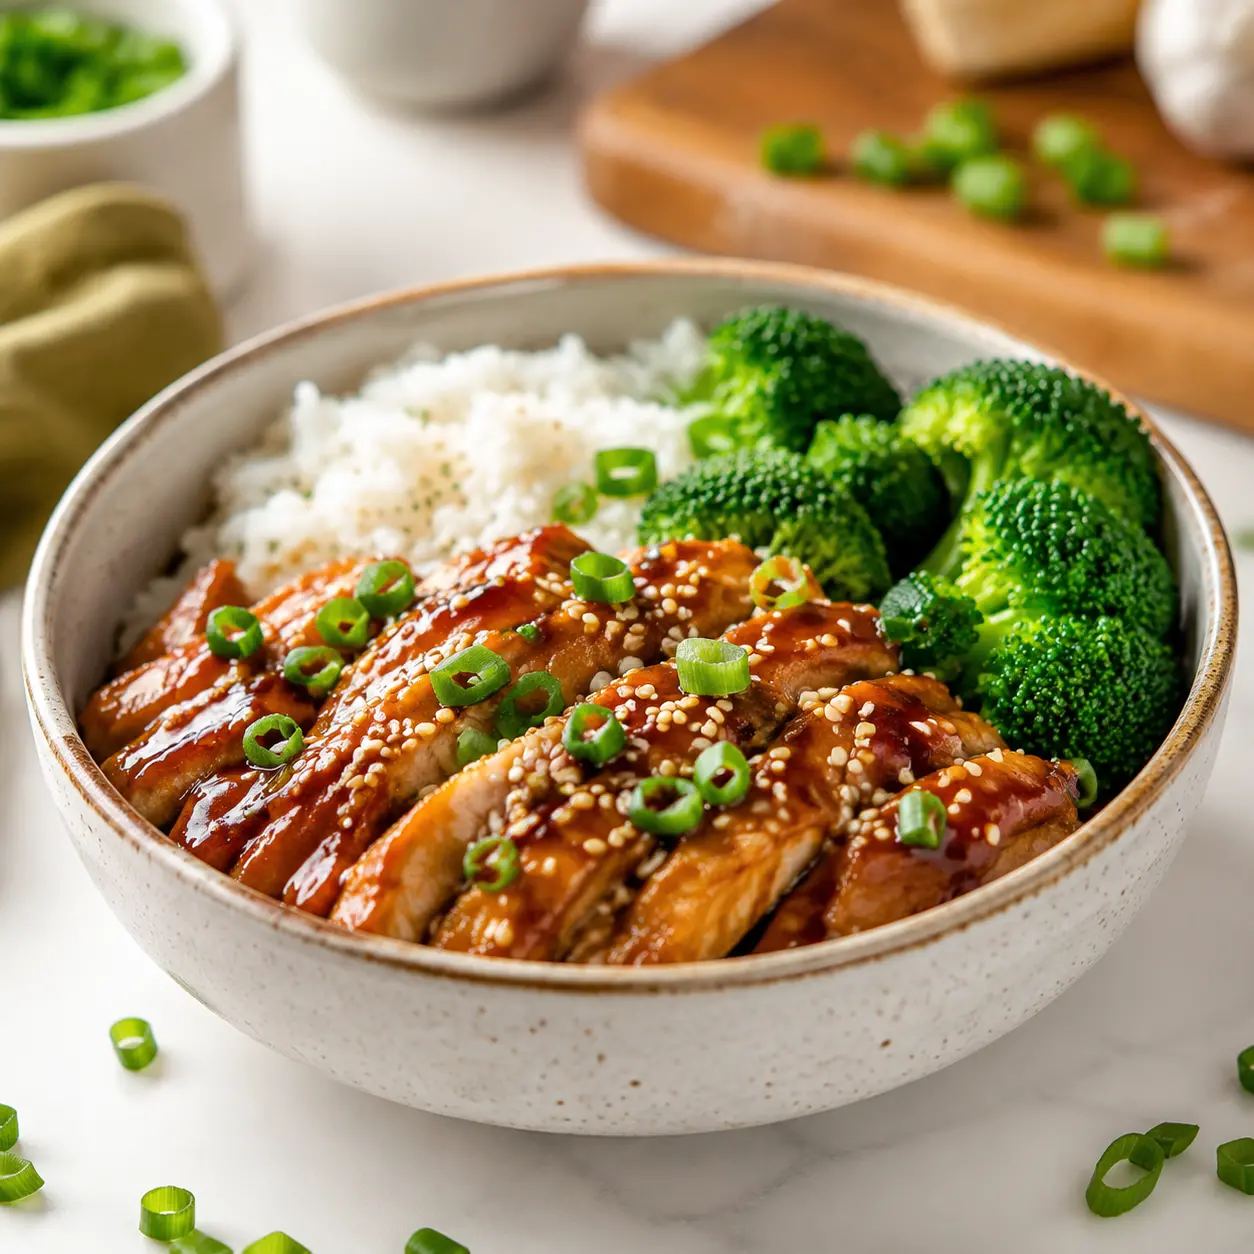
When the sauce is thick enough to coat the back of a spoon and clings to the chicken, you’re done. Serve immediately over steamed rice and vegetables. Sprinkle with sesame seeds and sliced green onions for that restaurant-style finish.
Tips for the Best Teriyaki Chicken
I’ve made this recipe more times than I can count, and I’ve picked up a few tricks along the way. Here are my best tips for nailing it every time.
- Don’t overcook the chicken. Chicken breasts cook fast. Once they hit 165°F internally, they’re done. Overcooking makes them dry and tough. Set a timer if you have to.
- Adjust the sauce thickness. If you want it even thicker, mix an extra teaspoon of cornstarch with a tablespoon of cold water and stir it in. If it’s too thick, add a splash of water.
- Use fresh ginger if you have it. Ground ginger works fine, but fresh grated ginger adds a brighter, more authentic flavor. Just use about 1 tablespoon of fresh grated ginger instead of the 1 teaspoon ground.
- Taste as you go. Everyone’s palate is different. If you want it sweeter, add more honey. If you want it saltier, add a splash more soy sauce. Make it yours.
- Let the sauce simmer. Don’t rush this step. The sauce needs those 2-3 minutes to thicken properly. If you pull it too early, you’ll have watery chicken. Not great.
Pro Secret: The One Tip That Makes It Restaurant-Grade
The Glaze Trick: After you pour the sauce in, don’t just stir gently. Really toss the chicken around in the sauce. Let it bubble and reduce. The sauce will caramelize slightly on the edges of the chicken, creating that sticky, almost candied coating you get at teriyaki joints. That’s the secret to making it taste like takeout.
Variations and Customizations
This recipe is super flexible. Here are some ways to switch it up depending on what you have or what you’re craving.
- Use chicken thighs. Boneless skinless chicken thighs work great here. They’re a little more forgiving and stay juicy even if you cook them a minute too long. Just cut them into cubes the same way.
- Add vegetables. Toss in some broccoli florets, snap peas, or bell pepper strips during the last few minutes of cooking. They’ll soak up some of that delicious sauce.
- Make it gluten-free. Swap the soy sauce for tamari or coconut aminos. Everything else is naturally gluten-free.
- Grill it. In the summer, I love making this on the grill. Just marinate the chicken cubes in the sauce (minus the cornstarch) for 30 minutes, then thread onto skewers and grill. Brush with extra sauce while grilling.
- Add a kick. If you like heat, add a pinch of red pepper flakes or a drizzle of sriracha to the sauce. It balances the sweetness perfectly.
What to Serve with Teriyaki Chicken
This teriyaki chicken is pretty complete on its own, especially over rice. But if you want to round out the meal, here are some ideas.
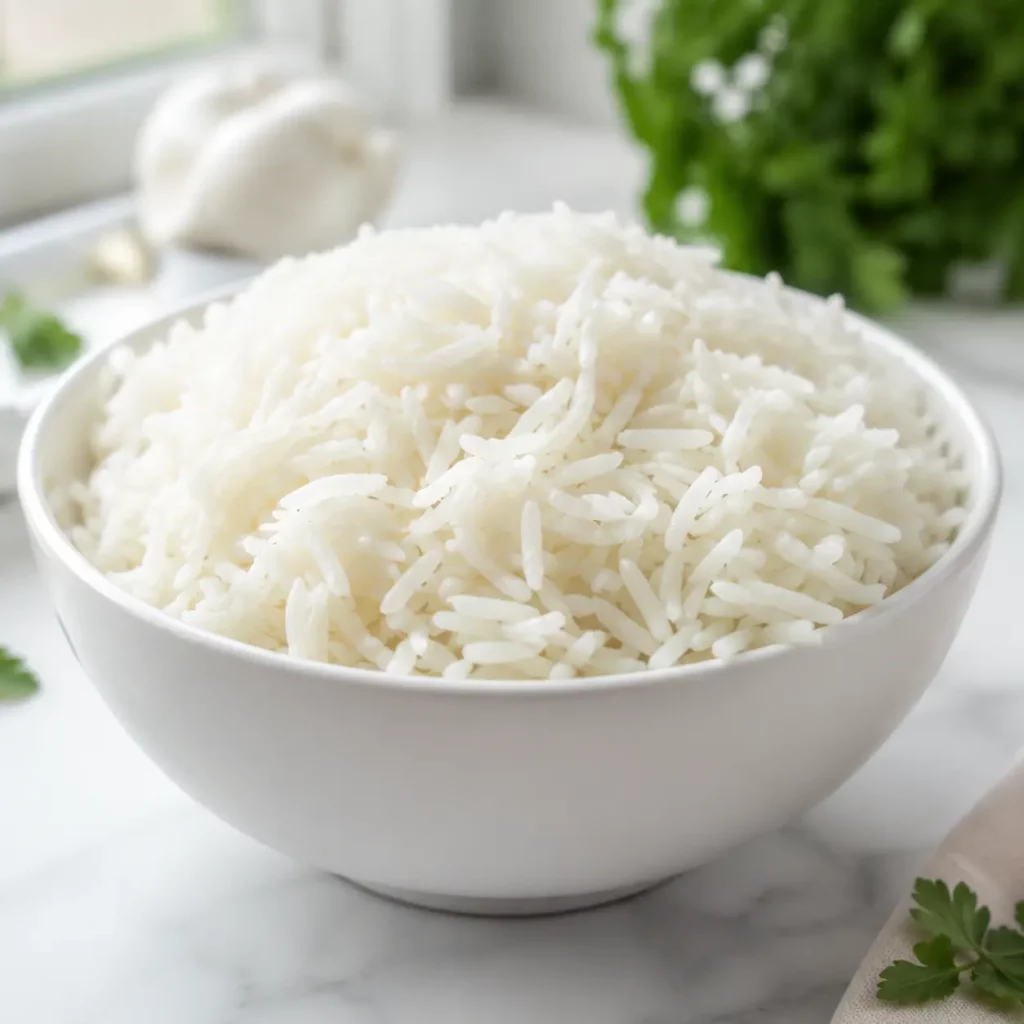
- Steamed rice – white or brown, it’s the classic base. The rice soaks up all that extra sauce.
- Steamed vegetables – broccoli, snap peas, carrots, or bok choy. Simple steamed veggies keep things light and healthy.
- Avocado slices – this is my California twist. Creamy avocado with the sweet teriyaki sauce is a match made in heaven.
- Simple cucumber salad – sliced cucumbers with rice vinegar and a pinch of salt. Refreshing and crunchy.
- Miso soup – if you want to go full Japanese dinner, a bowl of miso soup on the side is perfect.
Storage and Make-Ahead Tips
This recipe is great for meal prep. Here’s how to store it and keep it tasting fresh.
Storing leftovers: Keep any leftover teriyaki chicken in an airtight container in the fridge for up to 3 days. The sauce will continue to soak into the chicken, making it even more flavorful the next day.
Reheating: The best way to reheat is in a skillet over medium heat with a splash of water. This helps loosen the sauce back up. You can also microwave it, but the chicken might get a little rubbery. Skillet is better.
Freezing: You can freeze the cooked chicken in an airtight container for up to 3 months. Thaw overnight in the fridge and reheat in a skillet. The sauce might separate a bit, but just stir it back together.
Make-ahead sauce: You can whisk the sauce ingredients together (except the cornstarch) and store in the fridge for up to a week. When you’re ready to cook, just whisk in the cornstarch and go.
Common Mistakes to Avoid
I’ve made every mistake in the book, so you don’t have to. Here are the most common ones and how to fix them.
❌ Mistake: Sauce is too thin and watery.
✅ Solution: Make sure you whisk the cornstarch completely into the cold sauce before adding it to the pan. Also, let it simmer for the full 2-3 minutes. If it’s still thin, mix 1 teaspoon cornstarch with 1 tablespoon cold water and stir it in.
❌ Mistake: Chicken is dry and tough.
✅ Solution: You likely overcooked it. Chicken breasts cook fast. Use a meat thermometer and pull them off at 165°F. Also, cutting them into even 1-inch cubes helps them cook evenly.
❌ Mistake: Sauce is too salty.
✅ Solution: Use low sodium soy sauce. Regular soy sauce can be really intense. If you already made it too salty, add a squeeze of honey or a splash of water to balance it out.
❌ Mistake: The glaze burns on the bottom of the pan.
✅ Solution: The sugar in the sauce can burn if the heat is too high. Keep the heat at medium and stir constantly once you add the sauce. Don’t walk away!
❌ Mistake: Chicken doesn’t have that sticky coating.
✅ Solution: You need to let the sauce reduce properly. Don’t rush it. And make sure you’re tossing the chicken in the sauce so every piece gets coated. The cornstarch is what creates that sticky texture.
Frequently Asked Questions
Now go make dinner and become a hero. You’ve got this! If you try this recipe, let me know how it goes. And don’t forget to pin it on Pinterest for later.
Save this easy teriyaki chicken recipe to your Pinterest board for quick weeknight dinners!
Quick Teriyaki Chicken Rice Bowl
Ingredients
Method
- Heat olive oil in a large skillet over medium-high heat.
- Add the cubed chicken and cook, stirring occasionally, until browned and cooked through (no longer pink inside), about 6 to 8 minutes.
- While the chicken cooks, in a medium bowl whisk together soy sauce, water, brown sugar, honey, rice vinegar, sesame oil (if using), ground ginger, minced garlic, and cornstarch until smooth.
- Pour the teriyaki sauce into the skillet with the cooked chicken. Stir constantly and cook until the sauce thickens and coats the chicken, about 2 to 3 minutes.
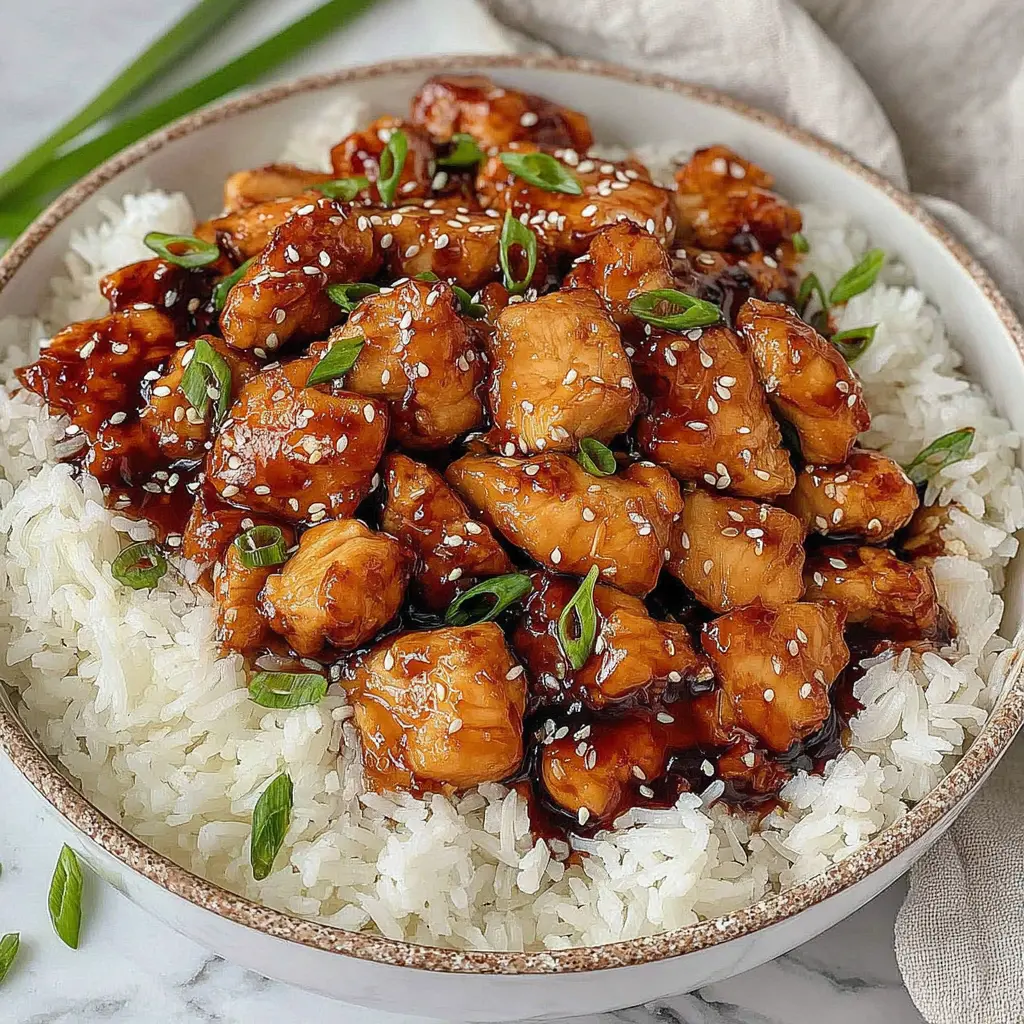
- Serve immediately over steamed rice and vegetables. Garnish with sesame seeds and sliced green onions.
Nutrition
Notes
Tried this recipe?
Let us know how it was!Source: Nutritional Information